
The first fish you ever catch will most likely come on a bobber. It does not matter whether you are six or sixty — bobber fishing turns the guesswork of fishing into a visual game. You watch a red-and-white dot on the water. It moves. You reel. Fish. That simplicity is why bobbers have been the gateway technique for every generation of anglers, and why they remain the best way to learn the basics without frustration.
By the time you finish reading this guide, you will know which bobber to pick for your water, how to rig it in under two minutes, what bait to use, and exactly what to do when that bobber goes under.
What Is a Bobber and Why Use One?
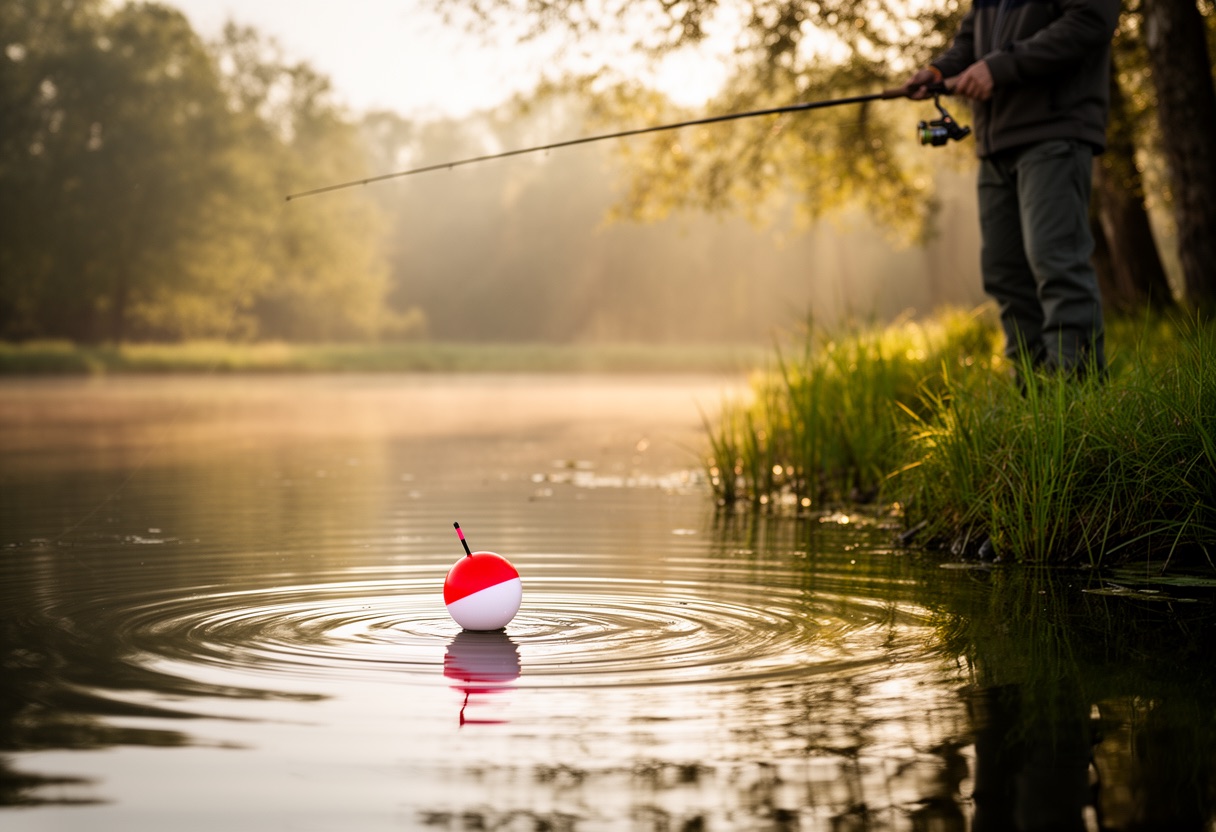
A bobber — also called a float — is a buoyant device that slides onto your fishing line. It does two jobs at once. First, it holds your bait at a specific depth so you can target fish without guessing where they are. Second, it gives you a visual signal when a fish bites — the bobber dips, wiggles, or disappears entirely.
That second job is the big advantage for beginners. With other fishing techniques, you learn to feel subtle tugs through the rod and line. With a bobber, you watch. No finesse required. That makes bobber fishing ideal for fishing with kids, for grandparents teaching grandkids, and for anyone who has never held a rod before.
Bobbers work with spinning rods, spincast combos, and even basic baitcasters. If you have a rod, a reel, and a spool of line, you are ready to start.
Types of Bobbers You Should Know
Not all bobbers work the same way. The four types a beginner should know are round bobbers, spring bobbers, clip-on bobbers, and slip bobbers. Picking the right one comes down to one question: how deep is the water?
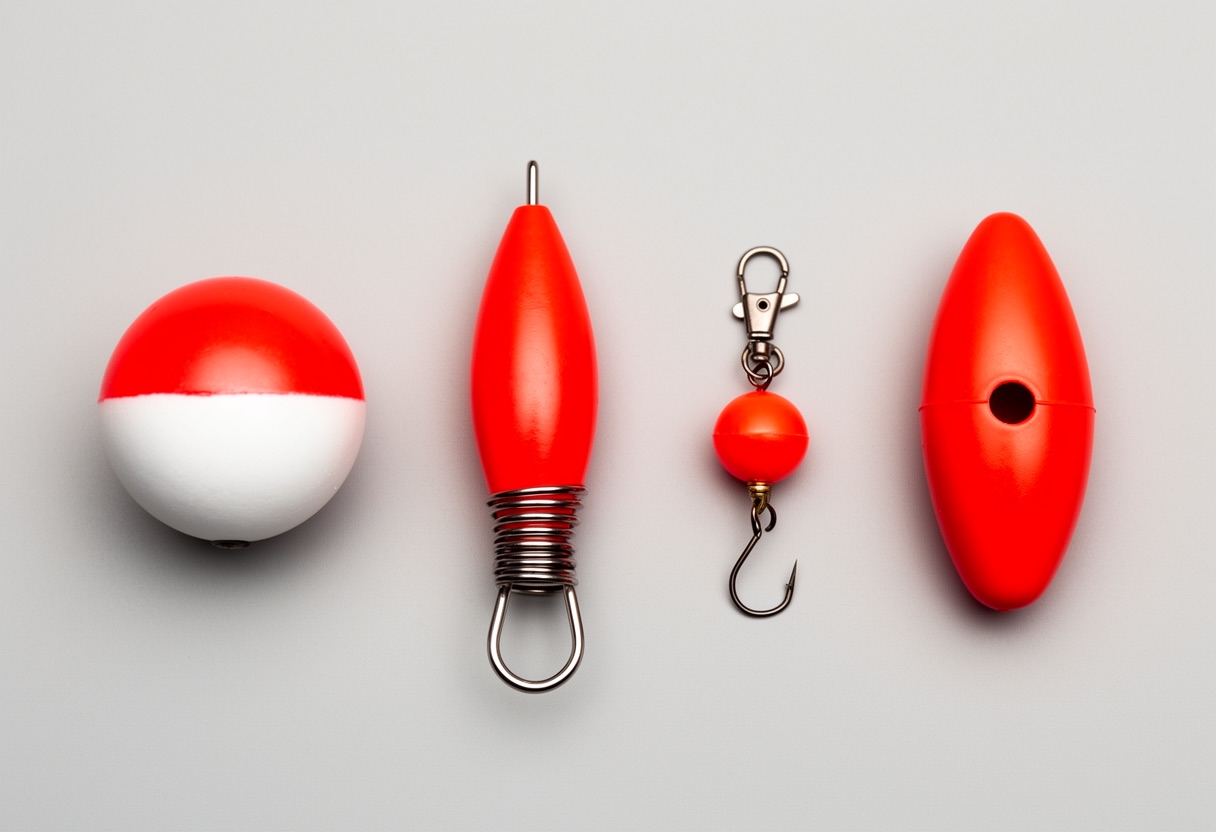
Round bobbers (also called Carolina bobbers) are the classic red-and-white spheres with two plastic eyelets. You thread your line through both holes and press the bobber down to lock it at the depth you want. They are cheap, highly visible, and dead simple. Use them for shallow water — ponds, lake edges, anywhere under 6 feet deep.
Spring bobbers (inline or snap-on bobbers) have an oblong body with a metal spring clip at the bottom. You clip your line directly into the spring, and adjust depth by squeezing the spring and sliding the bobber up or down. No rethreading needed. They handle moderate current better than round bobbers and are quick to adjust between casts.
Clip-on bobbers snap onto your line with a small hook or clip. They are the fastest setup of all — useful when you need to rig up quickly or when helping a kid get in the water. The tradeoff is limited depth range and adjustability, so stick to shallow ponds.
Slip bobbers (slip floats) are the workhorse for deeper water. Your line threads freely through the bobber so it slides up and down. A small rubber or foam bobber stop placed higher on the line sets the maximum depth — the bobber slides up until it hits the stop and stops there. Because the bobber rests at your rod tip during the cast instead of dangling below, slip rigs cast much farther and work in water 6 feet to 20+ feet deep. They take one extra step to rig, but they are worth learning.
The shortcut: shallow pond or lake edge under 6 feet? Use a fixed bobber (round, spring, or clip-on). Deep water or long-distance casting? Use a slip bobber.
How to Set Up a Fixed Bobber Rig — Step by Step
The fixed bobber rig is the simplest setup you can use. Here is how to build one in about two minutes:
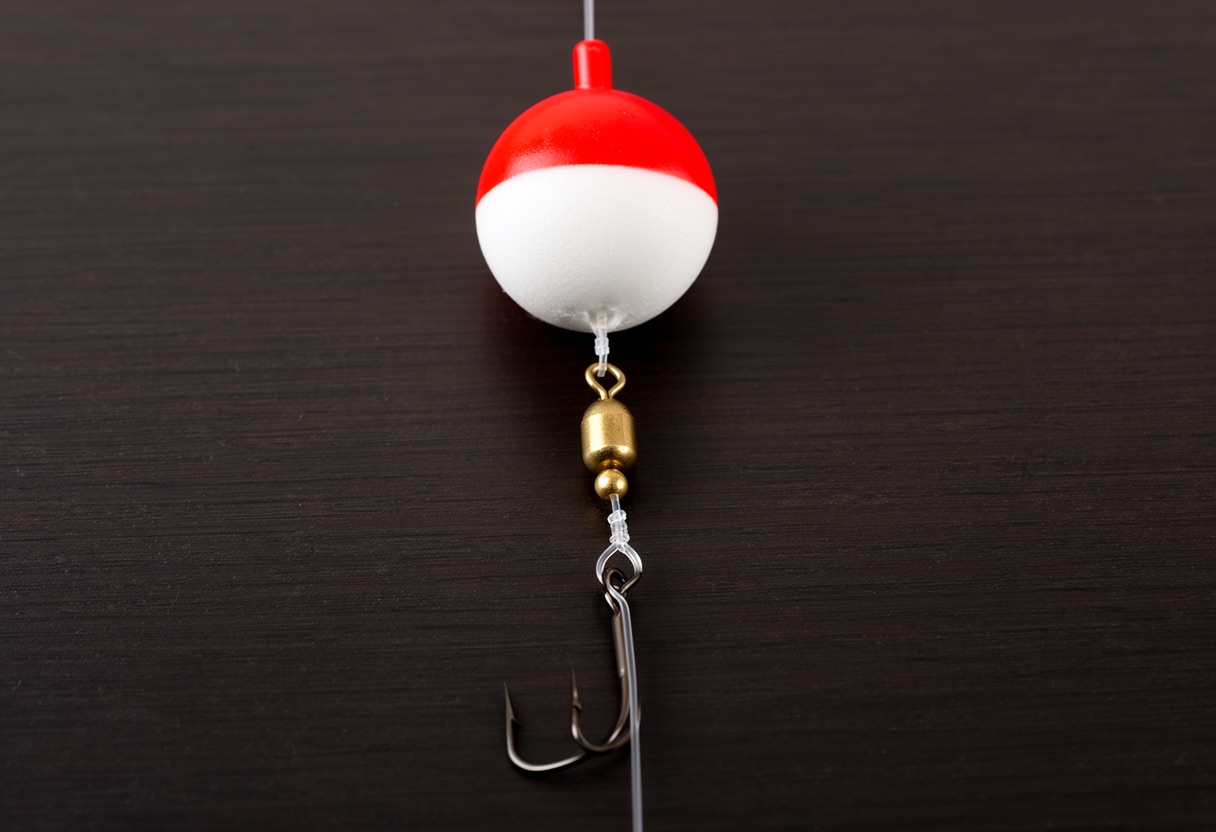
1. Thread the bobber. Pass your fishing line through both eyelets of a round bobber. Slide it to roughly the depth you want to fish, then press the bobber down toward the knot end of your line. The eyelets will pinch the line and hold the bobber in place.
2. Add a split shot sinker. About 6 to 12 inches below the bobber, pinch a small split shot onto your line with your fingers or a pair of pliers. The split shot is a pea-sized lead weight with a slit. It keeps your line vertical in the water and adds just enough weight to help your cast land accurately. You only need one or two split shots — just enough to keep the line tight.
3. Tie on a hook. At the end of your line, tie on a #6 to #10 octopus-style hook using an Improved Clinch Knot. Hook sizes work backward — a #10 is smaller than a #6. A #6 octopus hook is a great all-purpose starting size.
4. Set your depth. Before your first cast, estimate how deep the water is where you plan to fish. Adjust the bobber on the line so your hook sits roughly 6 inches off the bottom. If you are fishing a 4-foot-deep pond, set the bobber for about 3 to 3.5 feet. You can always adjust after your first cast if the depth is wrong.
That is it. Bobber, split shot, hook. The fixed rig is the setup you see in most beginners’ first fishing photos, and it catches fish reliably in shallow water. Bobbers and split shot are starter-tackle essentials — if you are building out your tackle box, see our first tackle box checklist.
How to Set Up a Slip Bobber Rig — Step by Step
When the water runs deeper than 6 feet or you need to cast farther than a fixed bobber can manage, the slip bobber rig is the answer. It takes one extra component but casts dramatically farther:
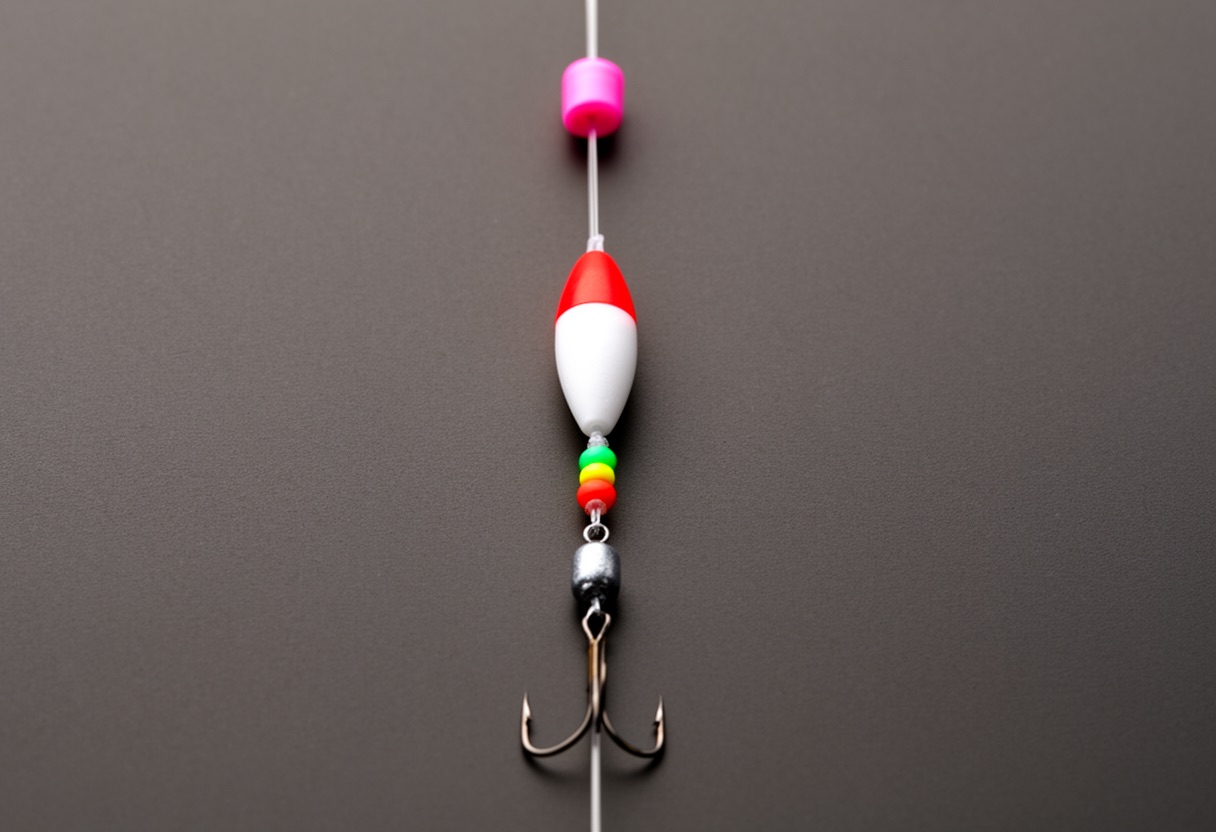
1. Slide on a bobber stop. Take a small rubber bobber stop (such as a Pinch-a-Pal) and slide it onto your line first. Pinch it closed at the depth you want to fish — for example, 10 feet if you are targeting crappie over a 10-foot drop. This stop sets your fishing depth. The distance from your hook to the bobber stop equals how deep your bait will run.
2. Thread the slip bobber. Slide your oval slip bobber onto the line below the stop. It will move freely up and down — that is the point.
3. Add a protective bead. Slide a tiny plastic or nylon bead onto the line below the bobber. The bead sits between the bobber and the bobber stop when the bobber slides up during a cast. Without the bead, the bobber would slam directly into the stop knot every time, which can weaken the line or damage the stop.
4. Attach split shot near the hook. Place one or two split shots just above where your hook will tie on — not below the bobber like the fixed rig. This keeps your bait weighted and your line vertical.
5. Tie on your hook. Same as the fixed rig — a #6 to #10 octopus hook with an Improved Clinch Knot for panfish, or adjust size for your target species.
When you cast a slip rig, the bobber slides up to the rod tip so you are essentially casting just the weight of the hook and sinker. That means you can cast 40, 50, even 60 feet without the bobber fighting you. It is the single biggest upgrade you can make from a fixed rig.
Best Bait for Bobber Fishing
The right bait keeps things simple. You do not need a live well full of options — three baits cover almost every bobber situation:
Nightcrawlers (live worms). The number-one bobber bait, period. Cut a nightcrawler into 2- to 3-inch sections and thread the piece onto your hook. Worms work on bluegill, crappie, trout, and catfish — basically everything a bobber catches. If you buy one bait, make it worms.
Crickets. Excellent for bluegill and shellcrackers in warm-water ponds. Thread a cricket through the thorax (the middle segment) so it stays on the hook and continues moving in the water. Moving bait triggers more strikes.
Wax worms and mealworms. When panfish are finicky and refusing larger bait, go small. Wax worms and mealworms are the panfish equivalent of a snack-sized offering — finicky fish that ignore a worm section will often take a mealworm without hesitation.
For trout in stocked ponds, PowerBait (scented dough bait) and even plain bread work surprisingly well. Pinch a small cube of white bread onto a #10 trout hook and you have the cheapest trout rig in fishing. For detailed bait guidance, see our live bait guide.
What Fish Can You Catch with a Bobber?
Bobbers are not limited to one species. They work on the most common freshwater fish, each with slight adjustments:
Panfish (bluegill, sunfish, crappie). The primary bobber targets. Set your depth so the hook runs 6 inches off the bottom in 2- to 10-foot water. Bluegill prefer #6 to #10 hooks; crappie respond well to #4 to #8. For more on panfish, see our panfish fishing guide. If your target water is a pond, our pond fishing for beginners guide has depth and species tips specific to pond conditions.
Trout. Bobber fishing for trout in stocked ponds is extremely popular and beginner-friendly. Start at 3 to 5 feet deep with a #8 to #12 hook. Trout often hold just off the bottom, so if you are not getting bites, try setting your bobber deeper. Our trout fishing guide covers pond and stream tactics in detail.
Catfish. Catfish can be caught on bobbers in shallow ponds, especially farm ponds. You will need a larger hook (#1 to #4) and a heavier split shot than panfish setups. The bobber acts more as a strike indicator than a depth-control tool. For catfish specifics, see our catfish fishing guide.
Reading the Bobber — How to Tell When a Fish Bites
This is the moment everyone waits for. Your bobber is floating steady, and then something happens. Here is how to read it:
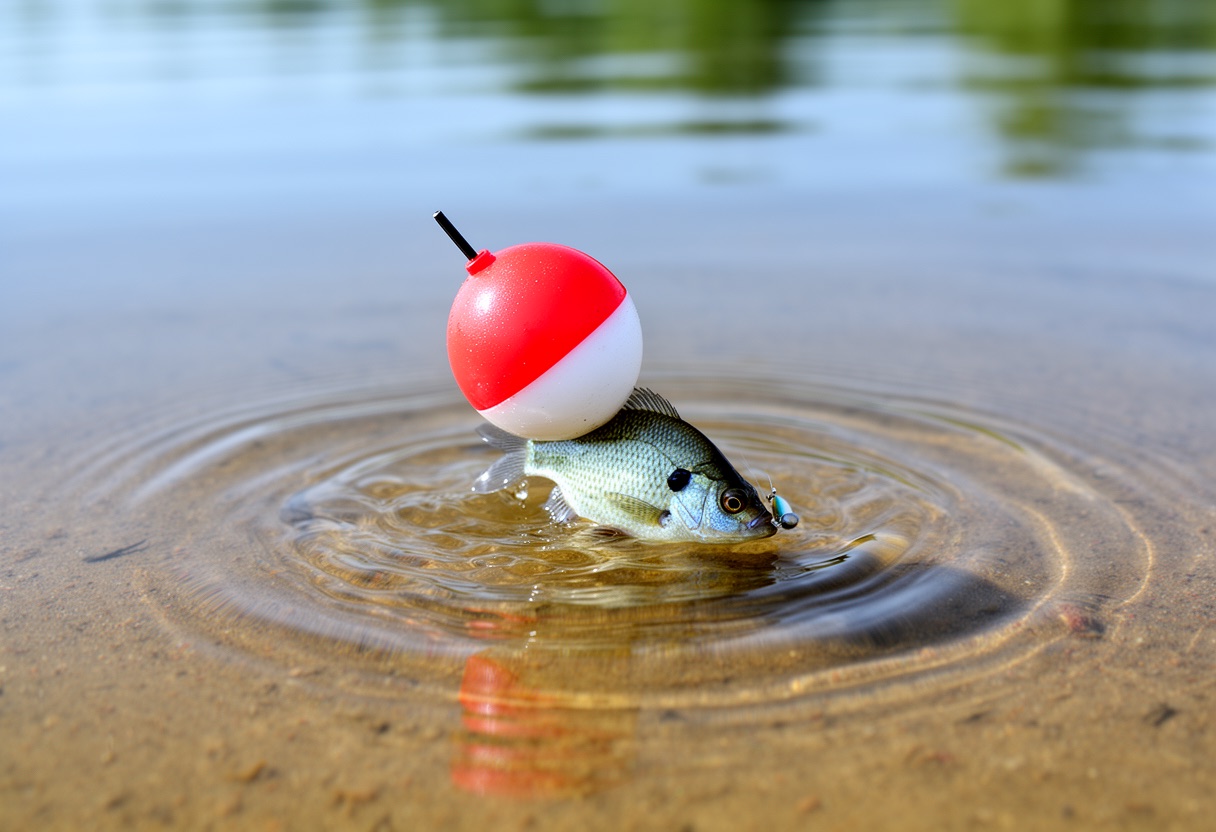
Bobber goes under. The bobber disappears below the surface. This is a committed strike — set the hook immediately.
Bobber wiggles or bounces. The fish is investigating the bait, tasting it. Wait one full second, then set the hook. Setting too early spooks the fish before it has fully taken the bait.
Bobber moves sideways steadily. The fish has the bait and is swimming off. Set the hook — do not wait for it to go under.
When you set the hook, do not jerk the rod like you are yanking a weed. Sweep the rod tip up and in with a firm, smooth motion, then start reeling. Reel steadily and keep tension on the line. For a deeper look at landing fish, see our guide to reeling in fish.
Quick Tips for Success
Adjust depth first. If nothing is biting, your bait may be running too deep or too shallow. Change your bobber setting by a foot and try again before changing anything else.
Do not over-weight. One or two split shots are enough. Too much weight pins the bait to the bottom and defeats the purpose of the bobber.
Replace dead bait. A lifeless worm or a damaged cricket produces fewer strikes. If your bait looks spent, swap it out.
Match hook size to bait and target fish. A #10 hook on a tiny mealworm works for bluegill. A #4 hook on a chunk of nightcrawler works for catfish. The bait and hook should look proportional.
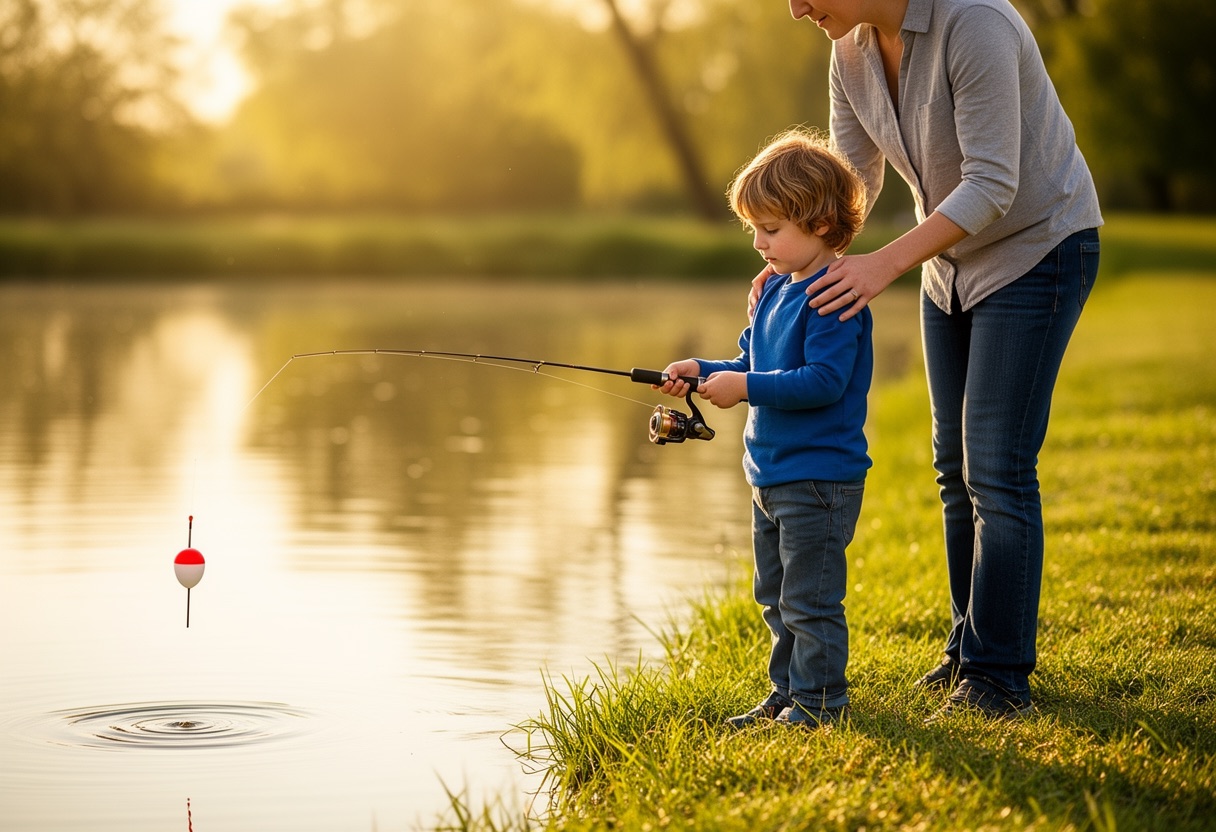
Start with a Bobber — It Is Hard to Beat
Bobber fishing is the technique that starts every angler’s story. It is visual, forgiving, and effective across dozens of species. If you are new to pond fishing specifically, see our full pond fishing for beginners guide. Grab a round bobber, a nightcrawler, and head to the nearest pond — your first fish is closer than you think.