You feel the bite. Your heart jumps. Then you yank the rod — and the line goes slack. The fish is gone.
This happens to almost every beginner. Hooking a fish is one thing. Keeping it on the line is another skill entirely.
Setting the hook and fighting the fish are the two most critical moments in the entire fishing process. Everything before this — choosing lures, finding water, casting accurately — leads to this exact second. Get it right and you land fish. Get it wrong and you’ll lose more fish than you can count.
This guide walks you through the complete process: detecting the bite, setting the hook with the right force, managing drag, fighting the fish to exhaustion, and landing it safely.
The Moment That Matters: Setting the Hook
Setting the hook means driving the hook point into the corner of the fish’s mouth. It sounds simple, but beginners get it wrong in three common ways: setting too early, setting too hard, or setting too late.
How to Recognize a Real Bite
Not every tug is worth setting. Fish bump lures, snag light vegetation, or bump your line without intending to eat. Here’s how to tell the difference:
- A solid bite feels like a sudden weight on the line — the rod tip bends down or twitches with force.
- A false bump is a light tap that fades quickly.
- With a bobber, wait for the bobber to go completely underwater and stay there for a half-second before setting.
- With a jig or crankbait, the bite often feels like a “thump” or vibration through the rod — distinct from the regular thumping off the bottom.
The golden rule: wait for the fish to commit. Give it half a second after the initial movement to fully take the bait. That half-second is the difference between a hooked fish and a torn lip.
How to Execute the Hook Set
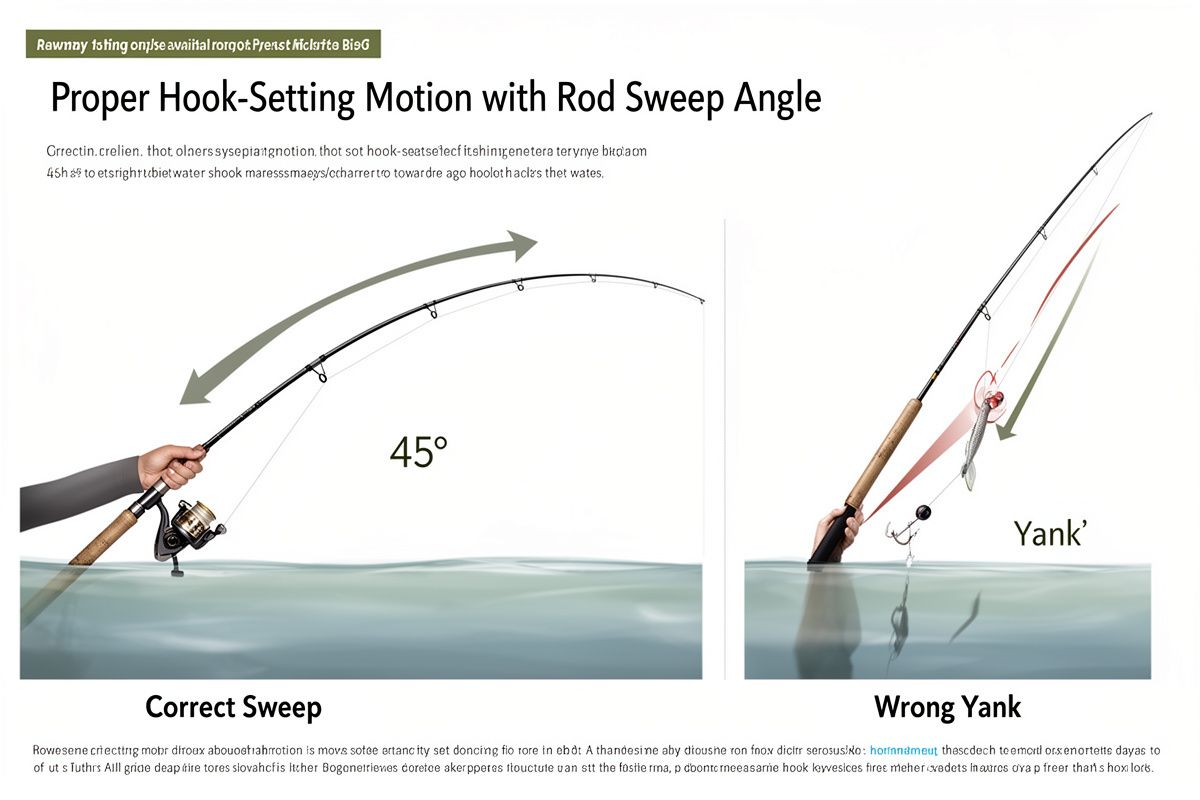
The proper hook set is a firm, controlled sweep — not a violent yank.
The motion: Raise the rod tip up and back in one smooth arc. Think of it as pointing the rod tip at the fish, then pulling it down behind you. The sweep angle is roughly 45 degrees — not straight up (which breaks line) and not horizontal (which lacks power).
The force: Depends on your gear:
- Light line (4-6 lb test): A gentle, firm sweep. Sharp modern hooks need very little force.
- Medium line (8-12 lb test): A confident sweep with moderate power.
- Heavy line (15+ lb test): A stronger sweep, but still controlled.
Why sweeping works better than yanking: A sweep uses the rod’s built-in flex as a shock absorber. A straight-up yank puts all the force on the line, which snaps under peak tension. A sweep distributes the force through the rod, letting the hook drive in while the rod bends to protect your line.
What Happens When You Get It Right
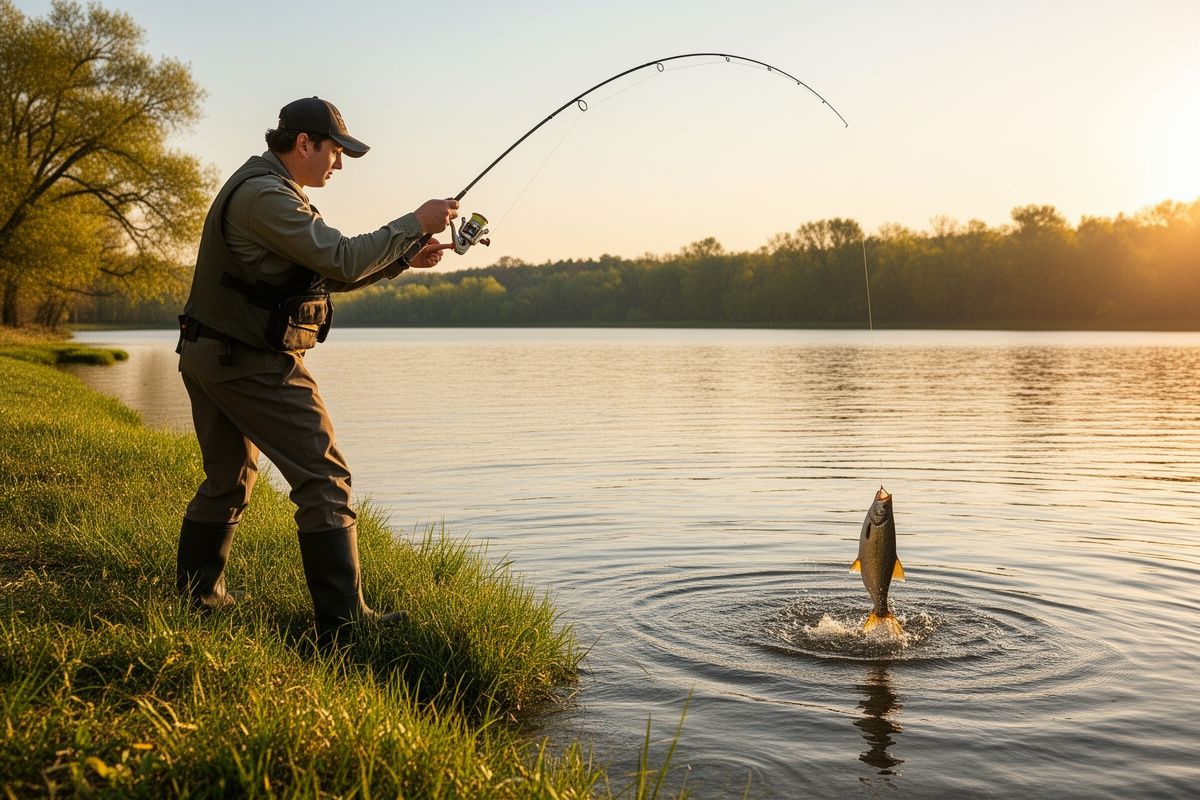
A successful hook set feels like a sudden heavy weight — the line goes tight, the rod bends deeply, and you can feel the fish’s resistance through the handle. If the line goes slack immediately, the hook didn’t set or pulled free. If the fish starts running, congratulations — you’re hooked up.
How to Set Up Your Drag (The 25-33% Rule)
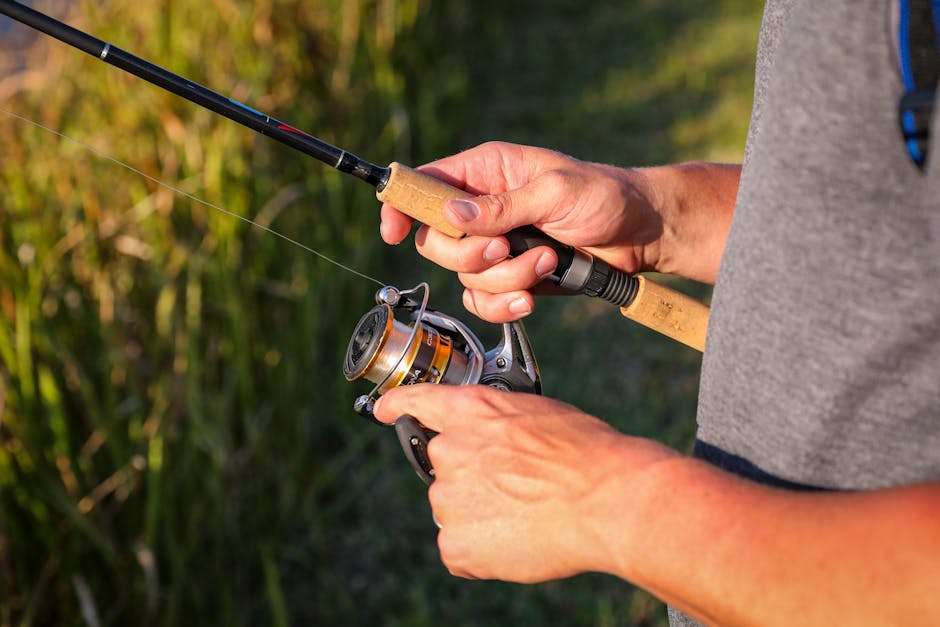
Drag is the adjustable braking system on your reel. It allows line to slip off the spool when the fish pulls harder than a set threshold. Proper drag setup is the single biggest factor in whether you land a fish or lose it.
The 25-33% Rule
Set your drag at approximately one-quarter to one-third of your line’s breaking strength. If you’re using 10-pound test line, your drag should begin slipping at roughly 2.5 to 3.3 pounds of pressure.
Why this range? It’s tight enough to maintain control and tire the fish, but loose enough to prevent the line from snapping when the fish makes an unexpected run.
How to Test Your Drag Setting
Here’s the method recommended by Bassmaster and In-Fisherman:
- Set your drag knob to the desired tightness.
- Point the rod tip toward the water at about a 45-degree angle.
- Have a friend pull on the line (or walk backward yourself) until the drag starts slipping.
- It should require firm, steady pressure — not light tugs and not maximum strain.
If you don’t have a scale, a practical test: hold the rod tip at waist height, pull the line with your other hand. The drag should engage with a smooth, consistent slip — not a jerky grab-and-release.
When to Adjust Drag During a Fight
- Tighten slightly when the fish is tired and you’re bringing it in the final stretch.
- Loosen if the fish makes a sudden hard run toward structure.
- Never max out your drag — even if the fish seems small, a surprise surge can still snap the line.
Fighting the Fish: Playing It Right
“Playing the fish” means controlling the fight so you tire the fish without breaking the line. The rod is your primary tool — the reel is secondary.
Keep the Rod Bent
The rod should be in a smooth, consistent arc throughout the fight. This bend is what absorbs sudden surges. If the line goes perfectly straight between rod tip and fish, you’re at risk — there’s no cushion for a surprise run.
The stance: Hold the rod high, angled toward the fish. Many beginners point the rod tip straight down at the fish, which removes the rod’s flex and puts all pressure on the line. Keep the rod tip up.
Reeling Rhythm
- When the fish is steady: Reel with firm, even pressure.
- When the fish stops or turns toward you: Reel faster to gain line.
- When the fish makes a run: Let it go. Maintain the rod bend but stop reeling. The drag is doing the work now.
- When the run ends: Resume reeling immediately.
The rhythm of fighting a fish is: reel, let run, reel, let run. You’re not racing — you’re exhausting the fish through controlled back-and-forth pressure.
Don’t Bring the Fish In Too Fast
A common beginner mistake: reeling aggressively and bringing the fish close to the boat or shore before it’s tired. An untired fish close to shore can make a final dash into weeds, logs, or rocks, and you’ll lose it.
The rule: Keep the fish at distance until it’s visibly tired. Signs the fish is ready to land:
- It’s swimming slowly
- It rolls onto its side occasionally
- It no longer makes hard runs
- It follows your rod direction instead of fighting against it
What to Do When Fish Head for Cover
If a hooked fish runs toward weeds, rocks, or a dock:
- Lower the rod tip toward the fish — this gives line back and lets the drag work.
- Wait for the fish to turn — many fish turn away from cover on their own.
- If the line gets tight near cover, try jerking the rod tip sideways (not up) to pull the fish away from the structure.
- As a last resort, snap the line before it gets cut. Losing one fish is better than losing the fish and your leader or lure.
Landing the Fish

The fight isn’t over until the fish is out of the water and secured.
Using a Landing Net
For any fish over 1 pound, a landing net is essential. Here’s how to use it:
- Position the net in the water before the fish gets close.
- Guide the fish’s head into the net — not the tail.
- Lift the net once the fish is fully inside.
Soft-mesh nets are gentler on fish and less likely to damage lures if they’re still in the fish’s mouth.
Hand-Landing Small Fish
For fish under a pound, you can hand-land them:
- Wet your hand first — dry hands strip the fish’s protective slime coat.
- Approach from behind and below the fish.
- Slide your hand under the fish, cupping it from below.
- Lift gently and move directly to unhooking.
Unhooking Safely
- Use fishing pliers or a multi-tool to remove hooks — don’t use your fingers.
- For deeply swallowed hooks, consider cutting the line close to the hook and releasing the fish.
- Minimize the time the fish spends out of water — aim for under 30 seconds from net to release or bucket.
Common Beginner Mistakes (And How to Avoid Them)
| Mistake | Why It Happens | How to Fix |
|---|---|---|
| Yanking the rod straight up | Adrenaline, excitement | Practice the sweeping motion before you go fishing |
| Setting too early | Impatience | Count “one” after the bite before setting |
| Setting drag too tight | Fear of losing the fish | Test drag before every fishing trip |
| Reeling during a run | “I need to reel!” instinct | Trust the drag. Let the fish go. |
| Pointing the rod tip down | Looks natural, feels right | Keep the rod tip up and bent |
| Rushing to land the fish | Eagerness to hold the fish | Wait for the fish to show fatigue signs |
| Dry hands when handling fish | Habit | Wet your hand in the water first |
Species Differences: What to Expect
Different fish fight differently. Knowing what to expect helps you adjust:
- Bass: Explosive fighters. Expect immediate hard runs and attempts to roll and throw the hook. Tire relatively quickly (1-3 minutes).
- Catfish: Steady, relentless pullers. Less likely to sprint, more likely to just dig deep. Take longer to tire — especially larger ones.
- Panfish (bluegill, crappie): Small fighters that come in quickly. The danger is over-setting the hook or breaking light line with too much force.
- Trout: Moderate fighters with occasional runs. Delicate mouths — use gentler hook sets.
- Walleye: Surprisingly strong for their size. Make deep, sustained runs. Moderate fight duration.
Gear That Matters
Your gear directly affects how you set hooks and fight fish:
- Rod power: Medium or medium-light rods are most versatile for beginners. Match rod power to your expected fish size.
- Spinning reels with smooth drag: Ensure the drag adjusts smoothly and doesn’t grab. Test it before you fish.
- Line type matters: Monofilament has natural stretch, which acts as a shock absorber during hook sets. Braid has zero stretch, so you need to be more careful with pressure. Fluorocarbon is in between.
- Sharp hooks: Dull hooks require more force and are more likely to pull free. Replace hooks regularly.
Putting It All Together
Here’s the complete sequence, from bite to landing:
- Feel or see the bite — wait for the fish to commit (half-second pause).
- Sweep the rod — firm, controlled arc at roughly 45 degrees.
- Feel the hook set — heavy weight, bent rod, tight line.
- Expect the first run — let the drag work. Don’t reel against it.
- Play the fish — reel steady, let run, repeat. Keep the rod bent.
- Wait for fatigue — don’t rush the final approach.
- Guide to the net — head first, net ready in the water.
- Unhook and release — wet hands, pliers, minimal air time.
Every fish you land is practice. Every fish you lose is a lesson. Over time, this sequence becomes muscle memory, and your keeper rate climbs dramatically.
If you’re still working on the basics of getting on the water, Beginner Fishing 101 covers gear setup, knots, and your first cast so you can focus on these hook-setting techniques right away.
Note: Hook-setting force and drag settings vary by species, line type, and conditions. The guidance here reflects standard freshwater fishing practices for common species like bass, catfish, panfish, and trout. Always adjust for your specific situation.