
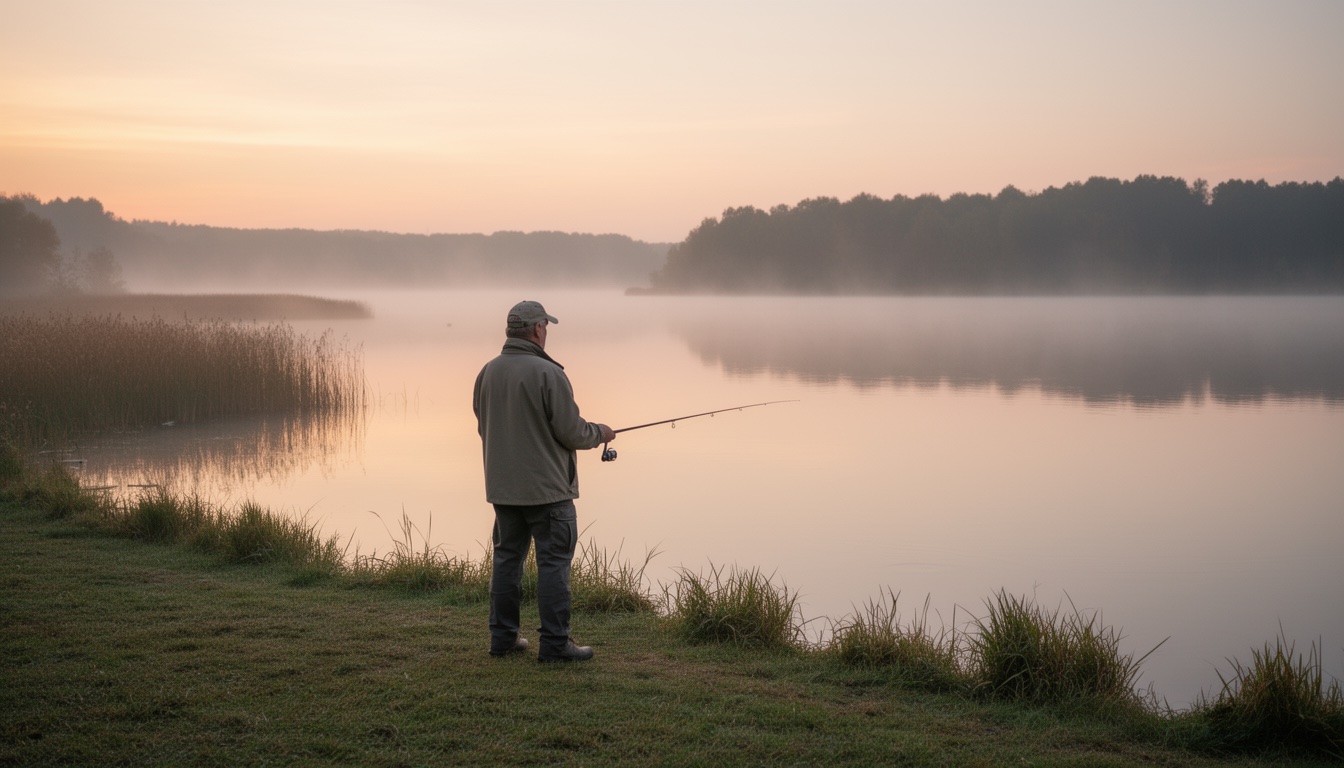
You bought the rod. You tied on a line. And now you’re standing in your driveway wondering where you’re actually supposed to go. That’s the part nobody warns you about. Getting the gear was the easy step. Finding a place you’re legally allowed to cast, close to home, is a whole different problem.
If you don’t have a family fishing tradition or a local who “knows a good spot,” it can feel like you need to ask permission just to look at a lake. You don’t. There’s a repeatable way to find public fishing water near you, and after a couple of trips it starts to feel obvious in hindsight.
The goal here is simple: get you to a legal, public spot you can actually reach, without wasting a weekend driving to the wrong shore.
Step 1 — Pick the Type of Water You Want
Before you open any app, decide what kind of water you want to fish. That one choice shapes everything that comes after.
Ask yourself three things:
- Bank or boat? If you’re just starting, bank fishing (from a shore, dock, or riverbank) is the easiest. No boat, trailer, or fuel required. If you’d rather get out on open water, you’ll need a boat, a kayak, or at least a public boat ramp.
- Still or moving water? Ponds and lakes are forgiving for first fish. The water is calm, the fish are usually less wary, and you can see exactly where you’re casting. Rivers and creeks are a step more technical, but they hold different species and feel completely different to fish.
- What do you want to catch? Different waters hold different fish. A local pond might be stocked with bass or catfish. A slow creek might be full of panfish. Knowing your target species helps you pick the right water.
For a true beginner, a nearby public pond or a slow, shallow river is usually the best first target. It’s closer to home, easier to reach on foot, and more forgiving when you make the mistakes everyone makes early on. If casting from a shore is new to you, our bank fishing guide for beginners covers the setup and technique you’ll want on day one.
Step 2 — Use Three Free Tools to Find Spots
Once you know what you’re after, you actually have to find it. You don’t need a paid membership or an insider’s contact. Three free tools cover most of what a beginner needs.
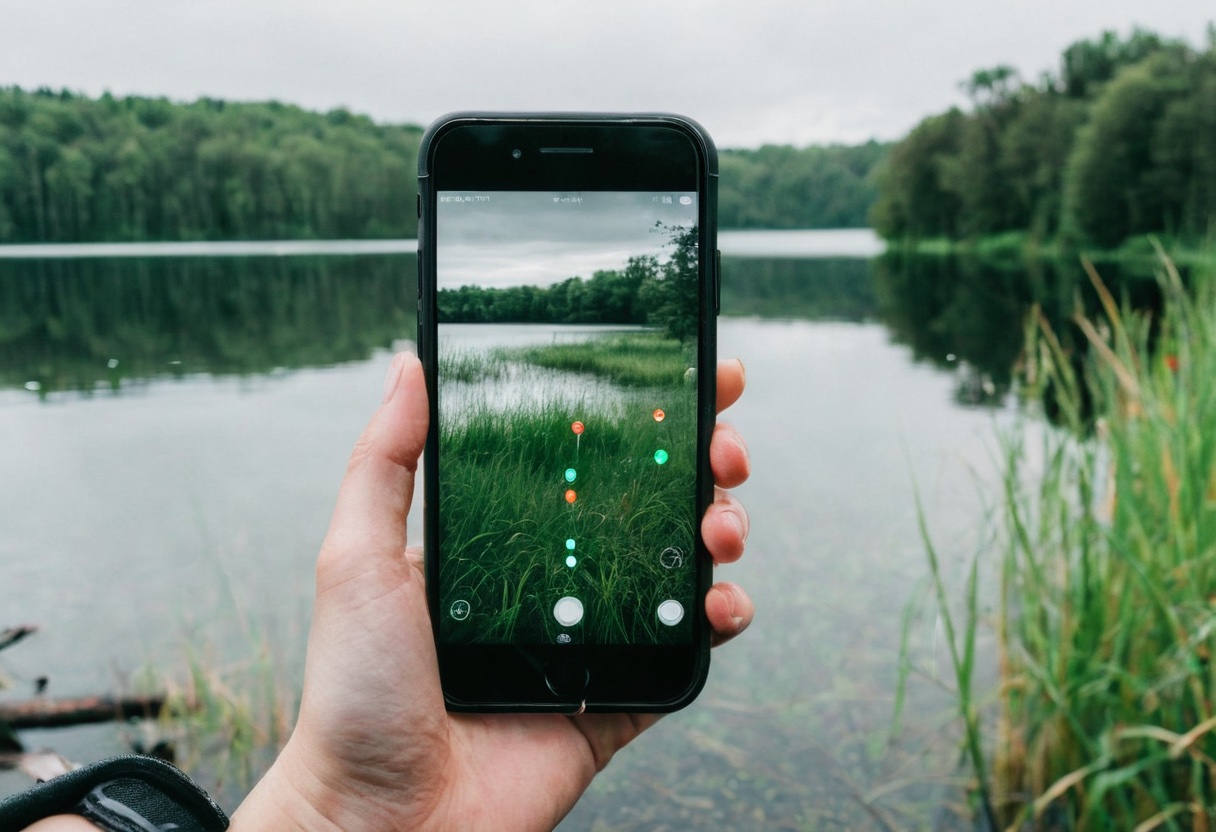
1. A map app (Google Maps, Apple Maps, or similar). This is where you start. Search your area and look at the bodies of water — ponds, lakes, rivers, creeks. Here’s a trick most people miss: switch to satellite view. Small ponds and hidden water in the woods often don’t show up in the regular map view, but they pop right out in satellite mode. A map tells you where water is, though, not whether you can fish it. That’s the next step.
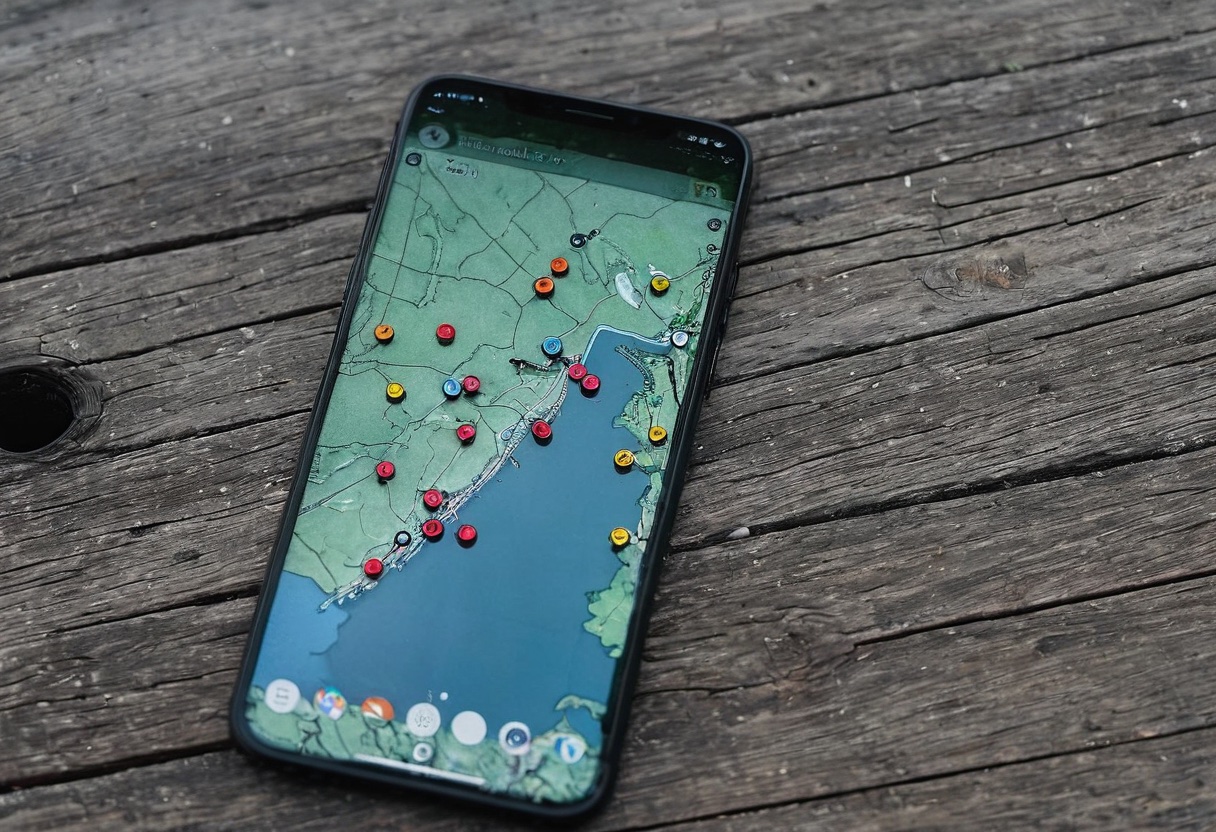
2. A community catch app (like FishBrain). These apps crowdsource where people are actually catching fish. You’ll see markers for nearby waters, recent catch photos, what bait or lure worked, and even the weather at the time. Tap a marker and you can often get the exact waypoint. For a beginner, this is the answer to “is anyone actually catching fish here, and what are they using?” in a single tap. The free tier is plenty to start with.
3. Your state’s fish and wildlife agency website or app. Every state publishes official lists of public fishing access, public boat ramps, stocking schedules, and current regulations. This is the authoritative source. If you want to know what’s legally open, what fish are being stocked where, and what the limits are, this is where you look. It’s free, it’s official, and it’s the one source to trust above the rest.
The three work together. The map shows you the water, the catch app tells you if it’s productive, and your state agency confirms it’s legal to fish. Nothing replaces being on the water, but these tools keep you from guessing in the dark.
Step 3 — Confirm It’s Legal Before You Cast
This is the step that separates a good first trip from an awkward one. A pond can look completely public from the road and still sit on private land. Water access and fishing rules vary from state to state, and getting it wrong can mean trespassing, a fine, or at best an uncomfortable conversation.
Before you set up at any spot, run these three checks:
- Land ownership. Is the shore you want to stand on public land or private land? A lake can be open water while the banks around it are fenced private property. Tools with land-ownership map layers (or a quick check of your state agency’s access list) show you where the public boundary actually is. If the access runs through a private drive or across a private yard, you’ll need permission — and it’s always fine to knock and ask.
- Your state’s access law for that water type. Some states give the public the right to wade certain rivers. Others don’t. High water marks, private shorelines, and local rules can all limit where you’re allowed to be. Your state fish and wildlife site is the place to read the actual rules for the type of water you’re targeting.
- Licensing and local permits. Most states require a fishing license, and some waters have special local permits or seasonal closures. If you’re not sure what you need, our fishing license and regulations guide for beginners walks through getting licensed and what the rules typically cover.
A good rule of thumb: when in doubt, ask. A bait shop, a state ranger, or a local angler can confirm in two minutes what a map can’t. That’s faster than driving twenty minutes only to be told you can’t be there.
Step 4 — Scout the Spot When You Arrive
You’ve found a legal public spot and you’re parked. Now you read the water. This is where you turn “there’s a lake” into “here’s where the fish are likely to be.”
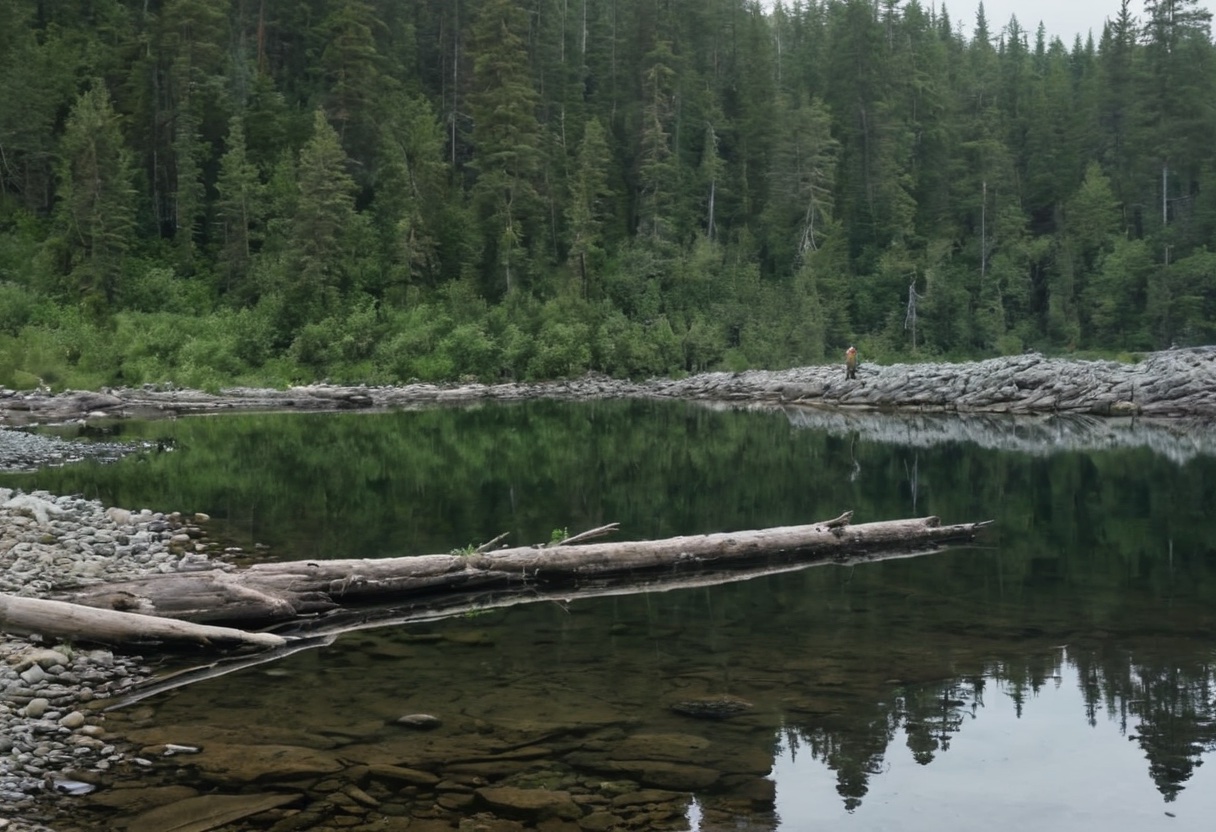
Look for structure and cover. Fish typically hold near something — a dock, a rocky point, a fallen log, a patch of vegetation, a drop-off, or the shadow of a bank. These give them shelter and a place to ambush bait. Scan the shore and the water’s edge, and you’ll usually find a few obvious candidates.
Watch for signs of fish activity too. Birds working the surface, a ripple or boil, or fish holding in a current seam can all point you toward where the action is. On moving water especially, the spots where the current slows down or changes direction are where fish tend to rest and feed. If you’re fishing a creek or spring-fed river, our creek and spring fishing guide breaks down exactly how to read those seams and eddies.
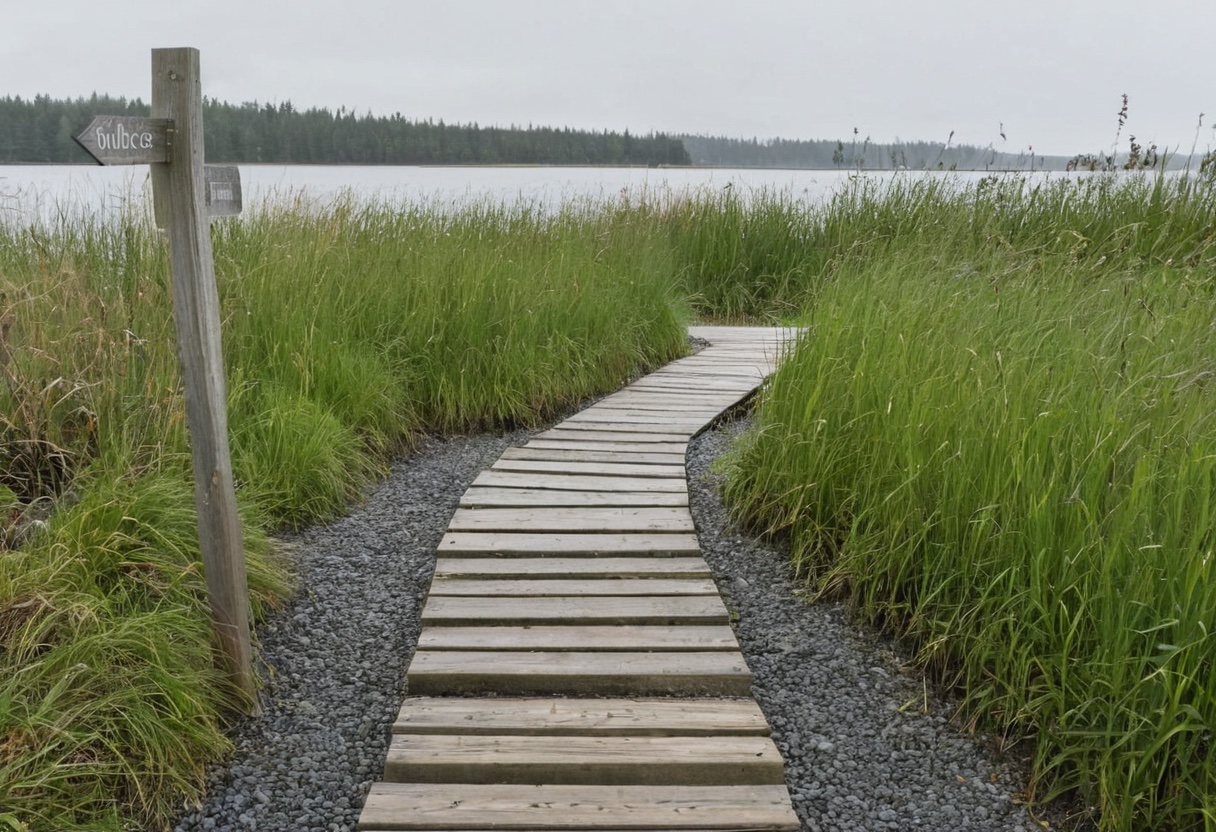
Finally, check your access and safety. Can you comfortably reach the water without walking through someone’s yard or over unstable ground? Is there parking? Are there hazards — slick rocks, deep drop-offs, low-hanging branches? A great fishing spot you can’t safely or legally reach isn’t really a spot yet.
Build Your Own Personal Spot List
The real payoff of all this isn’t one good trip. It’s building a list of spots you can count on.
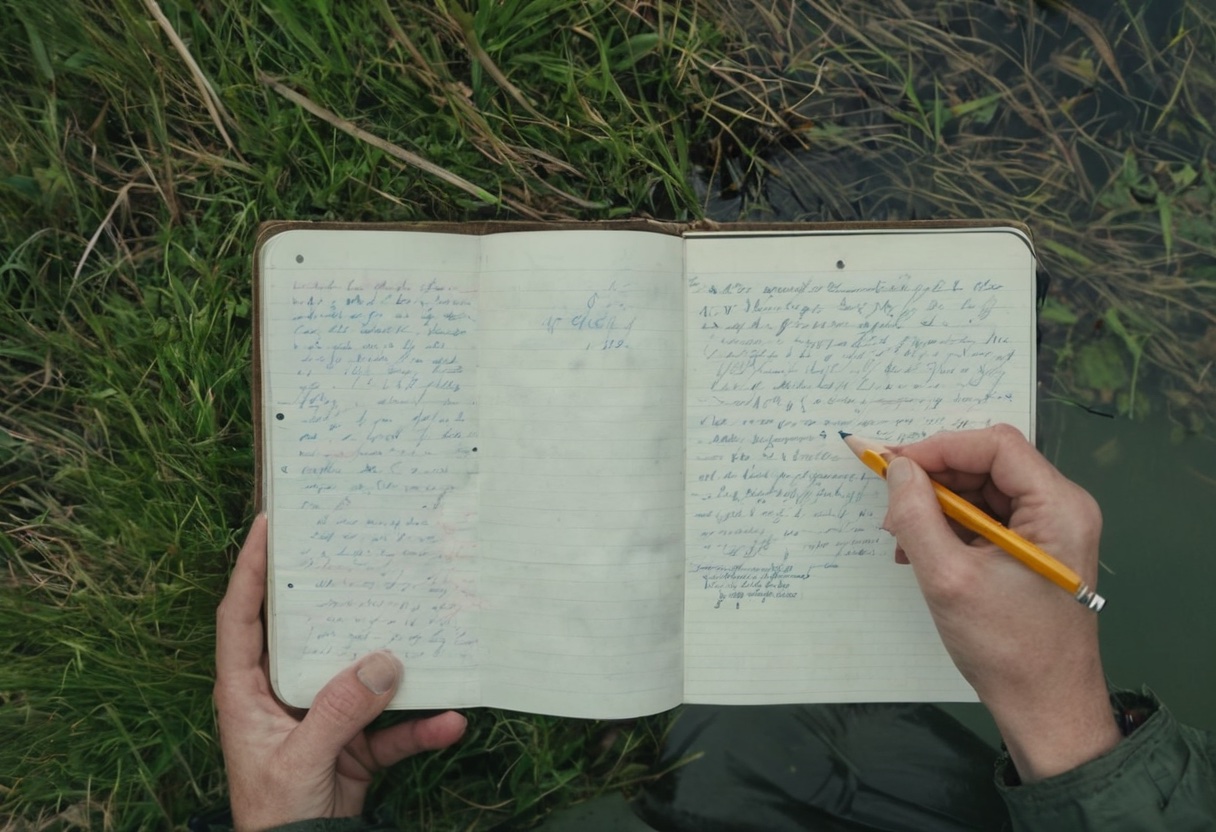
Keep a simple log. For each spot you fish, write down:
- Name and location. A short name and a map pin or waypoint so you can find it again.
- What you caught and what worked. Even “two small bass on a worm near the dock” is useful next time.
- Access notes. Where you parked, how you got to the water, and anything that made it easy or hard.
- Conditions. Time of day, weather, water level, season.
A handful of reliable local spots you know well beats chasing one “perfect” spot you’ve never visited. Over a few seasons, this personal list becomes the most valuable fishing resource you own — and it’s entirely your own.
Common Mistakes That Cost Beginners Their Spot
A few errors come up again and again, and all of them are easy to avoid:
- Assuming all water is public. It isn’t. Always confirm land ownership and access before you set up.
- Ignoring the state’s access rules. A legal pond in one state can be private property in another. Read the rules for your area.
- Parking on private land. Even if the water is public, the access road or parking might not be. Use marked public access.
- Driving farther than you need to. A productive public pond twenty minutes away makes a better first trip than a legendary river two hours away. Start close.
- Leaving a mess or ignoring conservation. Pack out your trash, follow size and bag limits, and handle fish gently. A good fishing community keeps the waters open for everyone — our fishing ethics and conservation guide covers the basics of being a responsible angler.
When you’re ready to head out, the whole process comes down to a simple checklist: pick your water type, use the three free tools to find a spot, confirm it’s legal, scout the water when you arrive, and log what you learn. Do that a few times, and “where do I even go?” stops being a question at all.