
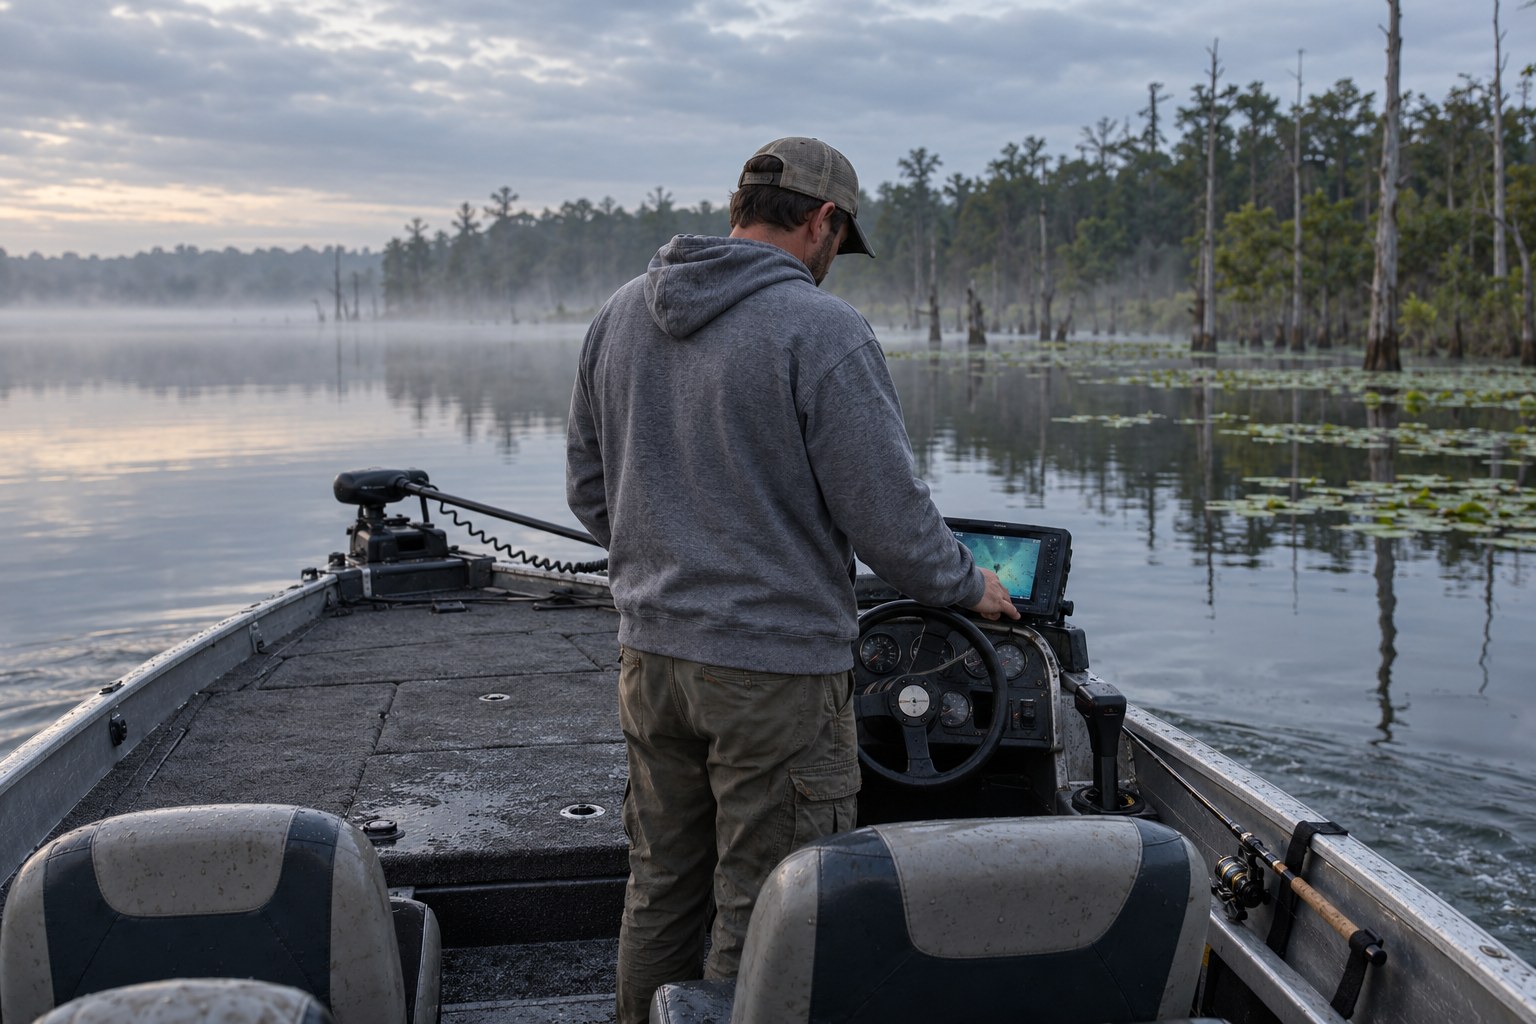
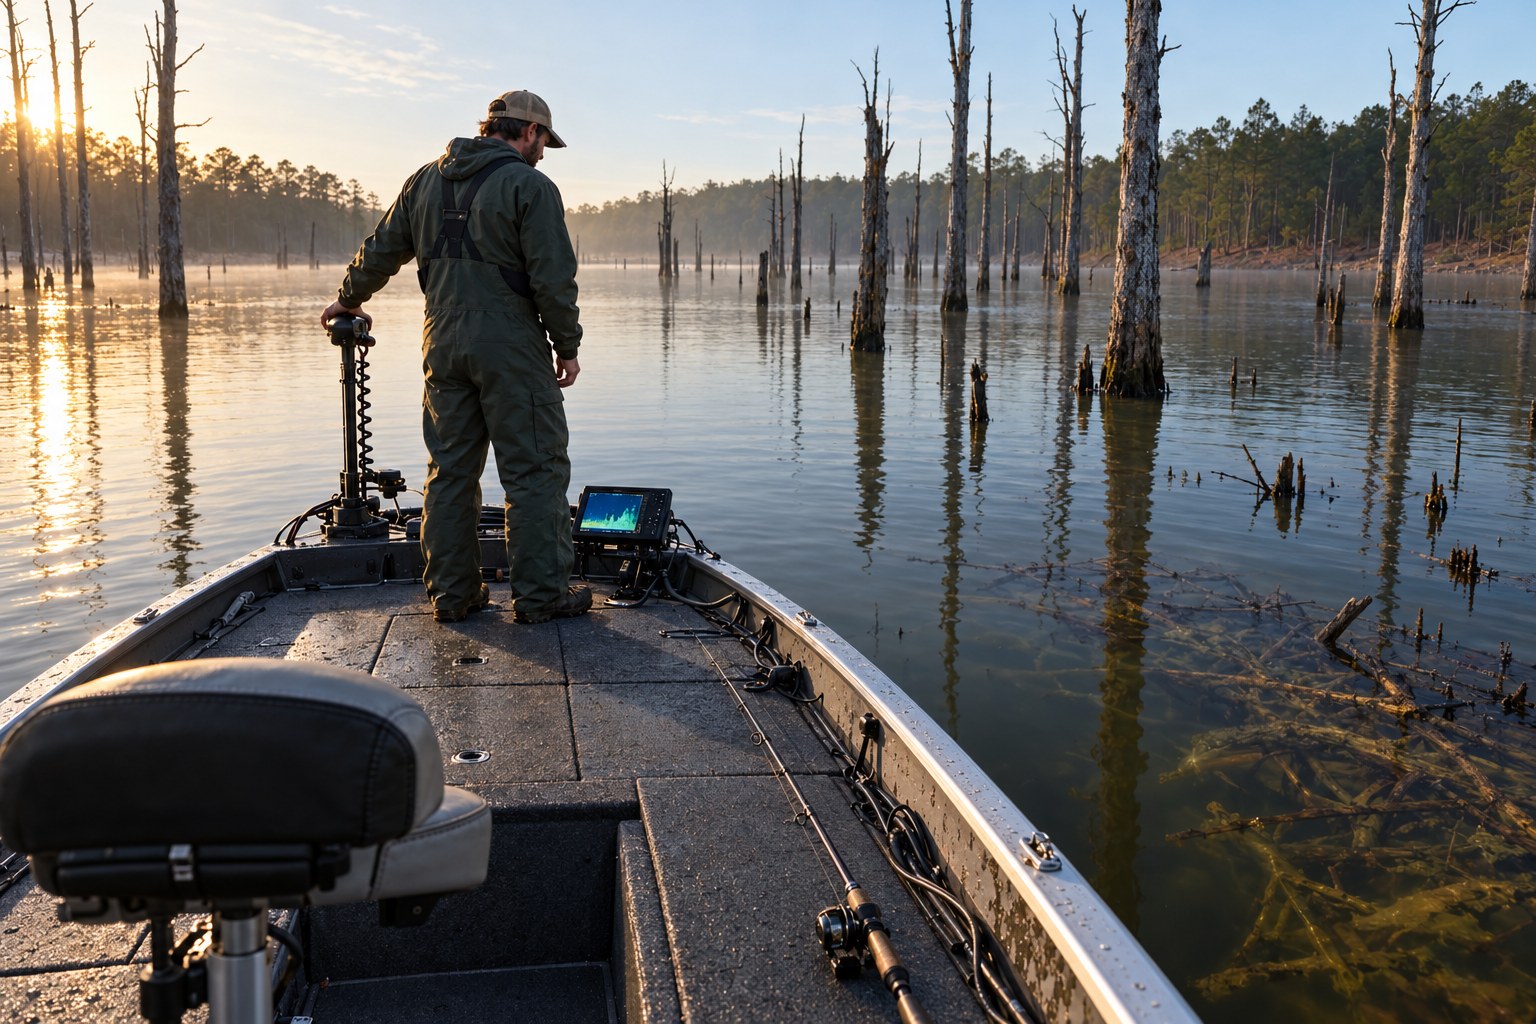
A screen full of amber smears, bright specks, and dark blobs — and no idea which one deserves a cast. So you idle. And idle. An hour of prime morning light goes into staring at a picture that might as well be static.
The unit usually isn’t the problem. Two different tools are stacked in the same display, and most anglers read them with one set of rules. Side imaging and down imaging don’t show you the same thing, don’t answer the same question, and don’t get tuned the same way.
Separate them and the screen stops being noise. It becomes a map you can act on: what kind of cover is down there, how tall it is, which side of it casts a shadow, and where to put your bait.
What Each Mode Is Actually Seeing
Down imaging fires one narrow, very high-frequency beam straight down from the transducer. The return is processed into something close to a photograph of the strip of bottom directly beneath your boat. That strip is typically 20 to 30 feet wide in freshwater depths, often less.
Side imaging fires two thin, fan-shaped beams out to the left and right. Each fan sweeps a long swath of lakebed, and depending on your transducer and frequency, that swath can reach from about 60 feet to well over 100 feet to each side.
Down imaging answers “what is right under me.” Side imaging answers “what is out there beside me.”
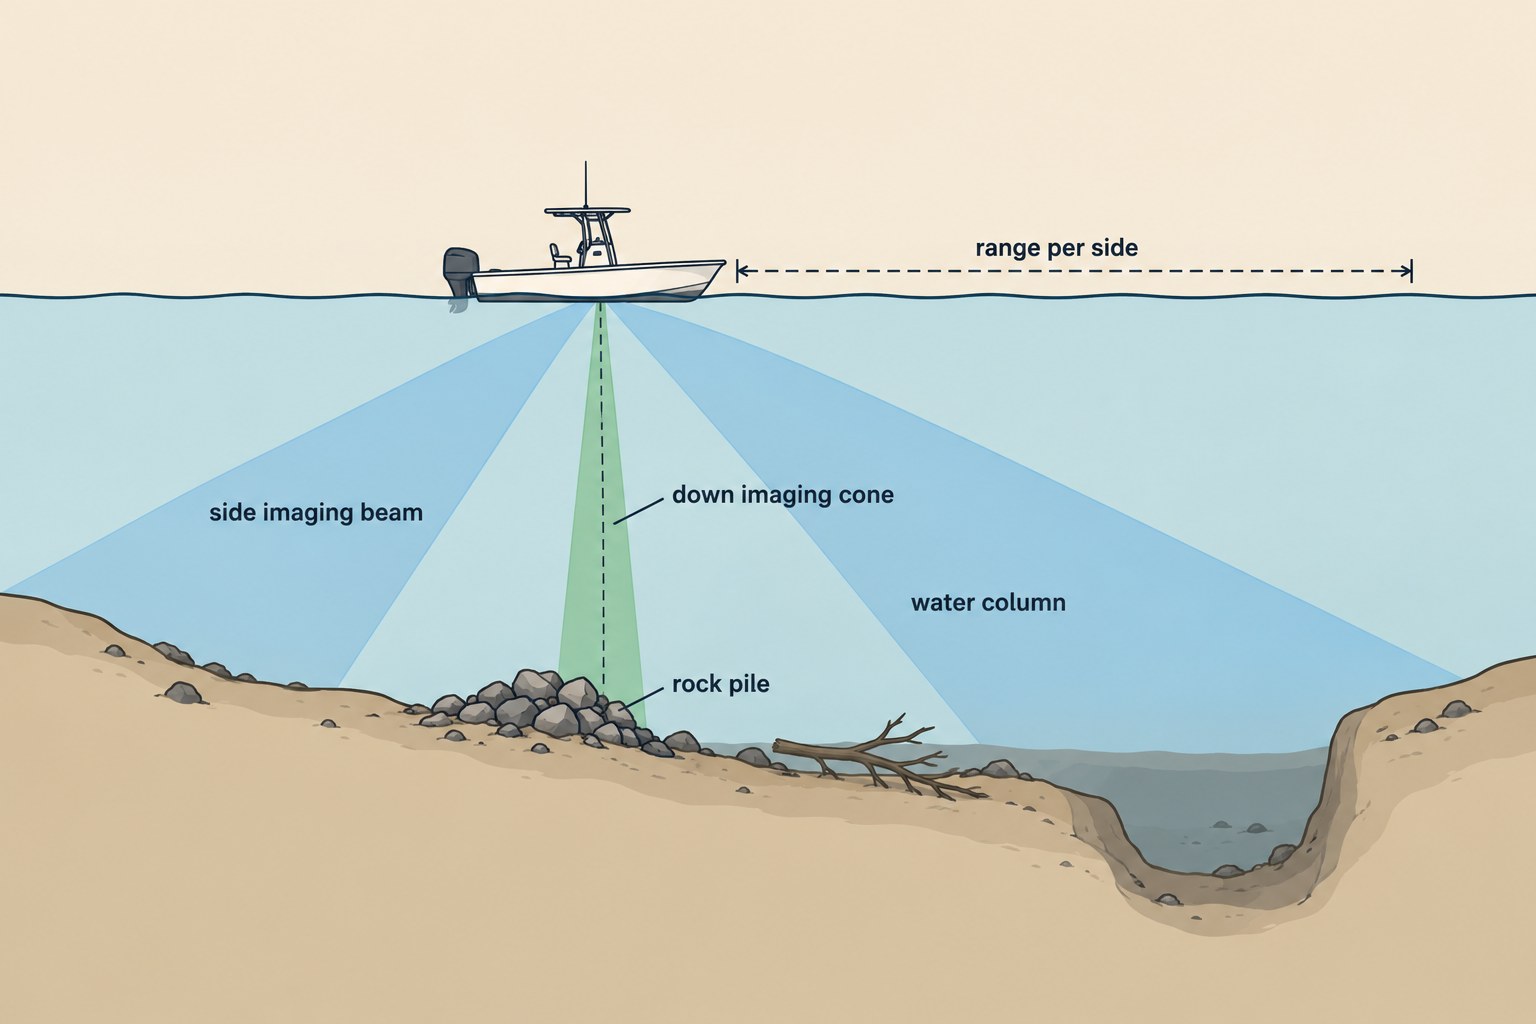
That difference has a hard consequence. Side imaging is essentially blind directly beneath the hull — the center of the screen is a dead zone of water column, not a picture of the bottom under you. Down imaging can’t see anything a boat-length to the side.
So the modes aren’t competing. Side imaging is a search tool: it covers water fast and finds candidates. Down imaging is a confirmation tool: it shows you what the candidate actually is once you’re on top of it.
One more thing before you touch a setting. Nearly every unit sold with side imaging also includes down imaging. Manufacturer naming is the only real difference — Humminbird calls them Side Imaging and Down Imaging, Garmin uses SideVü and ClearVü, Lowrance uses SideScan and DownScan. The physics underneath is the same.
How to Read a Side-Imaging Screen Without Getting Lost
Side imaging confuses people mostly because it doesn’t scroll the way sonar normally does.
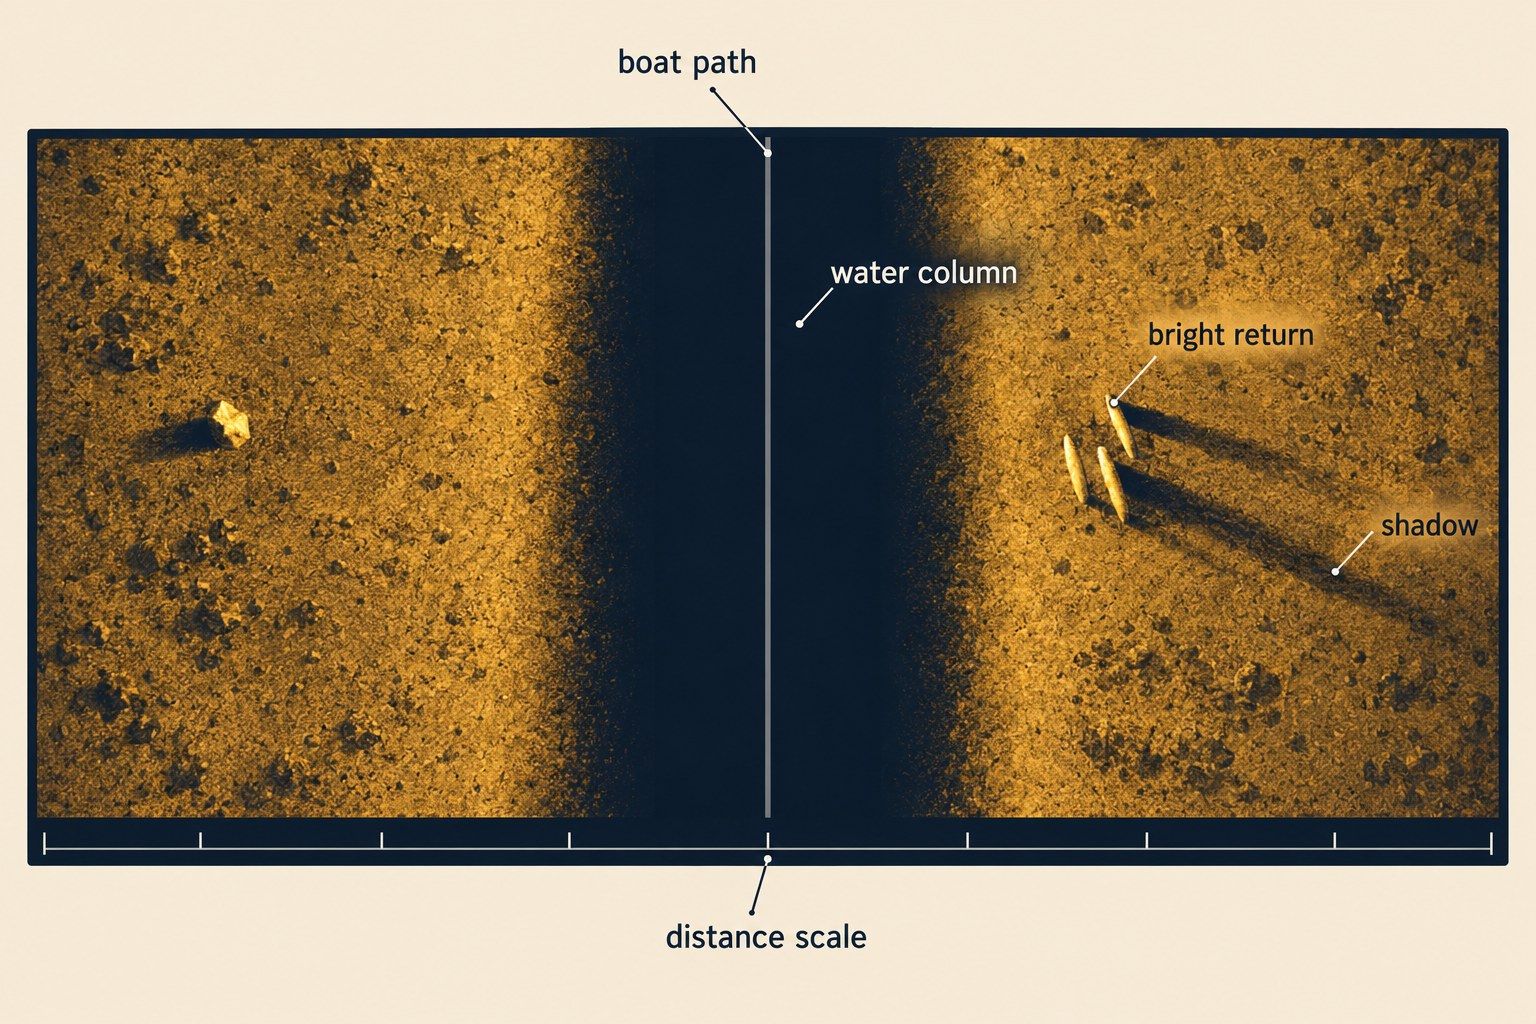
Standard 2D sonar scrolls right to left: the newest thing you passed shows up on the right and slides left as history. Side imaging runs top to bottom. Newest data is at the top of the screen at your boat’s position, and everything you’ve already passed slides toward the bottom.
The center of the screen is a vertical line — your boat’s path. The dark band running down either side of that line is the water column under and immediately beside the hull. Deeper water means a wider dark band, because there’s more water between the transducer and the bottom.
From there, read four cues.
Distance. The scale along the top or bottom of the display tells you how far out each side reaches. Set it to 60 feet and the outer edge of the image sits 60 feet from your transducer, minus your depth — in 15 feet of water, that’s about 45 feet of actual bottom per side.
Brightness. Hard returns show up bright: rock, concrete, metal, packed shell, dense wood. Soft bottom and vegetation come back dark. Bright doesn’t automatically mean good — it means something dense is there.
Shadow. This cue carries the most information, and it’s the one beginners skip. The side beam behaves like a flashlight pointed sideways: when it hits something tall, that object blocks the beam and casts a dark shadow on the far side, away from your boat. A long, clean shadow means a tall object. Short and stubby means low relief. Crisp shadow edges suggest hard material; soft, blurry edges suggest vegetation or silt.
Shape. Bass-holding cover has signatures. Grass beds read like cotton candy — soft and fibrous, with visible pockets and cuts. Rock piles read as crisp bright blobs with hard shadows. Laydowns and standing timber read as bright linear streaks with long, straight shadows that show which direction the trunk points. A steep channel edge returns abruptly dark, because the beam can’t see down the face of the drop.
Two limits worth stating plainly. Anything behind a tall object hides in its shadow — a big bass tucked behind the back side of a boulder or under the far limbs of a brush pile may never appear. And the picture is always slightly behind you; the faster you idle, the further back the image represents.
That second limit drives the practical rule: side imaging is an idling tool. Run it at displacement speed on a straight heading. Turns smear the image, because slices on the outside of the turn spread apart while slices on the inside overlap.
How to Read Down Imaging in the Same Ten Seconds
Flip to down imaging and the rules change, but the reading gets faster.
Fish show up as arcs. Baitfish show up as a soft, wispy cloud. Hard cover — rock, timber, riprap, man-made structure — shows up brighter than the soft bottom around it. Grass that reads like cotton candy on side imaging shows as vertical lines on down imaging, which is a genuinely useful way to tell weed from wood when returns are ambiguous.
The biggest advantage is separation. When fish scatter among rocks or pack tight to a piece of cover, the narrow high-frequency beam cuts through and shows individual marks that standard 2D sonar reads as one undefined blob. The same holds inside a bait cloud: 2D shows a washed-out mass, while down imaging can reveal the larger fish sitting in it, and sometimes the size and type of bait they’re eating.
Down imaging has its own blind spot, and it’s the mirror of side imaging’s. The cone is narrow. Miss a piece of cover laterally by a few feet and you get nothing — no partial image, no edge, just empty bottom. That’s exactly why the workflow runs one direction: side imaging finds the target, down imaging confirms it.
One perspective trick is worth practicing. Side imaging flattens things. A standing tree lying at an angle can look fallen flat on the lakebed in side view. Running over it with down imaging restores the vertical view and shows whether it’s actually standing, leaning, or truly down.
The Settings That Actually Change What You See
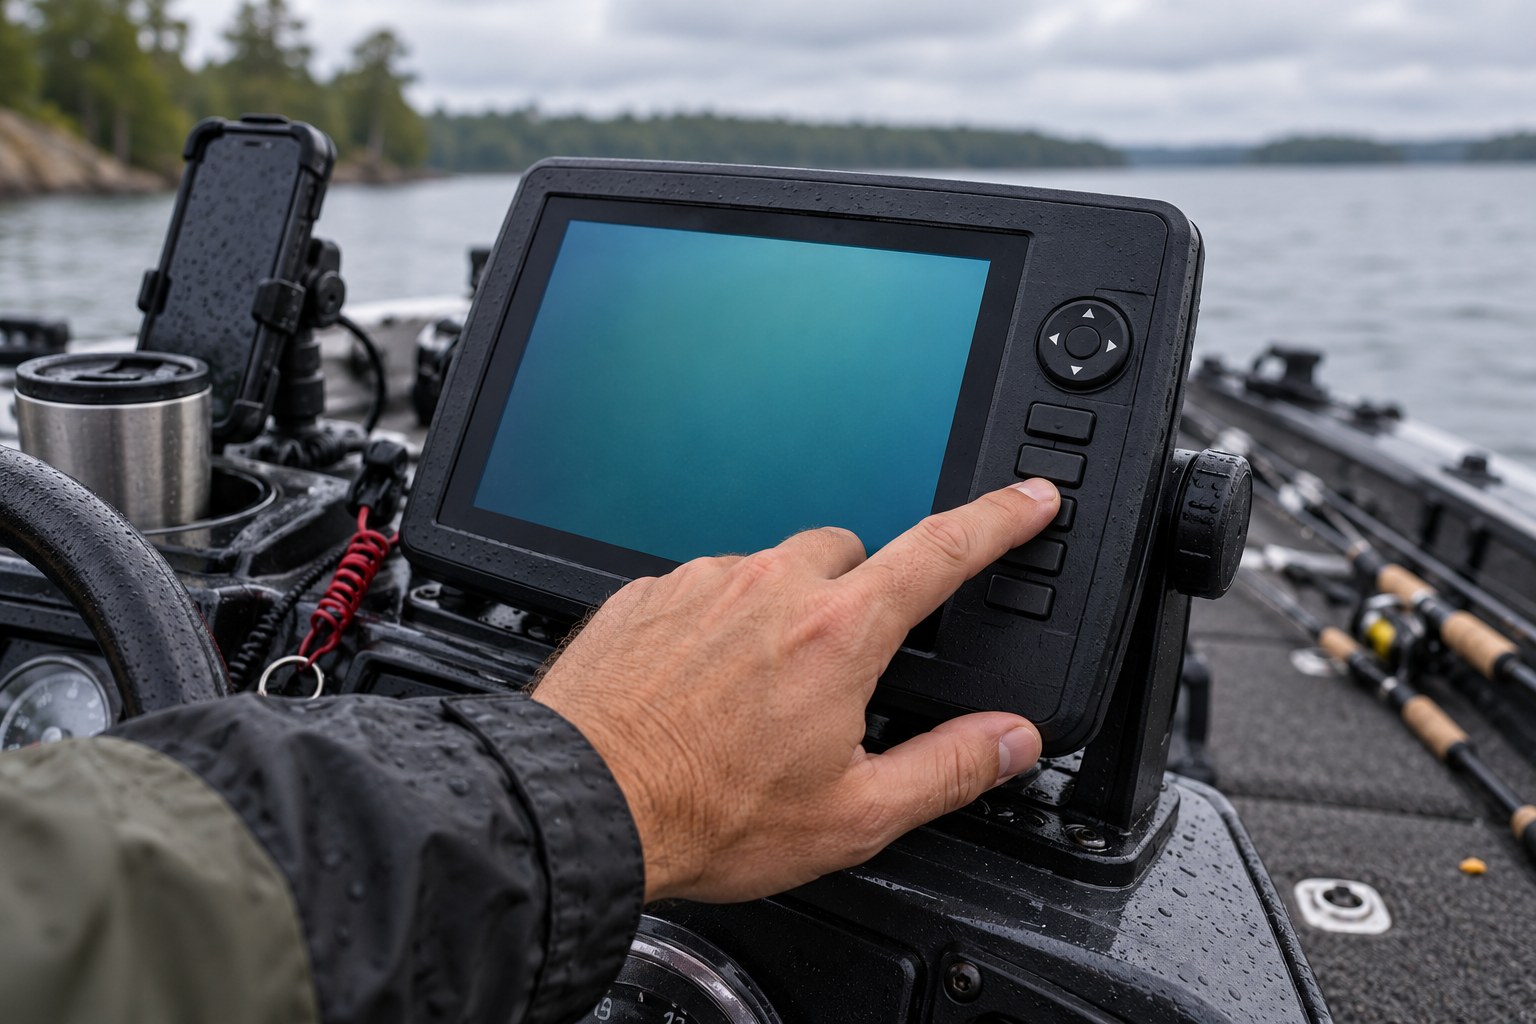
Most unreadable screens are a settings problem, not a hardware problem. Four adjustments matter more than the rest.
Range. Narrow range means detail; wide range means coverage. In roughly 20 feet of water, 40 to 50 feet per side gives you a readable picture. Past about 100 feet per side the image thins out and loses definition. If your screen is mostly black with a thin band of color at the edges, your range is too wide for the depth — bring it in.
Frequency. Side imaging typically runs at 455 kHz, 800 kHz, or a high-frequency mode like 1.2 MHz. Lower frequency travels farther and reads more evenly across the whole swath, which makes it the friendlier default. Higher frequency sharpens edges and shadows but fades at range, and dense returns can look dark and muddy. High-frequency imaging shines in shallow to medium water — roughly under 60 feet — with the most usable detail typically around 75 to 90 feet per side.
Sensitivity and contrast. Raise sensitivity until faint returns appear, then stop. Over-gained screens turn into static, and static hides real targets. Contrast is what makes shadows readable, so tune it against a known object rather than in open water.
Chart speed. Match it to boat speed so the picture isn’t stretched or compressed. Inconsistent speed produces an inconsistent image, and you’ll blame the unit for a problem the throttle caused.
Then there’s installation, which quietly ruins more imaging than any menu setting. The transducer needs clean water flow, no air bubbles across the face, and wiring routed away from power cables. A poorly mounted transducer produces a picture that looks exactly like an angler who doesn’t know what they’re looking at.
A Three-Pass Search Pattern That Ends With a Cast
Reading a screen is only worth the effort if it produces decisions. Here’s a process that works on unfamiliar water.
Pass 1 — map it wide. Idle long, straight transects with side imaging set wide, around 60 to 100 feet per side. You’re not fishing yet, you’re cataloging: where the rock clusters sit, where the timber line runs, where bottom composition changes, where the contour breaks. Drop a waypoint on every edge and shadow tip you’d want to revisit. Edges matter more than centers, because that’s where ambush positions form.
Pass 2 — tighten and cross it. Return to a waypoint and run past it again at a tighter range, around 40 feet per side, on a different heading. A second angle reveals what a single pass can’t: cavities in a rock pile, overhangs under a bank, which side of a laydown has open water against it. If the object is a cluster rather than a single piece, this pass is where the individual pieces separate.
Pass 3 — verify from directly above. Now run straight over it with down imaging and split the screen with 2D sonar. This confirms material — rock versus wood versus metal — and shows how fish are positioned relative to the cover. Tight to the base, suspended off the side, or scattered? That answer decides your presentation.
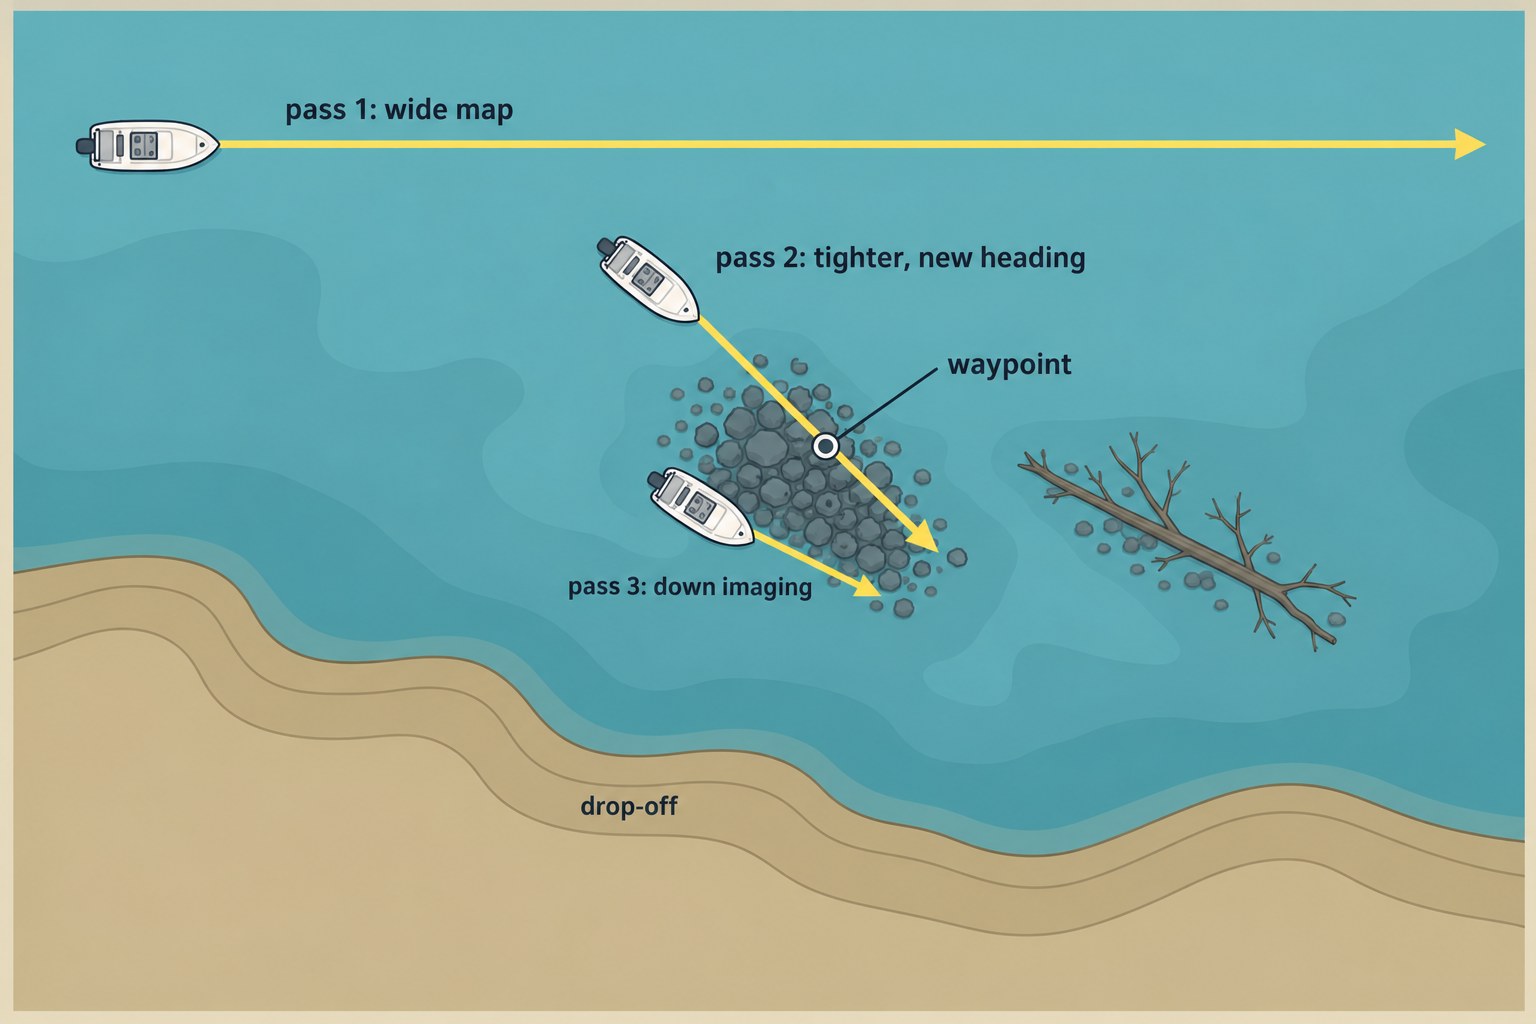
Then fish it — and fish the right part. Cast to the edge, the shadow line, or the open water against the cover, not the middle of the bright blob. On side imaging, the shadow side of an object is where the beam was blocked, which often means it’s the deeper or more sheltered face.
When you find bait, pay attention. A bait cloud stacked on a point at a depth break is a far stronger signal than a single arc, because the whole food chain is set up there. Mark it and work it from the outside in.
This pattern is also how you beat pressured public water. During a mapping pass, use side imaging to hunt cover that isn’t sitting on the obvious community spot — isolated stumps out on a flat, a single boulder off the main point, a small rock cluster that doesn’t show on the map. Those are the pieces other boats idle past.
Mistakes That Make Imaging Useless
- Running the whole lake on one range setting and never re-passing anything.
- Expecting side imaging to show what’s directly under the boat, or expecting down imaging to find fish away from your path.
- Fishing the center of a return instead of the edge or the shadow line.
- Ignoring transducer height, prop wash, and hard turns, then blaming the unit.
- Reading a single arc as a trophy. Size off an imaging return is approximate at best.
- Never calibrating against cover you already know. Idle over a brush pile you sank or a dock you’ve fished a hundred times and learn what it looks like on your screen. That habit fixes most reading problems faster than any setting.
What to Look For If You’re Buying
You don’t have to choose between the two modes, because side imaging units include down imaging. The real decision is screen size and transducer quality.
Screen size comes first. Side imaging spreads a lot of information across a wide field, and a small display compresses it into something you can’t read at a glance. Transducer frequency is next — 455 kHz and 800 kHz units still do everything described here, while high-frequency imaging adds edge sharpness in shallow and mid-depth water.
What you shouldn’t do is buy for the label. Get the biggest, brightest screen your budget and console allow, confirm the unit includes both imaging modes, and put the leftover money into a proper transducer install.
Then spend the rest on water. The screen tells you where to look. The cast still catches the fish.
If you’re still sorting out the basics of the unit itself, start with basic fish finder setup before worrying about imaging interpretation. When you do find rock, the approach matters — fishing rock structure with a football jig covers how to work it. And none of this replaces reading the water before you ever turn the graph on, which remains the fastest way to narrow down where to idle in the first place.