
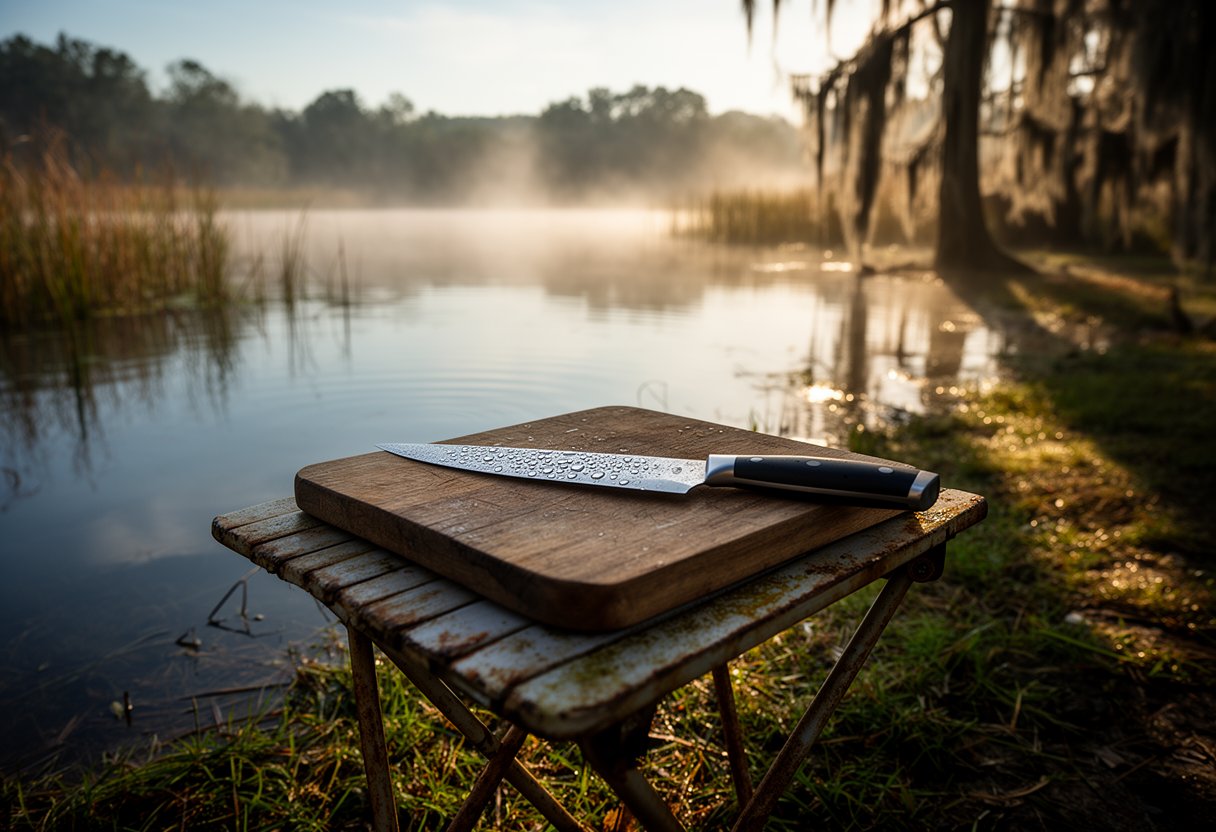
Why Cleaning Your Own Fish Matters
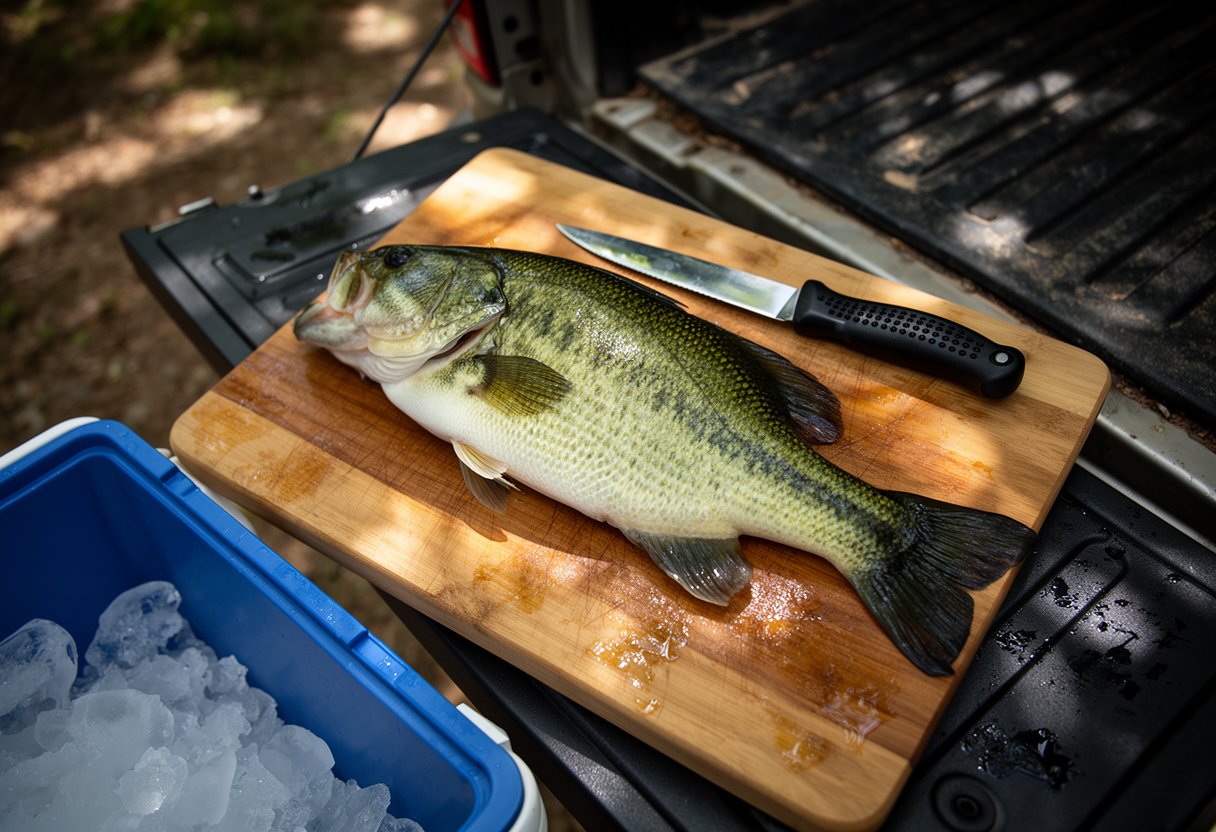
Fish quality starts dropping the minute you bring it in. In warm conditions, bacteria multiply fast, and the longer you wait, the more flavor and texture you lose. Cleaning your catch right away gives you the freshest meal possible — there’s no comparison between fish you clean yourself and something that sat on a store ice bed for two days.
There’s a food safety side to this too. The USDA recommends keeping fish at 40°F or below and cleaning it promptly to prevent bacterial growth. Leaving a fish warming in a boat live well for hours is asking for trouble — a bad meal at best.
Learning to clean your own fish also builds real confidence. You stop staring at the catch wondering “what now?” and start thinking about what you’re going to cook. Once you’ve mastered casting and landed your first fish, turning it into dinner is the next skill that matters — and our guide to casting for beginners covers everything you need to get that fish off the water in the first place.
What You Need: Fillet Knife and Setup
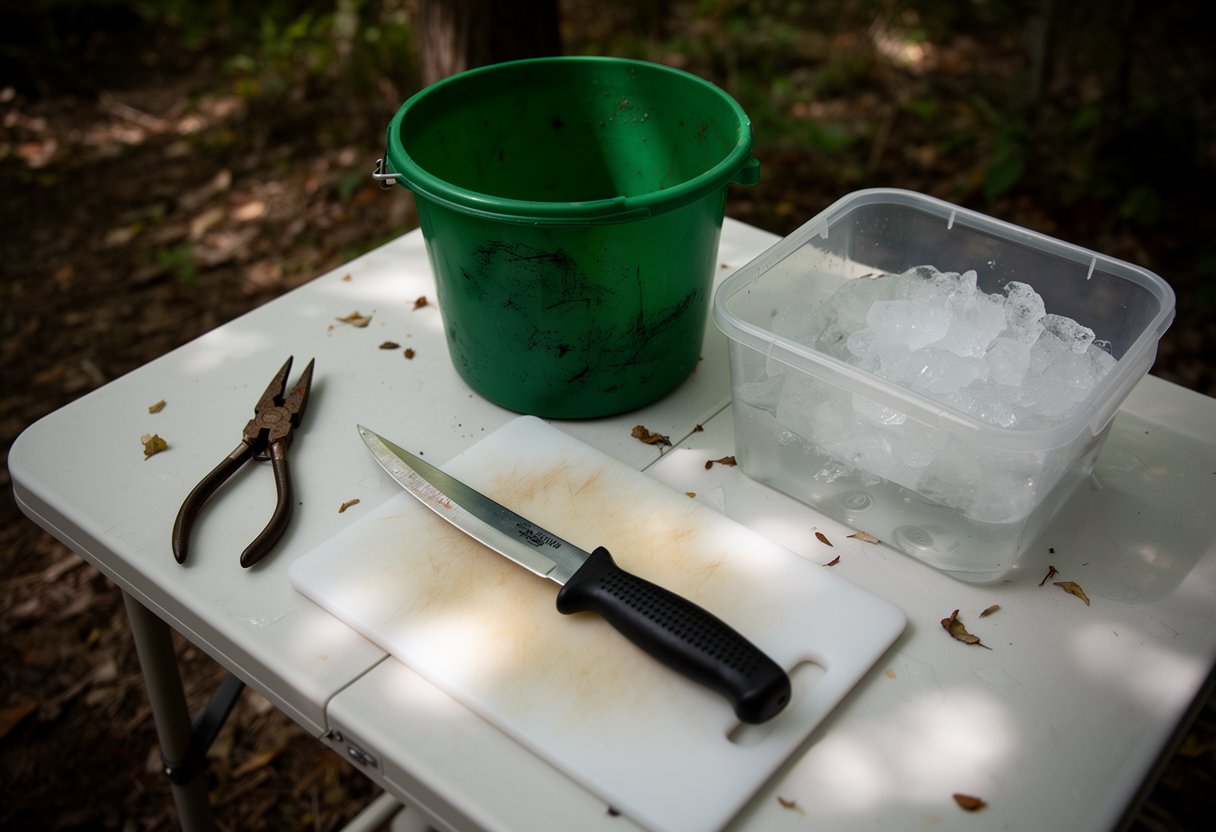
Your fillet knife is the most important tool in this whole process. It’s a thin, flexible blade designed to slice through fish flesh while sliding right along the bones. Three main types exist:
Flexible blades bend easily and handle most freshwater fish — bass, trout, panfish. They conform to the fish’s shape and let you follow the backbone closely.
Semi-flexible blades offer a middle ground. If you fish multiple species, these handle everything from small panfish to medium catfish.
Rigid blades barely flex at all. Better for large catfish or saltwater species with thick flesh.
For blade length, 6 to 7 inches covers most freshwater fish. Shorter blades work for panfish. Go 9 inches or longer if you’re after big catfish.
But sharpness matters more than length. A dull blade tears through flesh instead of slicing it, wasting meat and making the job harder. Pair it with a comfortable, non-slip handle — you’ll be working with wet hands on a slippery surface.
Beyond the knife, you’ll want a cutting board or clean surface, needle-nose pliers for pin bones, a waste bucket, and a cooler with ice. Set up on something flat and stable — a folding table or truck tailgate works fine. Wet the surface to keep the fish from sticking, and make sure you have decent light.
Step 1: Scaling the Fish
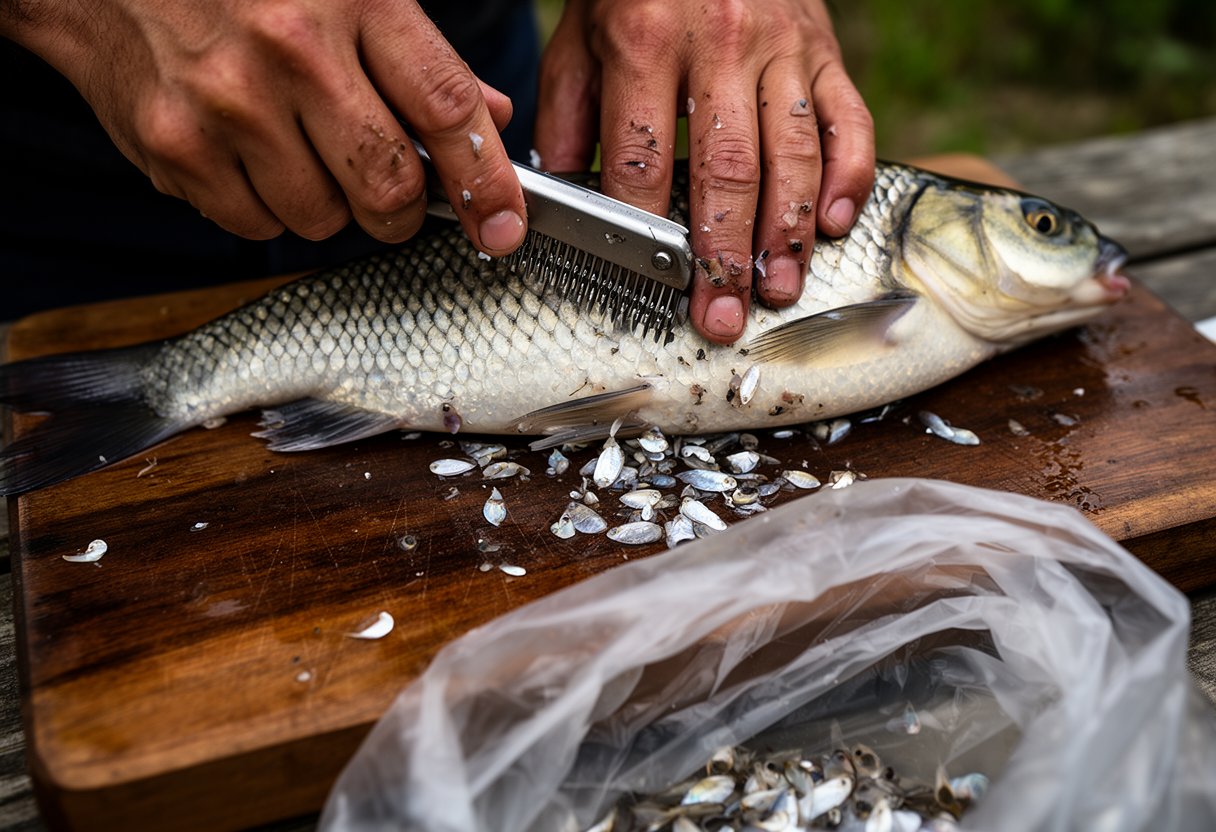
Not every fish needs scaling. Catfish have no scales at all. But for most freshwater species — bass, trout, crappie, perch — removing the scales is the first step.
Use a dedicated fish scaler, which is a handheld tool with a serrated edge, or simply use the back of your knife. Hold the fish firmly by the tail and work from tail toward head — always against the direction of the scales. Going with the grain does almost nothing; going against it pops the scales right off.
Scales fly everywhere. Work outdoors, or better yet, drop the fish in a bucket or plastic bag while you scale it to contain the mess. Some anglers do it right in the water, which keeps the scales from bouncing onto your boots.
You’ll know you’re done when your hand runs smooth along the body. Rough spots mean you missed an area. Quick note: some anglers skip scaling if they’re going to remove the skin during filleting anyway, since the scales come off with the skin. It saves time, though scaling first does make the fish easier to grip.
Step 2: Gutting the Fish
Gutting means removing the fish’s internal organs. It sounds worse than it actually is — and your knife naturally stops at the rib cage, so there’s very little risk of cutting too deep.
Start at the vent, just behind the tail fin base. Make a small incision and cut forward along the belly toward the head. The blade will hit the rib bones — stop there. You don’t need to go further.
Open the cavity and pull the innards out by hand. Rinse inside thoroughly with clean water — a hose, a bucket of lake water, whatever you’ve got. You want it clean in there.
Then remove the gills. Reach into the gill cavity on each side and pull the gill plates free. This matters: gills break down fast after death and can make the meat taste bitter. They also hold bacteria, so leaving them in is a food safety issue.
Keep the knife pointing away from you, and hold the fish steady with your free hand — never put your fingers in the blade’s path.
Step 3: Making the Fillet Cut
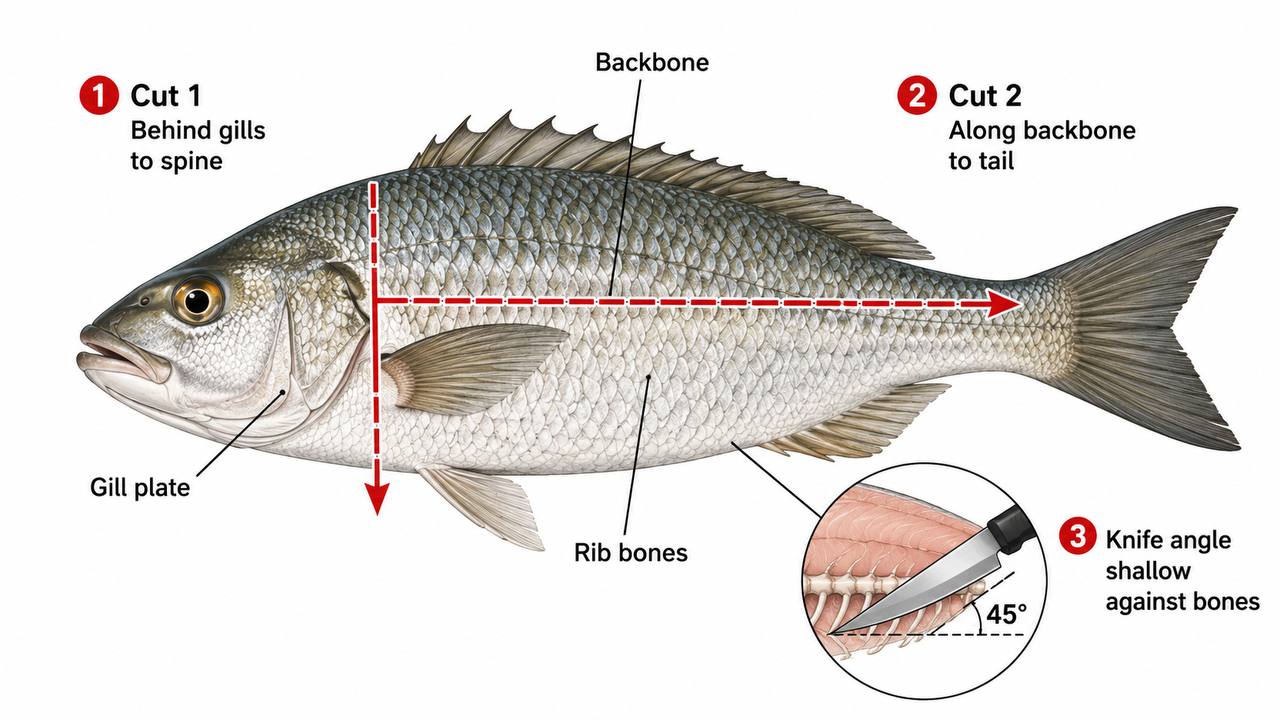
This is the main event — separating the meat from the bone structure. It feels awkward the first time, but the motion clicks after a couple fish. Just like tying your first knot, filleting has that moment where it suddenly makes sense, and our knot guide for beginners covers the same kind of learning curve.
First cut: Lay the fish belly-up on your board. Behind the gill plate and pectoral fin, cut straight down to the spine. You’ll feel the blade hit bone — that’s your endpoint.
Second cut: Rotate the knife so the blade runs parallel to the backbone. From that first cut, slice toward the tail with the blade pressed flat against the bones. Keep the angle shallow — the flatter the blade sits against the backbone, the more meat stays on the fillet.
As you approach the tail, you’ll hit the rib bones. Don’t fight them. Angle the knife slightly up and work over the top of each rib. You’ll feel the resistance change as the knife moves off bone and back into flesh.
The feel of the blade on bone tells you where you are. Steady resistance means backbone. Individual bumps are ribs. Take your time here — this is where beginners leave the most meat behind by cutting too deep.
When you reach the tail, the fillet should come free. Lift it away. Repeat on the other side.
Hold the fish steady with your free hand, positioned near the head end — well clear of the blade path.
Step 4: Removing Rib Bones and Pin Bones
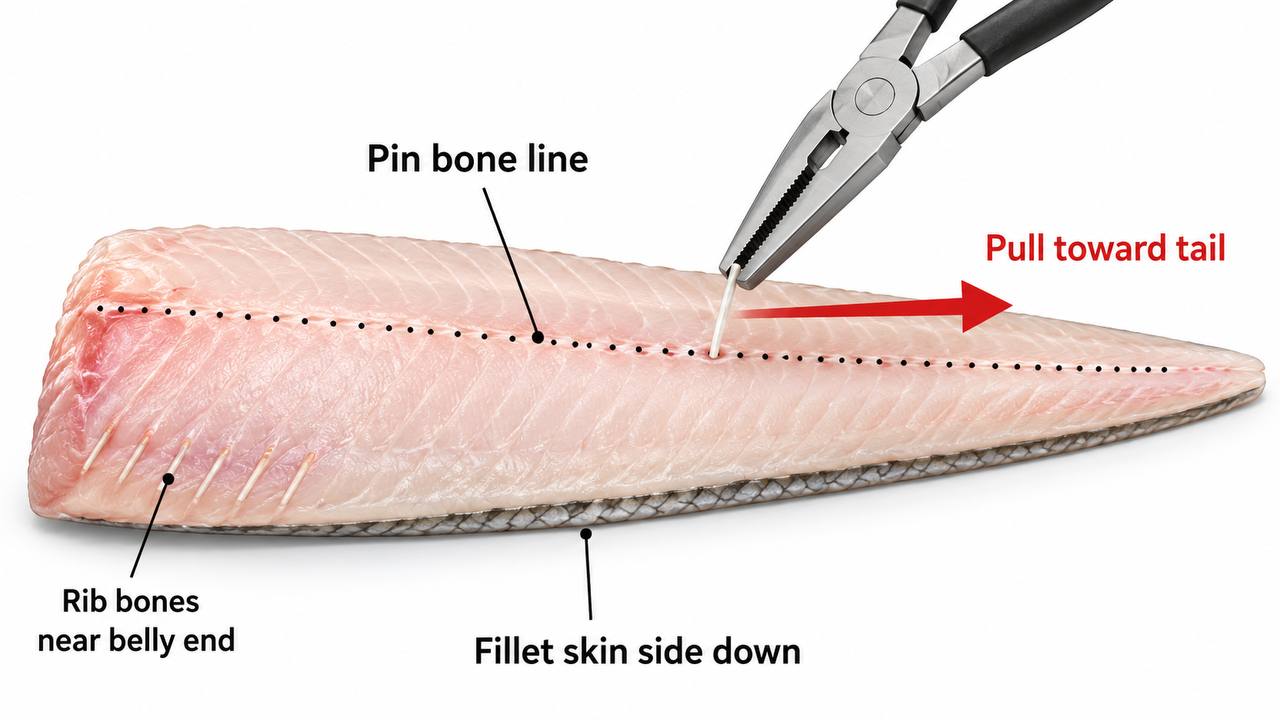
Two fillets in hand. Almost done. Two types of bone usually remain: rib bones and pin bones.
Rib bones are the larger cluster near the belly end. Angle your knife along where the ribs meet the flesh and slice them free. It’s a short diagonal cut — done in one motion.
Pin bones run along the center of the fillet — small, Y-shaped bones just under the surface. Finding a pin bone in your cooked fish is the number one complaint from beginners. Removing them takes about 30 seconds and makes the difference between “homemade” and restaurant-quality.
Run your fingertips along the center of the fillet. You’ll feel a subtle ridge — that’s the pin bone line. Grasp the first bone with needle-nose pliers or tweezers and pull at a slight angle toward the tail. Work down the line, one bone at a time.
For small panfish like bluegill or crappie, filleting usually isn’t worth it — the fillets are thin and you lose too much meat. Scaling and gutting them whole is typically the better call. Our panfish guide covers targeting these species if you haven’t tried them.
Species-Specific Tips
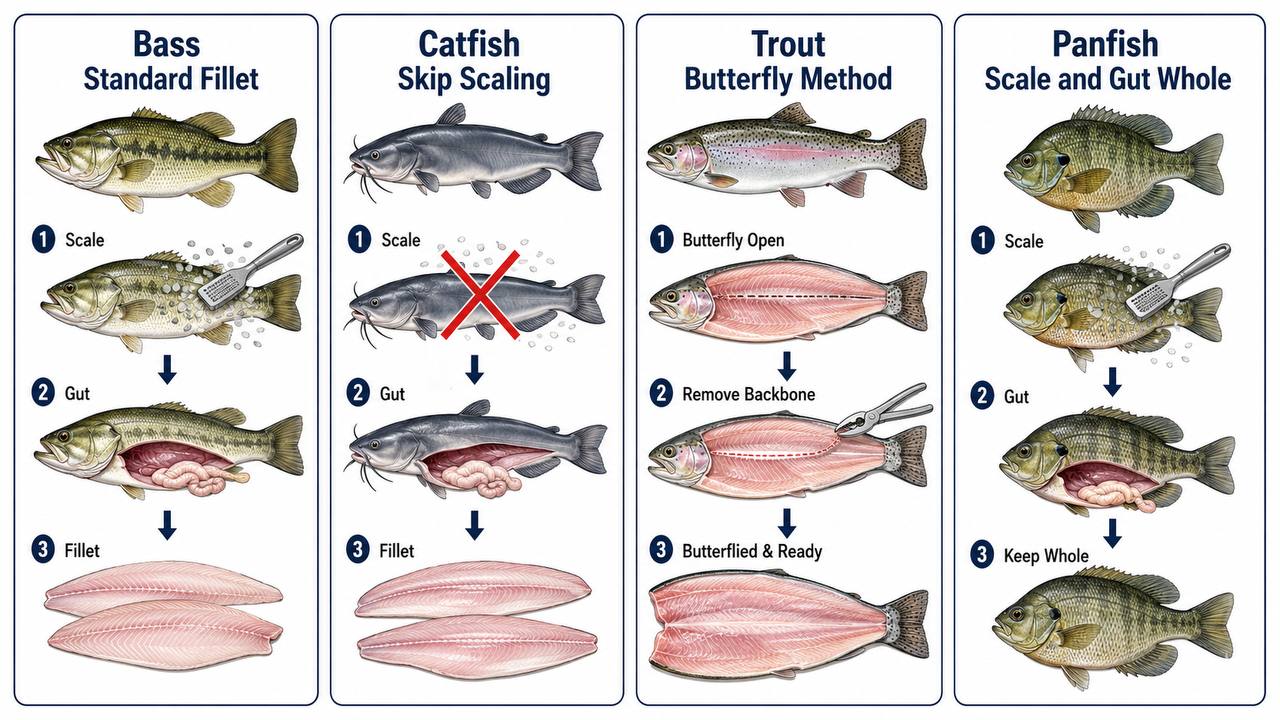
The fillet cut itself doesn’t change by species. What changes is the prep work before you start cutting.
Bass follow the standard process: scale, gut, fillet, debone. Master bass and you can fillet nearly anything.
Catfish have no scales, so you go straight to gutting and filleting. The skin is thicker, so a semi-flexible or slightly stiffer knife works better. The cutting motion is the same.
Trout are small enough that many anglers butterfly them instead — splitting open along the backbone, removing the spine, leaving two fillets connected by the belly. Simpler for beginners, and it cooks great.
Panfish (bluegill, crappie, perch) are best scaled and gutted whole. Filleting them wastes too much of a small fish. Depending on the season and your local waters, you might catch any of these, and our seasonal fishing guide breaks down what’s biting when.
Bottom line: the fillet cut is the same. Only the prep changes.
Keeping Your Fish Safe: Storage and Food Safety
Once the fillets are clean, get them cold. Ice immediately, or into a fridge at 40°F or below. Cold fish stays firmer, tastes better, and stays safer.
Use the fillets within one to two days for the best quality. Need to store longer? Freeze them in airtight bags with the air squeezed out. Frozen fillets hold up well for three to four months.
When you cook, the USDA recommends an internal temperature of 145°F. The flesh should flake easily with a fork and be opaque all the way through.
How to tell your fish is still good: clear eyes (if whole), firm flesh that springs back when pressed, and a clean, mild smell. Strong ammonia odor or slimy flesh means it’s past its prime.
After handling raw fish, wash your hands, knife, and cutting surface. Dry the fillet knife after use — a rusty blade is a dull blade.
Your First Fillet Gets Easier Every Time
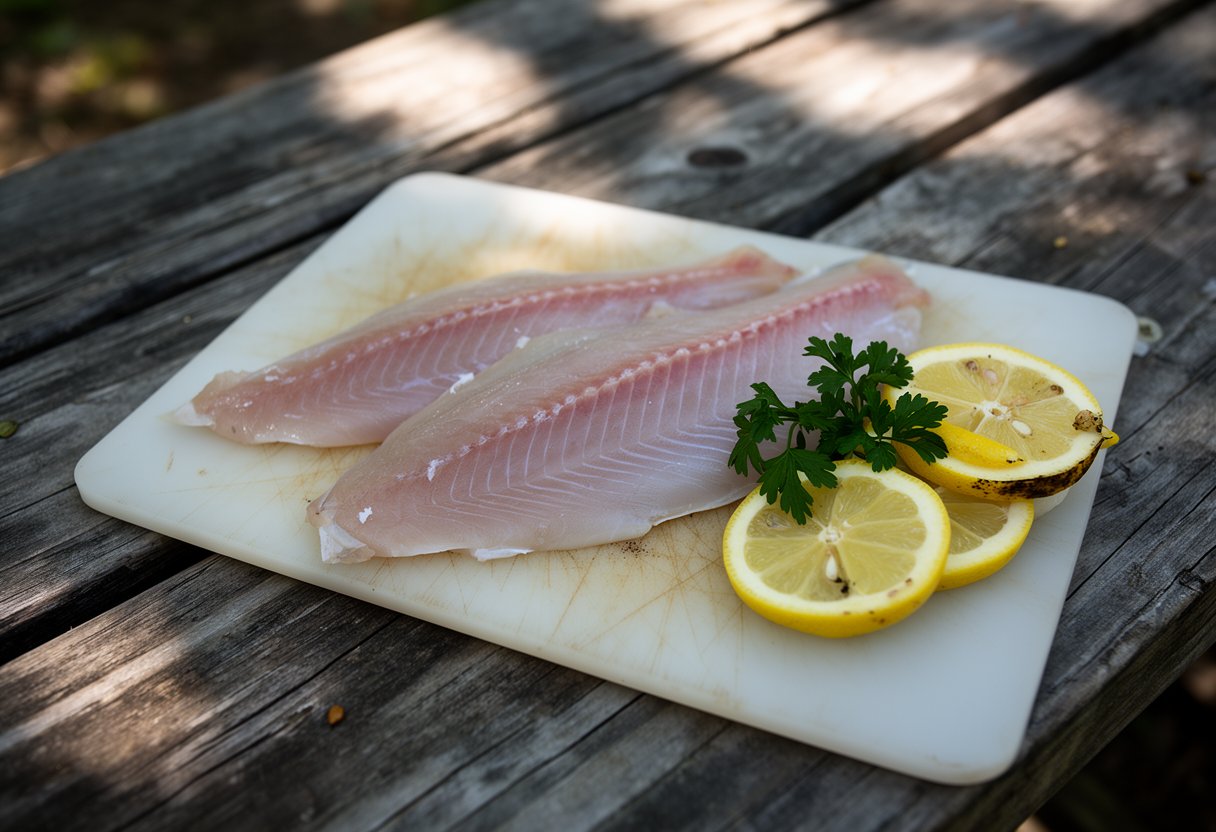
Your first fillet won’t look great, and that’s completely normal. You’ll leave extra meat on the bones and the edges will be uneven. Everyone’s first few fish look like that.
What gets better with practice is everything: the feel of the blade on bone, how fast you can scale, the confidence to work without pausing to think about every cut. After a dozen fish, the whole process drops from twenty minutes to five.
The key takeaways: sharp knife, stable surface, work methodically, and keep everything cold from catch to plate. Once the basics are down, there’s more to explore — skin-on fillets for grilling, the butterfly method for trout, or cutting steaks from bigger catfish. But those are lessons for later.
Take what you’ve learned here to your next outing. The fish won’t know the difference, but your dinner will.