
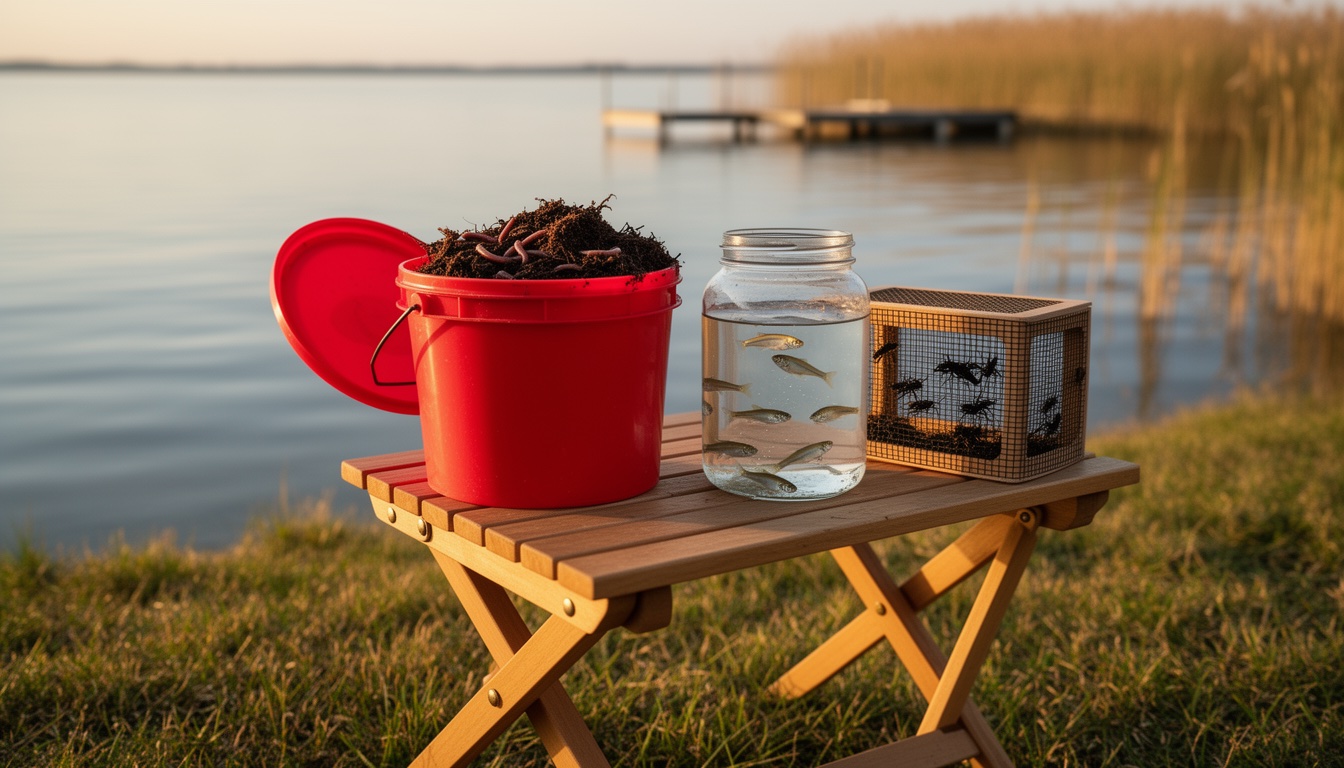
There’s a reason people have caught fish with a worm and a bobber for centuries — and it wasn’t nostalgia. Natural bait works because fish recognize it as real food. No matter how realistic a plastic lure looks, a live wriggling worm or a kicking cricket triggers something instinctive in a fish’s brain.
For beginners, natural bait is the great equalizer. You don’t need to master a specific retrieve, time your casts to the second, or understand water temperature to pick the right lure color. You put the bait on a hook, cast it near where fish hang out, and wait. It’s fishing in its simplest form.
This guide covers the three natural baits that deliver the most results for beginner freshwater anglers: nightcrawlers (earthworms), crickets, and minnows. For each one, you’ll learn what fish they catch, how to hook them properly, and how to keep them alive long enough to actually fish with them.
Why Natural Bait Works Better for Beginners
Natural bait has three advantages that artificial lures typically can’t match: scent, taste, and authentic movement. When a nightcrawler wriggles along the bottom, it leaves a chemical trail that fish detect with their lateral lines and sense of smell. A cricket kicking on the surface creates splashes that look exactly like an insect struggling in the water — because that’s exactly what it is.
Natural bait also stays in the strike zone longer. A plastic worm on a Texas rig sits motionless until you twitch it. A real worm keeps moving on its own, presenting a target to cautious fish that might ignore anything still. This is especially useful in cold water when fish are slow and less likely to chase a moving lure.
There are conditions where natural bait typically outperforms artificial lures:
- Cold or sluggish water: Fish aren’t willing to chase. Natural bait stays put and moves on its own.
- Clear water: Fish are more cautious. A real bait reads as genuine prey, not an imitation.
- Fishing for panfish: Bluegill and crappie typically prefer natural bait over lures.
- Night fishing: Scent and subtle movement matter more when visibility is low.
- Beginner technique level: Less skill is required to fish a worm under a bobber than to work a soft plastic correctly.
This isn’t to say artificial lures are a bad choice. Once you’ve built a foundation with natural bait, lures open up an entirely different kind of active, exciting fishing. But for learning the basics, natural bait is the fastest path to a bent rod.
Nightcrawlers: The Universal Freshwater Bait
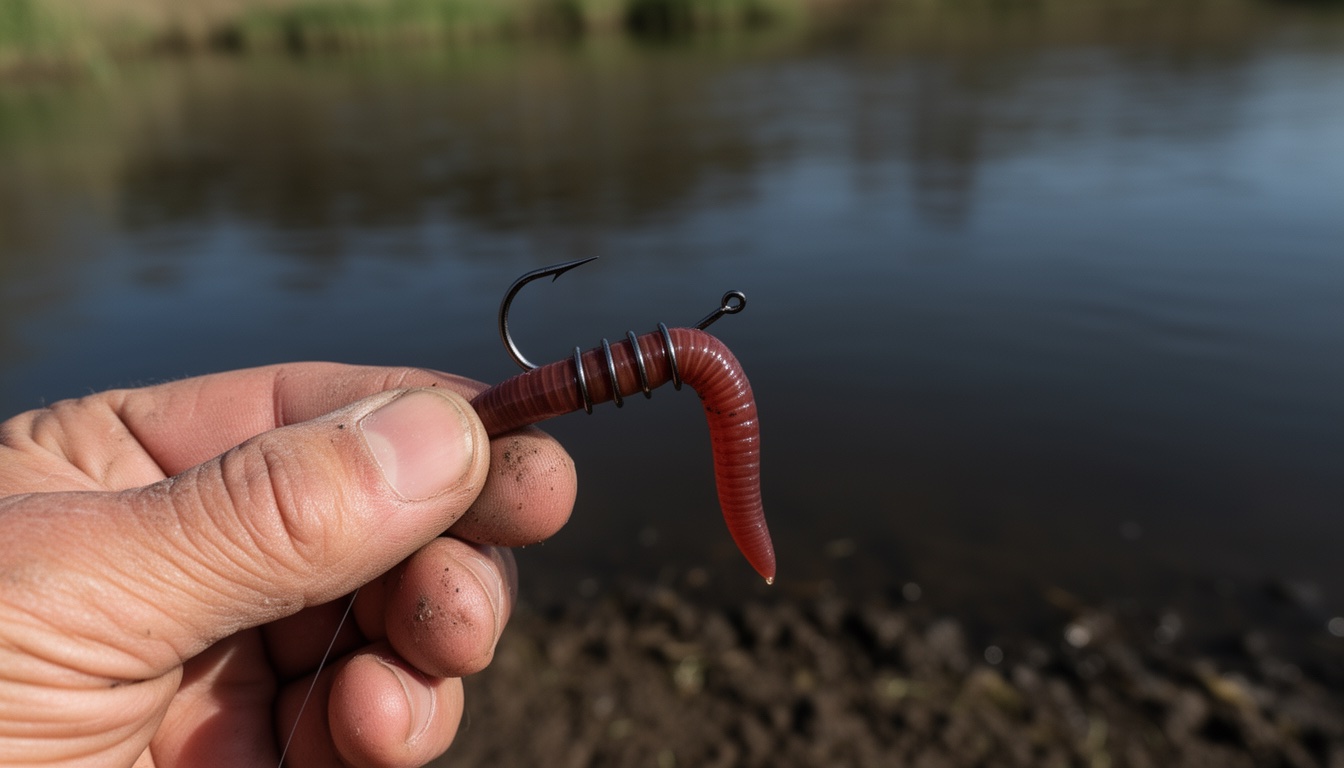
Nightcrawlers — also called earthworms or simply “worms” in most bait shops — are the Swiss Army knife of fishing bait. They catch almost every common freshwater fish species in North America: bass, catfish, panfish (bluegill, crappie), trout, walleye, perch, and even carp. If a fish eats organic matter, it’ll typically try a nightcrawler.
Worm types and sizes
Not all worms are the same. There are three main types you’ll encounter at the bait shop:
- Red wigglers (1–3 inches): Small and active. Great for panfish and trout with tiny mouths.
- Garden worms (3–6 inches): The middle ground. Good for general-purpose fishing when you’re not sure what you’ll catch.
- Nightcrawlers (6–12 inches): The heavy hitters. Whole nightcrawlers attract larger fish like bass and catfish.
You can dig nightcrawlers from compost piles, under rotting logs, or in garden soil after rain. Most bait shops sell them by the bag, and online worm farms deliver them live. If you’re just starting out, buying a pack from the bait shop near your fishing spot is the simplest option.
How to hook a nightcrawler
The way you hook a worm depends on the fish you’re targeting:
Full-body thread (for big fish): Run the hook point through the worm’s body near one end, then thread it back and forth through the worm 2–3 times until the entire worm sits on the hook shaft. The hook point should emerge near the tail end. This keeps the worm secure during long casts and strong runs from bass or catfish. The tail dangles freely and wriggles in the water.
Cut pieces (for panfish and trout): If you’re targeting bluegill or small trout, a whole nightcrawler is too much bait — their mouths are simply too small. Cut the worm in half or into smaller segments, and thread a piece onto a small hook (size 6–8). This is often more effective than using a small worm species because the cut end bleeds slightly, releasing attractant chemicals into the water.
Live dangling presentation (most natural): Hook the worm only at one end, near its head. Leave the rest of the worm dangling off the hook point, wriggling freely in the water. This looks the most natural to fish and works well for casual panfish fishing. The trade-off is that active fish can sometimes strip the worm off the hook before you have a chance to set it.
For beginners, the simplest rig is a hook tied to your main line, a bobber above the hook, and one or two split shot weights below the bobber. Cast out, let the bobber settle, and wait. This is the classic bobber setup that works with any of these worm presentations.
Where to fish with nightcrawlers
Worms work best near the bottom, close to structure. Cast near logs, rocks, fallen branches, or muddy drop-offs. Fish your bait slowly along the bottom in areas where the water is slightly murkier — that’s typically where larger fish feel safe enough to feed.
Crickets: The Kick-and-Fight Bait
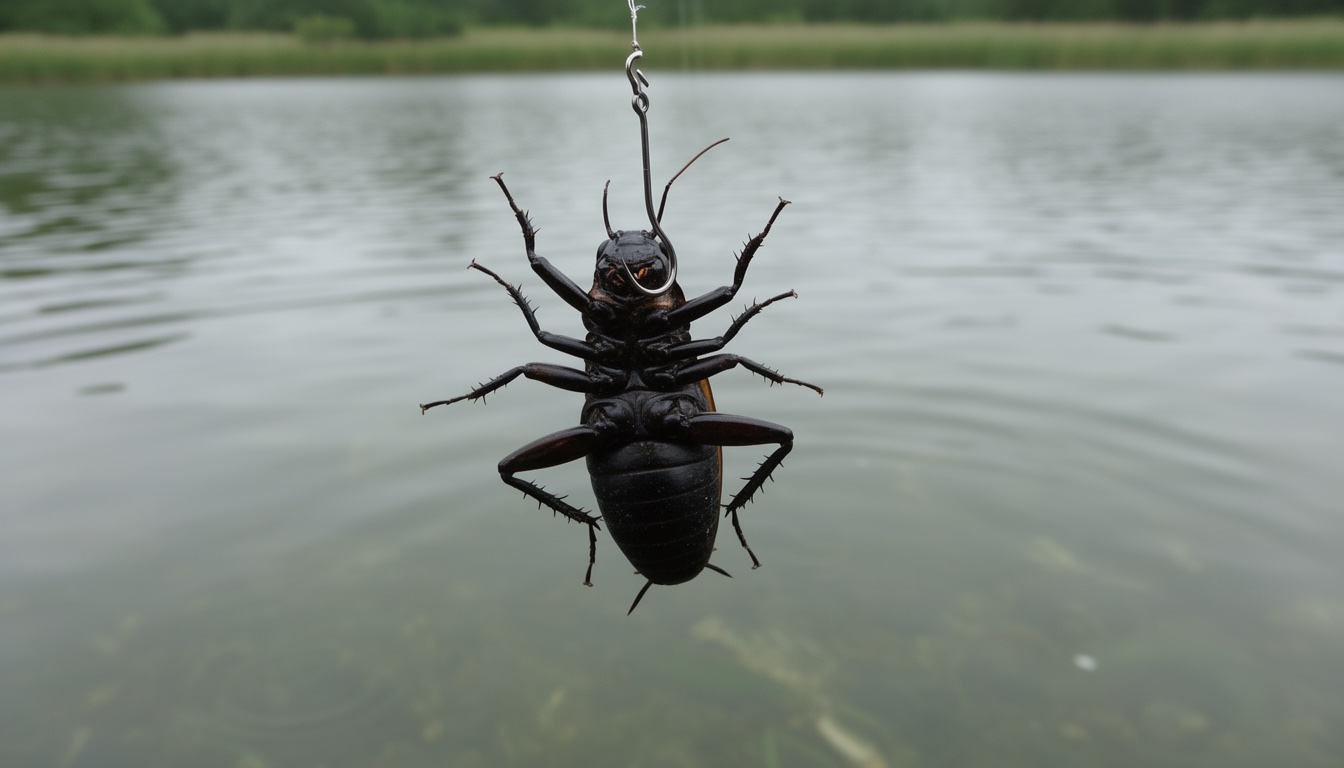
Crickets are one of the best-kept secrets in beginner fishing. They’re durable, long-lasting, and produce a unique action in the water that artificial lures struggle to imitate: a kicking, splashing struggle that looks exactly like an insect that fell into the water and can’t get out.
Fish see crickets falling off vegetation into the water all the time. A live cricket on a hook isn’t just food — it’s a familiar food source.
What crickets catch
Crickets excel at catching bass, bluegill, crappie, and trout. They’re especially effective for bass along shoreline cover — fish under overhanging tree branches, near lily pad edges, or beside docks where insects naturally fall in. Crickets also work well for panfish under a bobber, much like nightcrawlers.
How to hook a cricket
The most reliable cricket hooking method is through the collar — the area just behind the head, between the front legs. Insert the hook point through the side of the collar and push it through to emerge on the other side. The cricket stays alive, its legs kick actively, and the hook is securely anchored in one of the sturdiest parts of its body.
Use a small hook — size 4 to 6 works well for most crickets and fish species. A larger hook can damage the cricket’s internal organs and kill it, while a smaller hook may not hold a bass if you’re lucky enough to hook one.
Why light tackle matters
Crickets are best fished on light tackle. A 4–6 lb test line with a small hook and a light rod lets you feel the subtle tap of a panfish picking at the cricket, while still having enough backbone to land a small bass. Heavy line and big hooks spook fish and make the cricket sink too fast, losing that surface-splashing action that triggers strikes.
Fish crickets in shallow water — 1 to 4 feet deep — where the cricket’s movement is visible to fish below. Overhanging vegetation, bank edges, and lily pad openings are all prime locations.
The durability advantage
One thing crickets do better than worms: they last. A bag of nightcrawlers can dry out or die within hours if not kept properly damp. Crickets in a ventilated container survive a full day of fishing without special care. They’re also cleaner to handle — no slimy residue on your fingers.
Minnows: The Predator’s Favorite
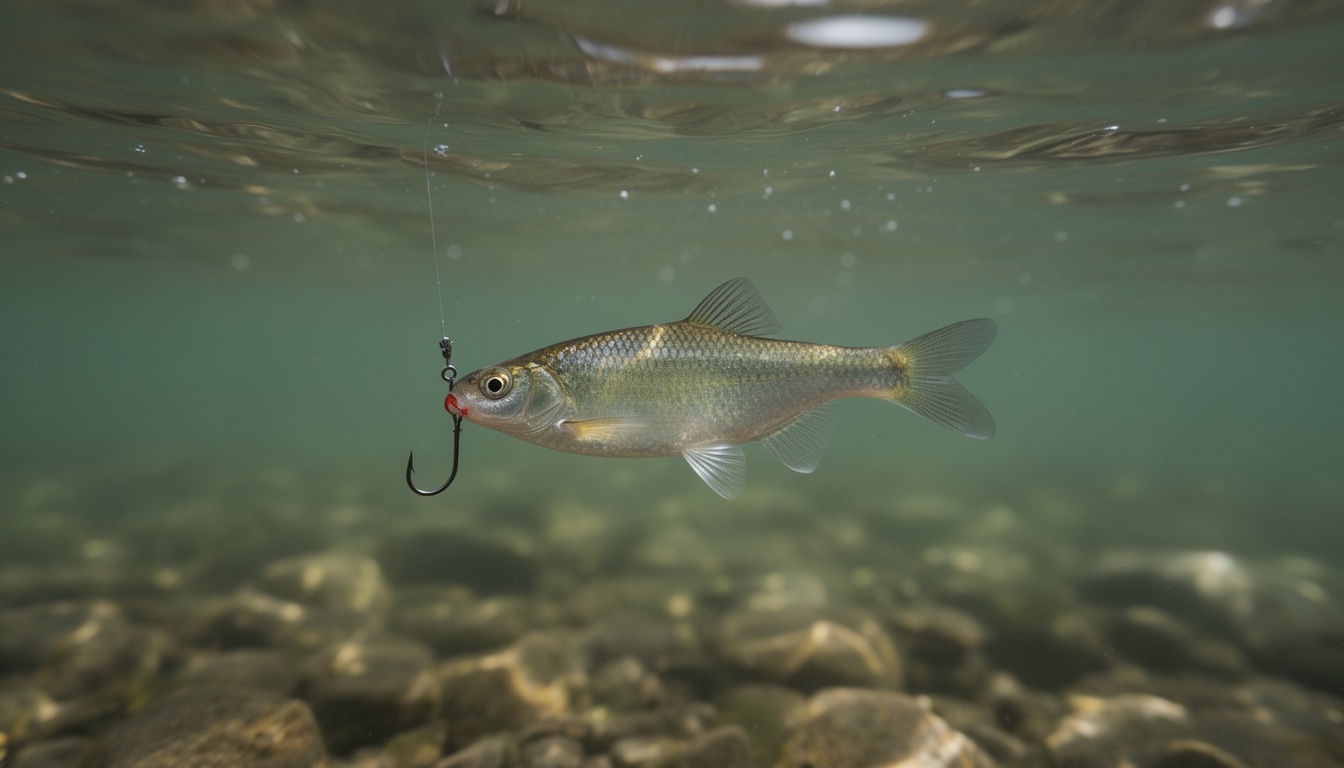
Nothing triggers a predatory strike like a live fish swimming through the water. Minnows are the natural bait of choice when you’re targeting predators — fish that eat other fish. That includes bass, pike, walleye, crappie, and perch.
A swimming minnow activates the chase instinct in a way that no other bait can. Even lethargic, cold-water fish will often strike at a live minnow when they’d ignore almost anything else.
Hooking methods for minnows
How you hook a minnow determines how long it stays alive — and a dead minnow is dramatically less effective than a live one.
Lip hooking (best method): Thread the hook through the minnow’s lower lip and up through its upper lip. This is the gentlest way to hook a fish as bait. The minnow can continue breathing normally through its gills, swims in a relatively natural pattern, and stays alive the longest. This is the method most experienced anglers use, and it’s the one beginners should learn first.
Back hooking: Insert the hook through the minnow’s back, just behind the dorsal fin (the top fin). This holds the minnow more securely than lip hooking — less chance of it slipping off — but reduces its swimming ability. Use this method if you’re fishing in current or deep water where you need a tighter hold.
Tail hooking: Hook through the base of the tail fin. This preserves the minnow’s body and swimming motion but provides the least secure hold. It’s generally not recommended for beginners.
What not to do: Never pierce the minnow’s spine, internal organs, or gills. These areas are vital — damaging them kills the bait quickly. A dead minnow sinks motionless, losing all the action that makes it effective.
Sizing matters
Match the minnow size to your target fish. Small minnows (1–2 inches) work for panfish like crappie and bluegill. Medium minnows (2–4 inches) are the sweet spot for bass and walleye. Larger minnows (4+ inches) are needed for pike, musky, and big catfish.
If you’re not sure what fish you’ll encounter, medium-sized minnows are the safest choice. They’re large enough to trigger bass strikes but small enough that panfish will still try to eat them.
Keeping Your Bait Alive
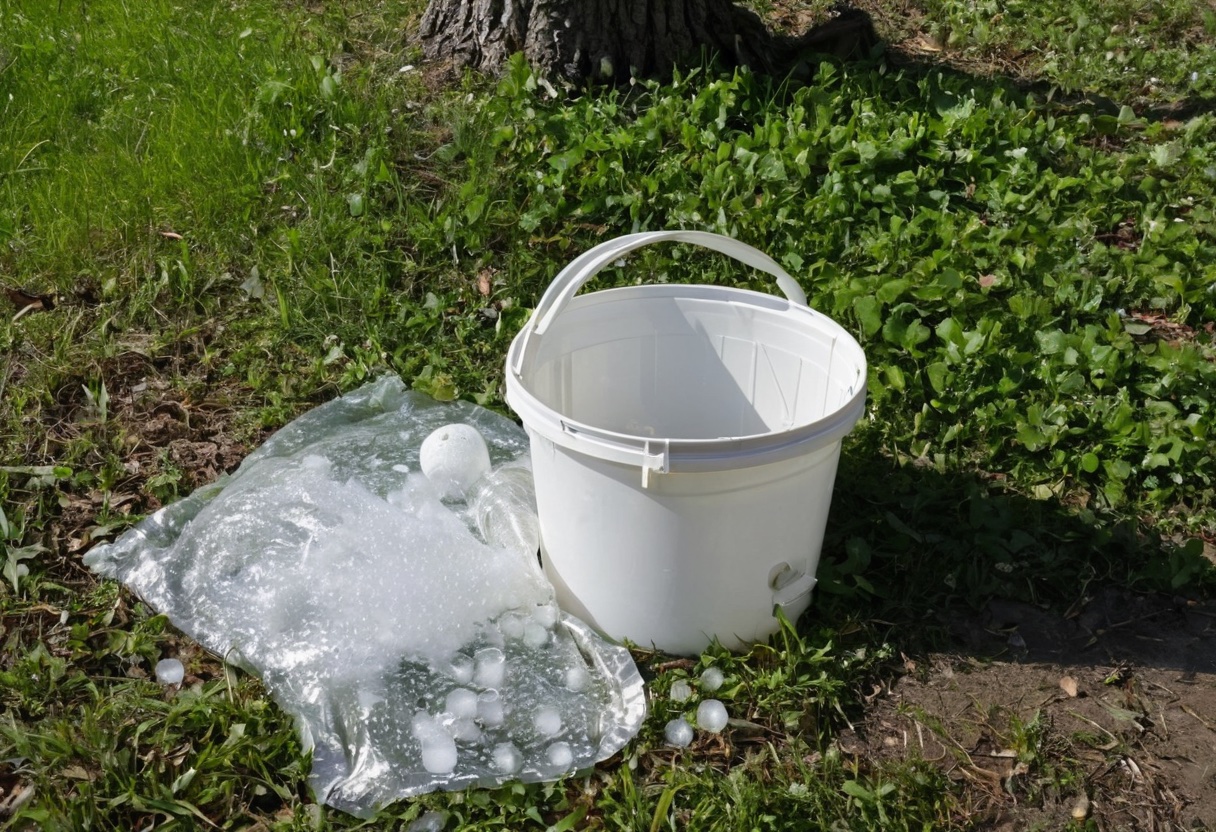
Dead bait catches fewer fish. Keeping your bait alive and active isn’t just about being kind to the bait — it’s about results. A wriggling worm, a kicking cricket, and a swimming minnow attract more strikes than lifeless bait, period.
Different bait types need different storage conditions:
Worms need damp, cool darkness. Store them in damp peat moss, wet newspaper, or the bedding they came in. Keep the container closed and out of direct sunlight. Worms sold in plastic bags from the bait shop should be fine for a full day of fishing if you keep the bag sealed until you need one.
Minnows need clean, cool, oxygenated water. A bait bucket with a battery-powered aerator is ideal — the bubbles keep dissolved oxygen levels high. If you don’t have an aerator, keep the water level low (just enough to cover the minnows) to maximize surface area for gas exchange. Add an ice pack wrapped in a cloth to keep the water cool — cold water holds more oxygen than warm water. Never put ice directly in the bucket, as freezing water will kill minnows.
Crickets need ventilation and dry conditions. Store them in their original ventilated container or a plastic tub with holes punched in the lid. Keep the container in the shade. Unlike worms and minnows, crickets don’t need water — in fact, a wet cricket container is basically a death sentence.
General rules for all live bait
- Don’t overcrowd your bucket. Too many animals in too little water depletes oxygen fast and stresses the bait, shortening its lifespan.
- Keep it in the shade. Direct sunlight heats containers quickly, which boils off dissolved oxygen and can kill bait on hot days.
- Change the water. If you’re storing minnows overnight at home, swap out the bucket water in the morning. Stale water builds up waste products that weaken bait over time.
- Handle gently. Rough handling bruises and kills bait. Pick up worms with the hook instead of your fingers, and let crickets walk onto the hook when you can.
Choosing the Right Bait for Your Situation
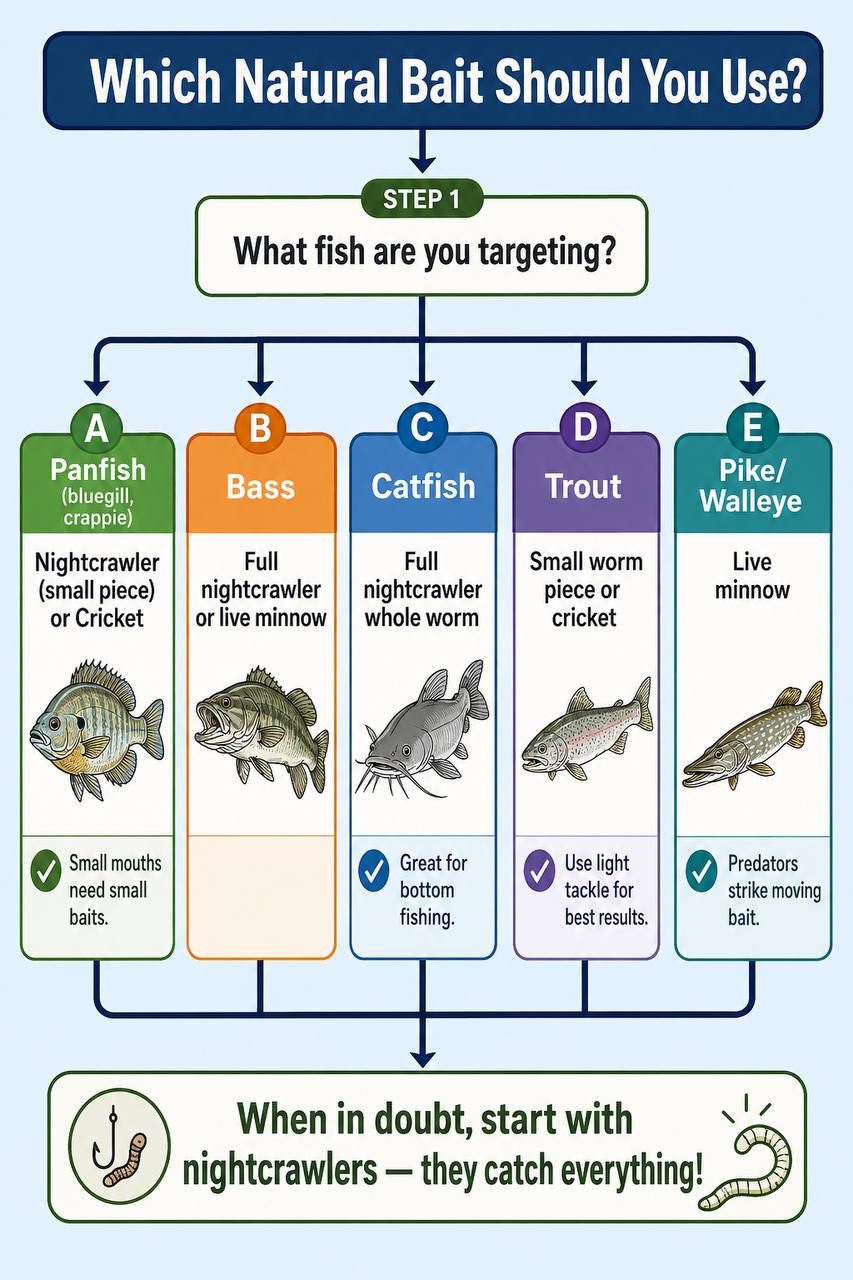
If you’re feeling overwhelmed by the choices, here’s a simple breakdown:
- Fishing for panfish (bluegill, crappie): Start with nightcrawlers (cut into small pieces) or crickets under a bobber. Both work fantastically — learn more in our panfish fishing guide.
- Targeting bass: A full nightcrawler on the bottom near cover, or a live minnow in open water. Both are proven bass favorites.
- Chasing catfish: Whole nightcrawler, fished on the bottom with a slip-sinker rig. Catfish have an incredible sense of smell — the worm does the finding for you. See our catfish fishing guide for more details.
- Fishing for trout: Small worm segments or crickets on light tackle. Trout are cautious feeders and appreciate a natural presentation.
- Pursuing pike or walleye: Live minnow. Predators strike moving bait, and nothing moves like a live fish.
For seasonal guidance: crickets are most available from spring through fall. Nightcrawlers work year-round — they’re easy to buy any season. Minnows are especially effective in cool water, making them a top choice for early spring and fall fishing when bass and walleye are most active.
If you’re just starting out and want to pick one bait to master, go with nightcrawlers. They’re the most forgiving, the most widely available, and they catch nearly everything. Once you’ve caught your first fish on a worm, you’ll understand why it’s been the go-to bait for thousands of years.