

You’ve reeled the fish in. You can see it splashing a few feet from the bank or the boat. And then it’s gone — either it slipped the hook, or you grabbed the line and felt the fish tear free as you tried to lift it out of the water.
If that’s happened to you, a landing net is the fix. It’s the cheapest, highest-impact piece of gear a beginner can add. A basic one costs under $20, and it changes how you land fish for good.
But there’s a right way and a wrong way to use one. Most beginners put the net in the water too early, scoop from the wrong direction, or buy the wrong mesh for the kind of fishing they do. This article covers what to buy and how to use it properly.
What Is a Landing Net and Do You Actually Need One?
A landing net is a handheld scoop: a mesh bag attached to a hoop frame on a handle. You dip it into the water and guide a hooked fish into the bag. It’s not the same thing as a cast net — a cast net is a throwing net used to trap schools of baitfish. A landing net is for landing fish that are already on your line.
Do you need one for every fish? Not necessarily. A small bluegill hooked cleanly in the mouth can be lifted out of the water by the line. But the moment you’re dealing with a larger fish, a deep hook, sharp fins, or a fish that’s thrashing around, a net is the safe option.
Here’s the rule of thumb: if you’d be nervous grabbing the fish by hand, use the net. Bass, pike, trout, and anything with sharp spines or teeth are all netting territory. Panfish and small crappie are usually fine without one.
For most beginners, a landing net is the first upgrade worth making. It costs less than a good lure, and it solves a problem you’ll hit on almost every trip. If you’re still building your tackle box, the net belongs in there alongside your first tackle box essentials.
Types of Landing Nets: Rubber, Nylon, and Coated Mesh
The mesh material matters more than the brand. You’ll typically find three types at the bait shop:
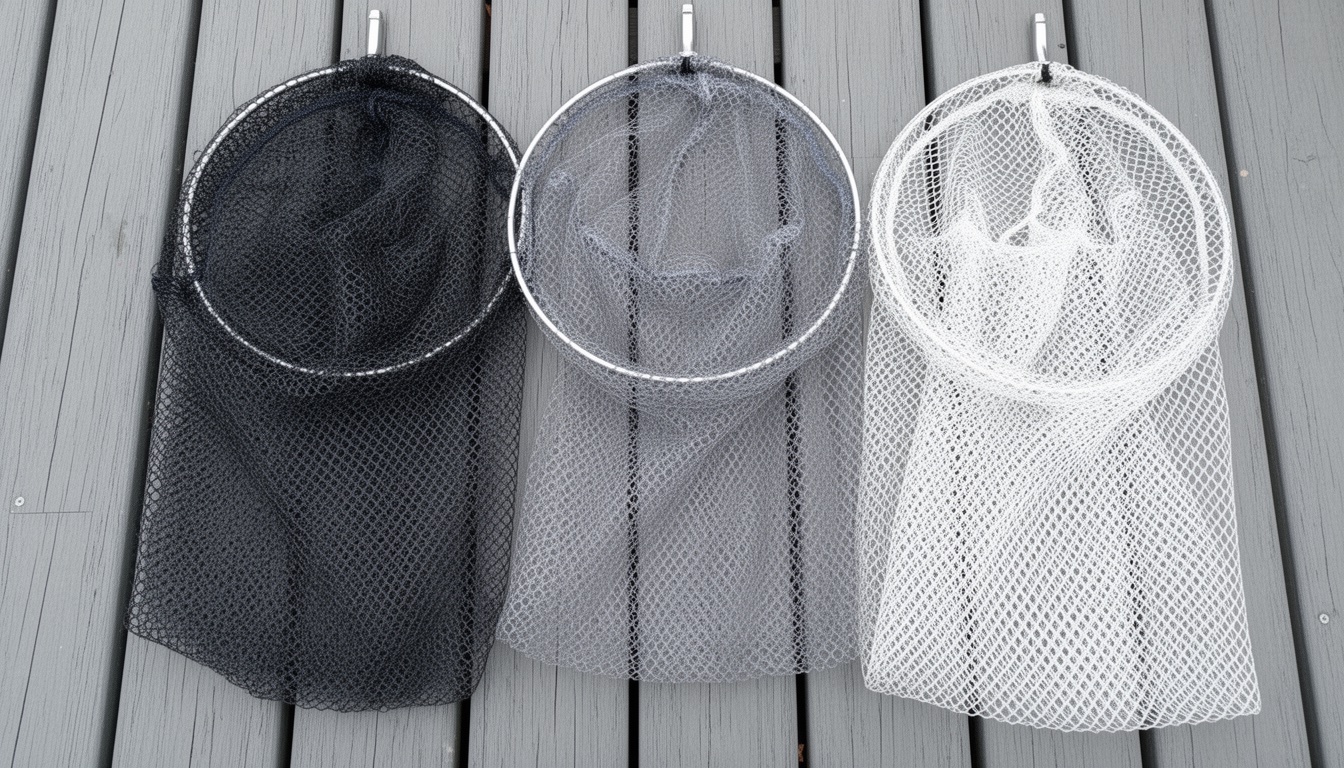
Rubber mesh is the standard for catch-and-release fishing. It’s soft, removes less of the fish’s protective slime coat, resists hook snags, and dries faster than nylon. Some fisheries with strict release rules actually require rubber mesh. If you’re releasing most of what you catch — which most beginners do — rubber is the way to go.
Coated nylon is a budget-friendly middle ground. It’s lighter and a little cheaper than rubber, and it’s better on fish than traditional nylon. But it still removes more slime and snags hooks more easily.
Traditional nylon is the cheapest option. It’s fine if you’re keeping everything you catch, but it’s the hardest on fish and the most prone to hook snags.
The price difference between rubber and traditional nylon is usually just a few dollars. For a beginner who’s going to be catching and releasing, that’s not a trade-off worth making.
Handle Length and Net Size: Picking the Right Net for Your Fishing Spot
Handle length depends on where you’re fishing.
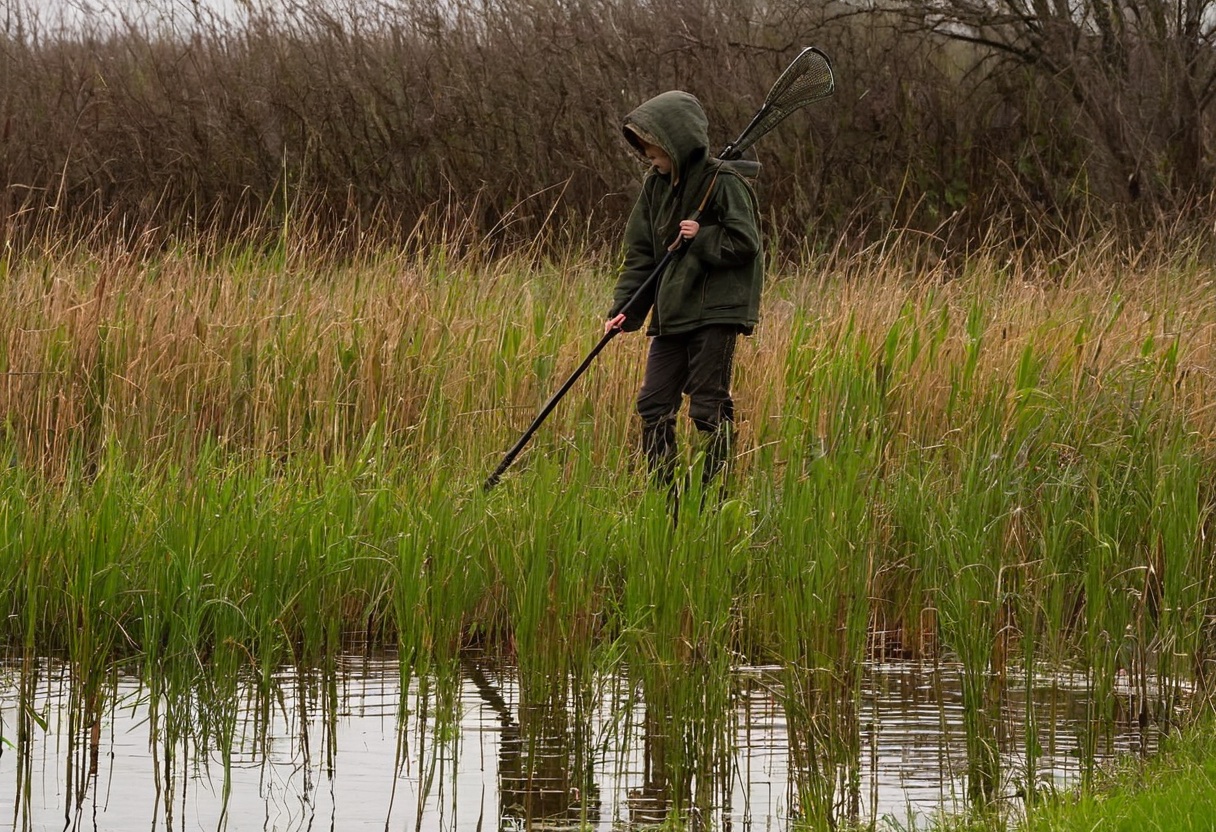
From the bank, you want a handle long enough to reach the waterline without leaning over the edge. For most shore fishing, that’s 30 to 45 inches. A telescopic handle — one that collapses for storage and extends for use — is the most versatile option. It fits in a tackle bag and extends to full length when you need it.
From a boat, you need enough reach to get over the gunwale and into the water. Handles in the 36 to 54-inch range work well. If you fish from a boat, add a small float or a tether to the handle. A net that slips overboard and sinks is a net you’ve lost.
For net size, match the hoop and bag to the fish you’re targeting. A 12-inch hoop handles fish up to about 16 inches comfortably. If you’re after largemouth bass, walleye, or pike, go with a 14- to 16-inch hoop. The bag should be deep enough that the fish can’t jump out once it’s in.
How to Net a Fish: The Head-First Technique
This is the part that separates a clean landing from a lost fish. The technique is simple, but it has to be done in the right order.
Step 1: Guide the fish in. Reel steadily and keep the line low. Don’t lift the rod tip vertically — that pulls the fish up and out of the water before you’re ready. Let the fish come to you along the surface.
Step 2: Wait until the fish is close. This is where most beginners make their first mistake. Don’t put the net in the water until the fish is within arm’s reach. A net sitting in the water spooks the fish and sends it dashing. Keep the net dry and ready.
Step 3: Dip the net quickly. When the fish is close and calm, dip the net into the water near the fish’s head. Hold the back end of the net (the end farthest from the hoop) so you’re controlling the bag.
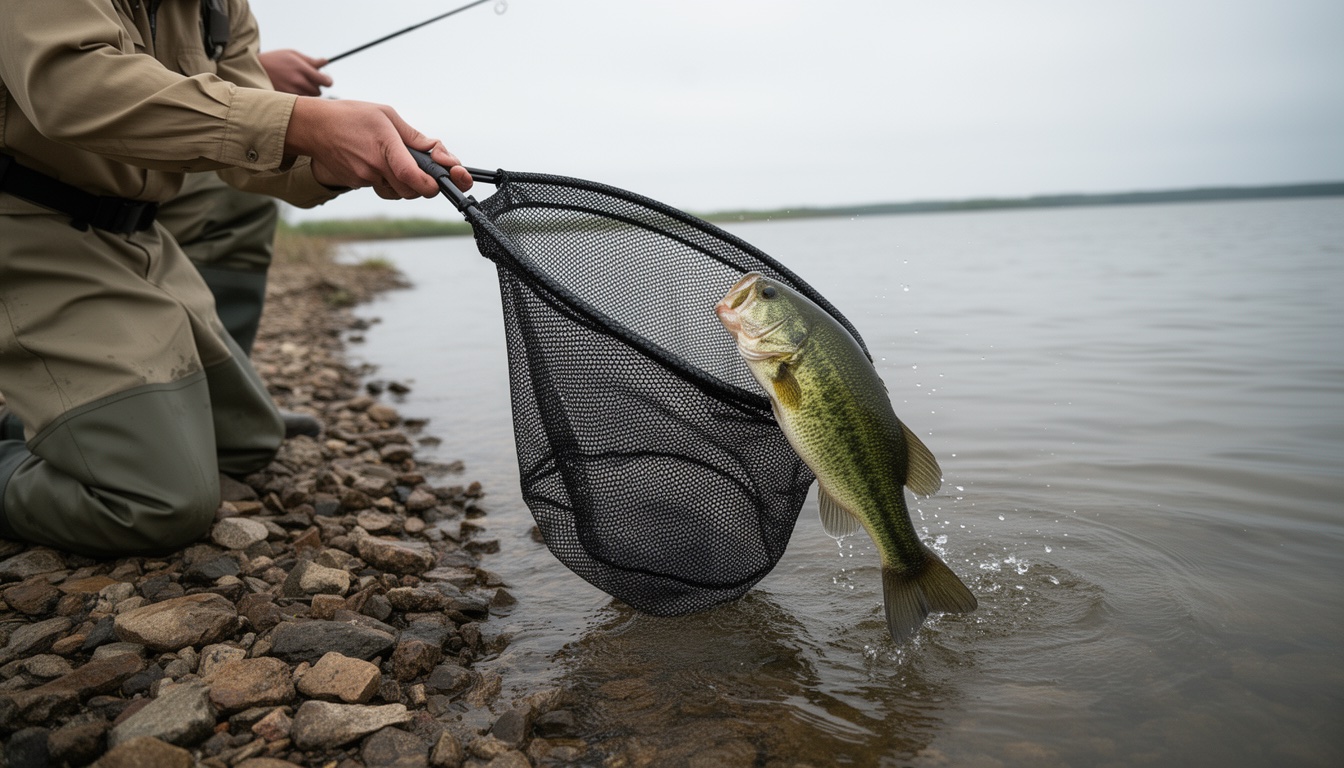
Step 4: Scoop head-first. Guide the fish’s head into the mesh. This is the single most important rule in netting: a fish can swim forward out of a net, but it cannot reverse. Head first means the fish has nowhere to go. Scooping from behind — tail first — works for a small panfish but a bigger fish will motor straight out of the net.
Step 5: Lift gently, keep the fish in the water. Once the fish is in the net, lift the net slowly. Don’t hoist a heavy fish vertically out of the water if you can avoid it. Support the net and let the fish’s weight stay in the water as long as possible.
When you’re ready to unhook the fish, keep it in the net or hold it low in the water. The proper handling technique matters just as much as the netting itself — a fish that takes too long out of the water can take damage even if you landed it cleanly.
Netting from a Boat vs. from the Bank
The core technique is the same in both situations, but your body position changes.

From the bank, stand with your feet shoulder-width apart and your weight balanced. Reach down and out toward the water, not over your head. A telescopic net lets you stay back from the bank edge, which is safer on slippery or eroded shorelines.
From a boat, sit or kneel so you’re as low as you can get. Reach over the gunwale rather than leaning out. Leaning over the side of a small boat with a fish pulling on your line is how people end up in the water. A tether or lanyard on the net is essential — if the net goes overboard, you want it floating, not sinking to the bottom.
In both cases, the goal is the same: keep the fish in the water. The net holds the fish so you don’t have to lift it into the air. If you’re doing catch and release, this is the part that makes the biggest difference in the fish surviving its release.
Caring for Your Landing Net
A landing net is simple gear, and it needs simple care. A few minutes after each trip keeps it working for years.
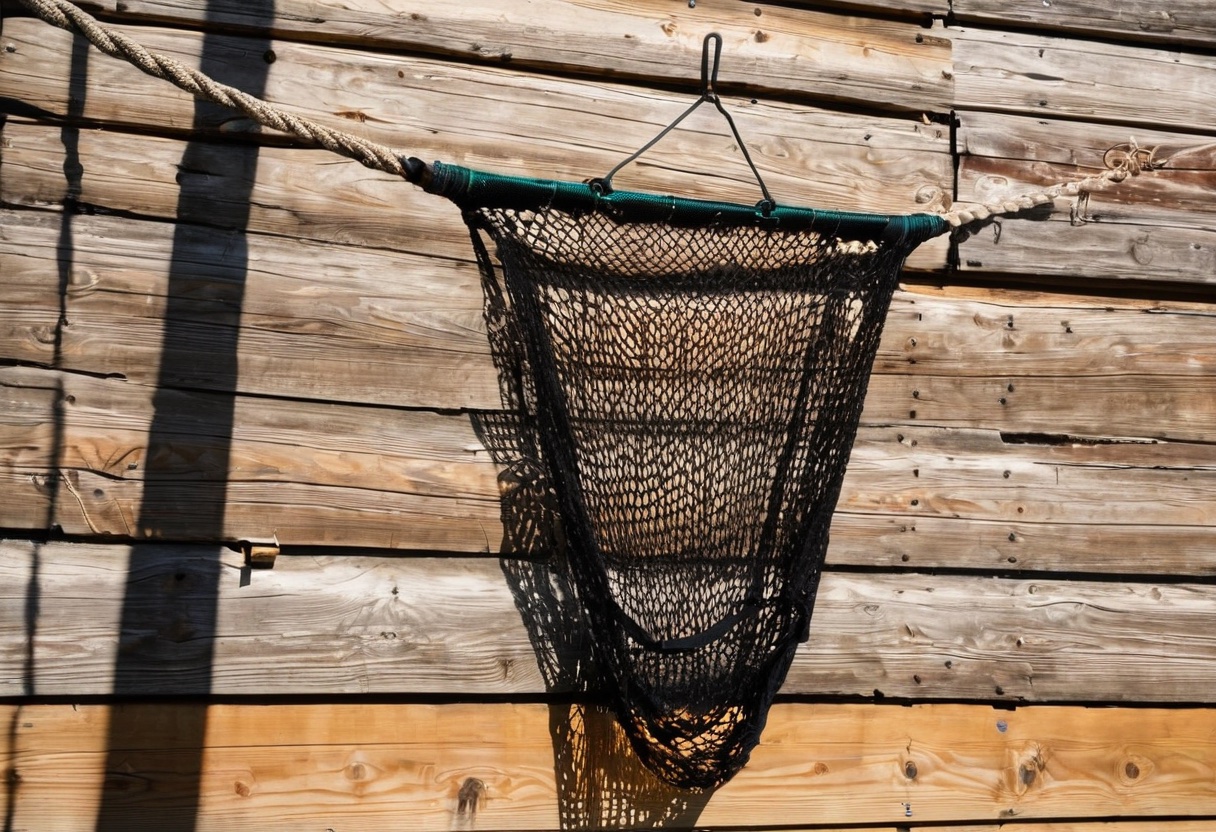
After every trip, rinse the net in fresh water. A hose or a bucket works. Pay attention to the mesh and the bridle lines (the cords that connect the mesh to the hoop) — that’s where mud and debris get trapped.
Dry it completely before storing. This is the step most people skip. A wet net stored in a bag grows mold and mildew within a day or two. Hang it on a hook, lay it flat in the sun, or leave it out overnight. A fully dry net is a clean net.
Inspect it before each trip. Check for rips in the mesh, loose bridle lines, or a bent hoop. A small tear in the mesh can let a fish slip out at the worst moment.
Store it cool and dry. A garage, closet, or shed is fine. Avoid leaving the net in a hot car trunk — heat degrades rubber mesh faster.
Rubber mesh lasts years with basic care. Traditional nylon degrades faster, especially in direct sunlight. If your mesh is thinning or fraying, it’s time to replace the bag — most nets let you swap just the mesh without replacing the whole net.