

You’ve got a rod. Line’s on the reel. You’ve probably even figured out how to cast — we covered that in how to cast a fishing rod for beginners. Here’s the part nobody warns you about, though: standing at the water’s edge with a hook, a little weight, and a bobber in your hand, and no real idea how to put them together into something that catches fish.
That assembly is what anglers call a rig, and it’s the single most common stumbling block for a first-timer. A rig is just the business end of your line — the hook, the weight, and the float tied together in the right order. Get that order right and your bait lands where the fish are, and you can see exactly the moment one takes it.
In the next few minutes you’ll build the one setup that works for the most common first fish: the bobber (float) rig. It’s the gateway rig for a reason — simple, visual, and effective for bluegill, crappie, perch, trout, and light freshwater species. By the end, your line will be rigged and ready to cast.
The Three Parts of a Simple Rig
Before you tie anything, know what you’re putting together. A beginner bobber rig has only three pieces, and you probably already have all of them:
- The hook. For panfish and small freshwater fish, a size 6 to 10 hook is the sweet spot. Bigger than that and small fish can’t swallow it; smaller and you’ll lose fish on the hook set.
- The split-shot sinker. A tiny round weight with a slit down the side. Size BB or AAA is right for most beginner situations. Its job is to sink your bait down to the depth where fish hold.
- The bobber (float). Usually a small red-and-white plastic float, about 1 to 2 inches across. It suspends your bait at the right depth and — this is the big one — gives you a visible sign the instant a fish takes the bait.
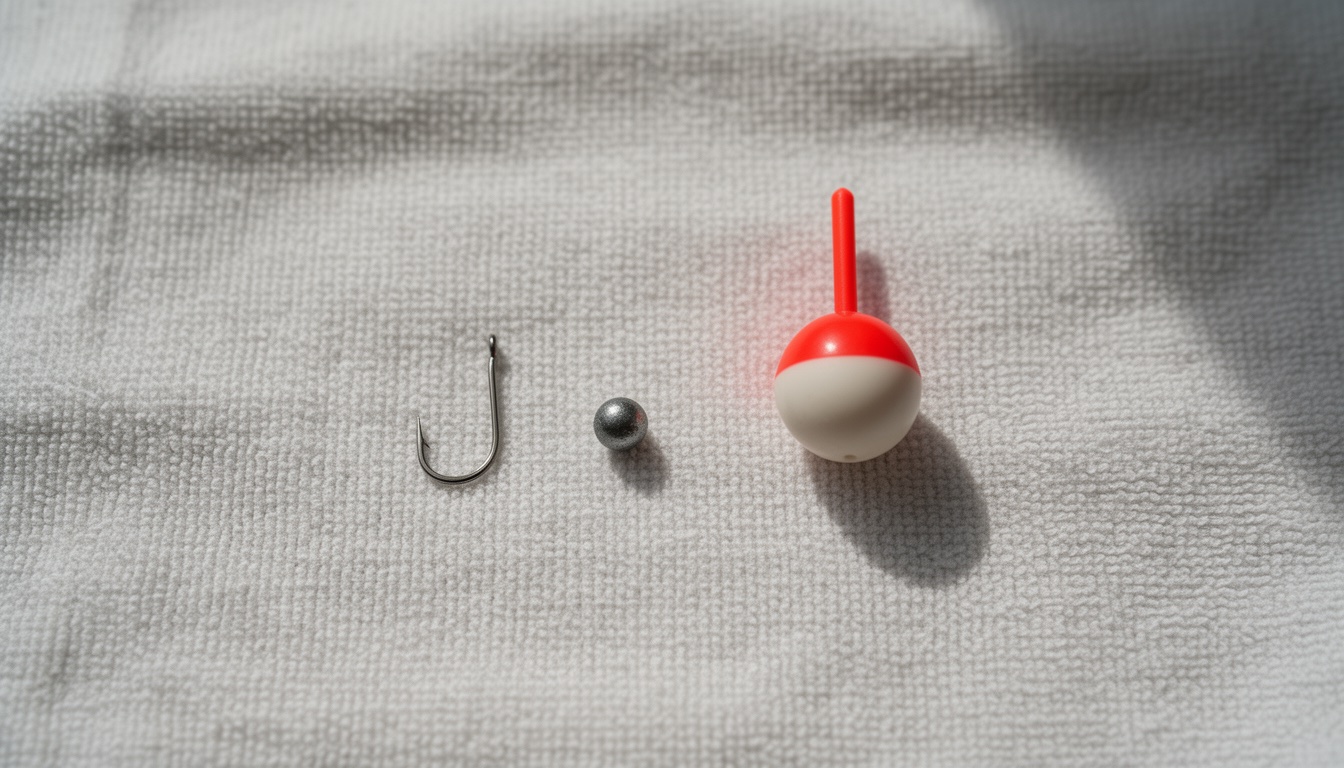
Two optional additions are worth knowing about, but skip them on your first rig. A small swivel stops your line from twisting with live bait, and a leader — a short section of line between your main line and the hook — helps in stained water. Our guide to tying a fishing leader for beginners covers both. For now, a bare hook is fine.
And where do these parts come from? You don’t need to buy them separately. A basic starter tackle box covers all of it — hooks, a handful of split-shot, and a couple of bobbers.
Step 1: Tie On the Hook
The hook always goes on first, at the very end of your line. It’s the foundation the rest of the rig builds on.
- Thread the end of your line through the eye of the hook.
- Leave a few inches of tag end sticking out.
- Tie a solid knot — the Improved Clinch Knot is the one we recommend for hook-to-line. Our fishing knots for beginners guide has the full step-by-step with photos, so you can follow it at your own pace. (The Palomar Knot is an equally good choice, especially if you’re on braided line.)
- Pull the knot snug against the eye of the hook, then trim the tag end close.
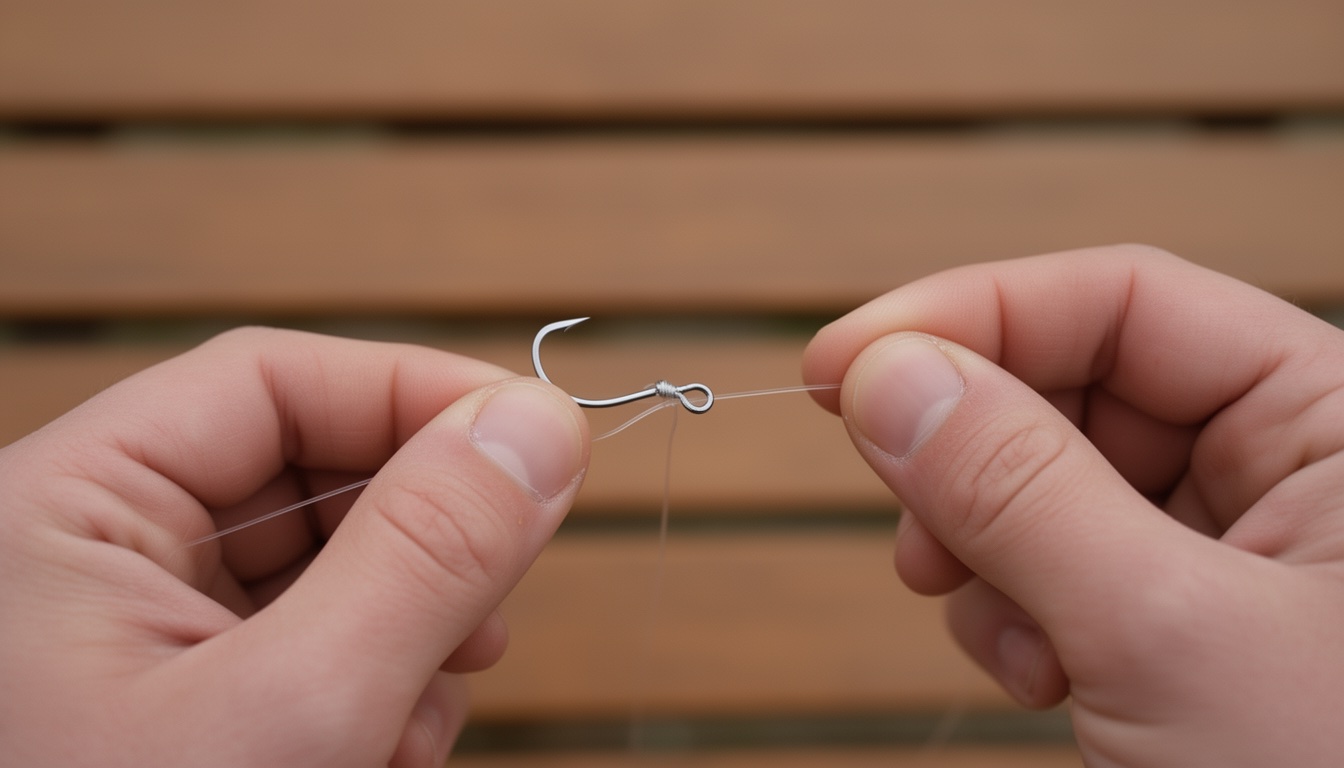
Here’s why this step matters more than it looks: a loose or sloppy knot is the number-one reason beginners lose their entire rig to a single fish. The moment a fish pulls, a weak knot slips off the eye and everything drifts away into the weeds. Take ten seconds to make that first knot tight — it’s the cheapest insurance in fishing.
Step 2: Add the Weight
Now the sinker. It goes above the hook, on the way up toward your rod, and it needs a gap.
- Slide the split-shot sinker onto your line.
- Position it 8 to 12 inches above the hook.
- Squeeze it closed with a pair of pliers — or your teeth, the old-timer way.
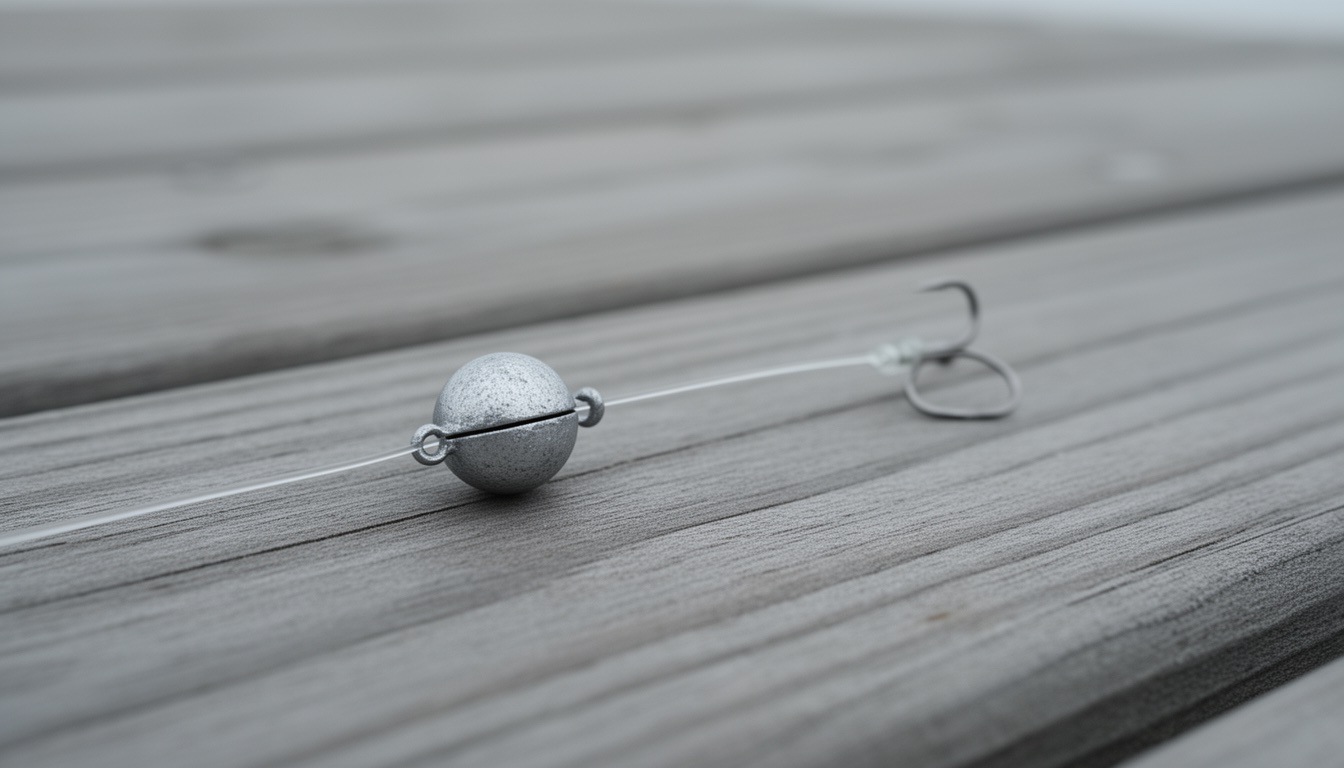
Two things to get right here. First, don’t over-crimp. You want the sinker just closed enough to hold the line, not crushed into it. A sinker crimped too hard can nick or cut the line, and that nicked line snaps the first time a fish pulls — and it takes your whole rig with it.
Second, leave the gap between the weight and the hook. If the sinker is sitting right against the hook, your bait gets dragged down into the mud and looks unnatural to the fish. That 8 to 12 inch gap lets the bait hang free, wiggle a little, and sit where a fish can actually find it. If you’re fighting a strong current and your bait keeps sinking too deep, add one more small sinker higher up the line rather than a heavier one right at the hook.
Step 3: Set the Float
The bobber is the last piece to go on — and it’s the part that makes the whole rig work. For shallow water (under about six feet deep, which is most beginner ponds and lakes), use a fixed bobber. It’s the simplest option and the best one to learn on.
- Decide how deep you want to fish. A good default is to set your bait 6 inches to 2 feet above the bottom, which is where most panfish and small freshwater fish hold.
- Slide the fixed bobber down to that position on your line and clip or press it into place.
- Cast. The bobber now sits at the depth you set, and your bait hangs just below it.
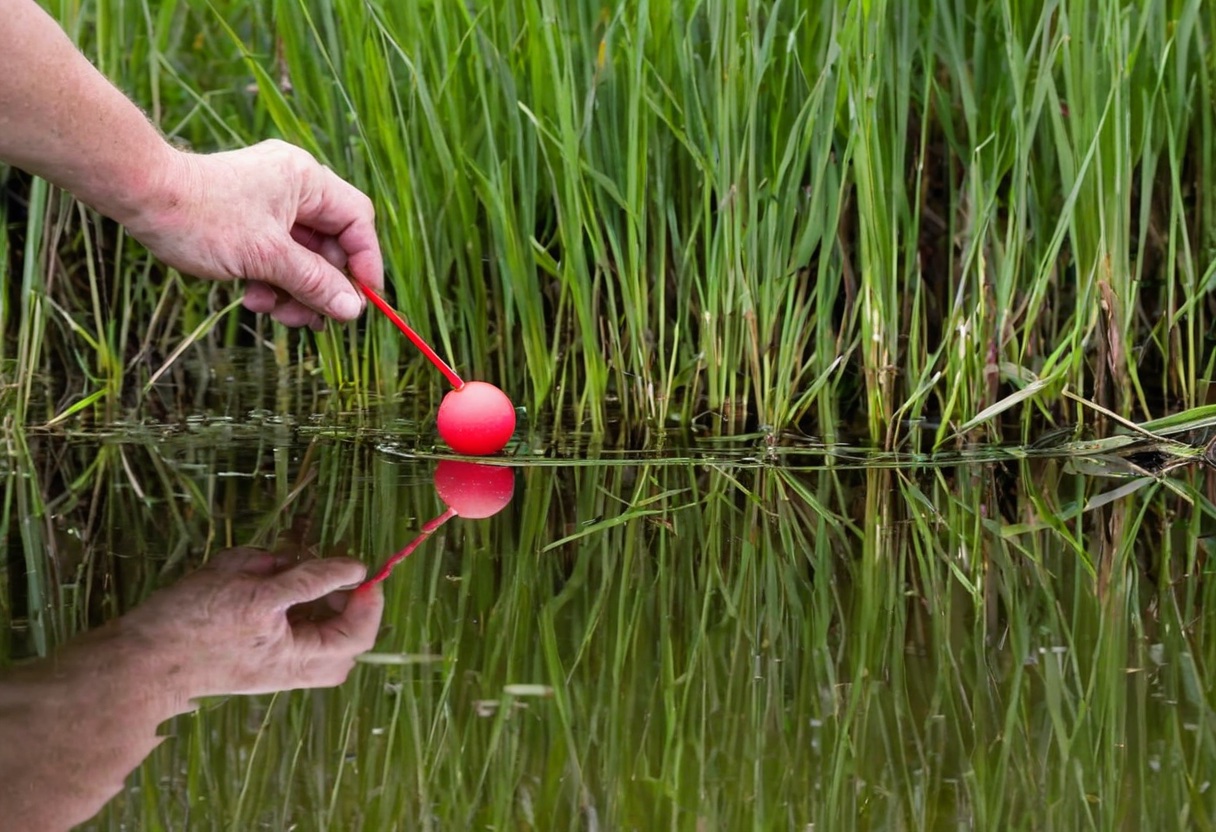
That’s it. Your line is now a working rig. When you cast it out, let it settle, and then watch the float. The bobber is your visual strike indicator — the entire point of this rig is that you can see it, so you know the exact moment something happens. If it dips, twitches, or starts swimming off to one side, that’s a fish, and you set the hook. We’ve written a full guide to using a bobber for fishing that covers the finer points of float fishing, but for your first rig, “watch the float, set the hook when it moves” is all you need.
If you move to deeper water — a lake over six feet where fish hold below the surface — you’ll eventually want a slip float. It adds a small bobber stop and bead so the float slides to a set depth instead of being pegged in one spot. A natural next step, but master the fixed bobber first.
Four Mistakes That Kill Every Bite
You’re almost there. These are the small errors that silently cost beginners every fish, so check your rig against them before you cast:
- Over-crimping the sinker. This cuts the line. The fish pulls, the nicked line snaps, and you’ve lost hook, weight, float, and bait all at once.
- Sinker right against the hook. Your bait gets buried in the bottom and looks unnatural. Leave that 8 to 12 inch gap so it hangs free.
- Float set too high or too low. Too high and your bait is floating on the surface, where fish won’t bother with it. Too low and it’s snagged on the bottom, where fish can’t find it. Aim for bait 6 inches to 2 feet off the bottom.
- A weak or wrong knot. The single most expensive mistake. Make that first clinch knot tight, or you’ll be re-tying a new hook for every fish you hook.
You’re Rigged. Go Cast.
That’s the whole thing. Hook on the end, weight 8 to 12 inches above it, float set to your depth — and your line is a working rig that will catch fish. No secret, no special tackle, no ten-part system. Just three small pieces in the right order, tied with a knot that holds.
Cast it out, let it settle, and put your eyes on that float. The first time it dips and you set the hook, it clicks into place in a way that no guide can teach you. And when you do get a bite, our guide to setting the hook and fighting fish is right there for what happens next.