
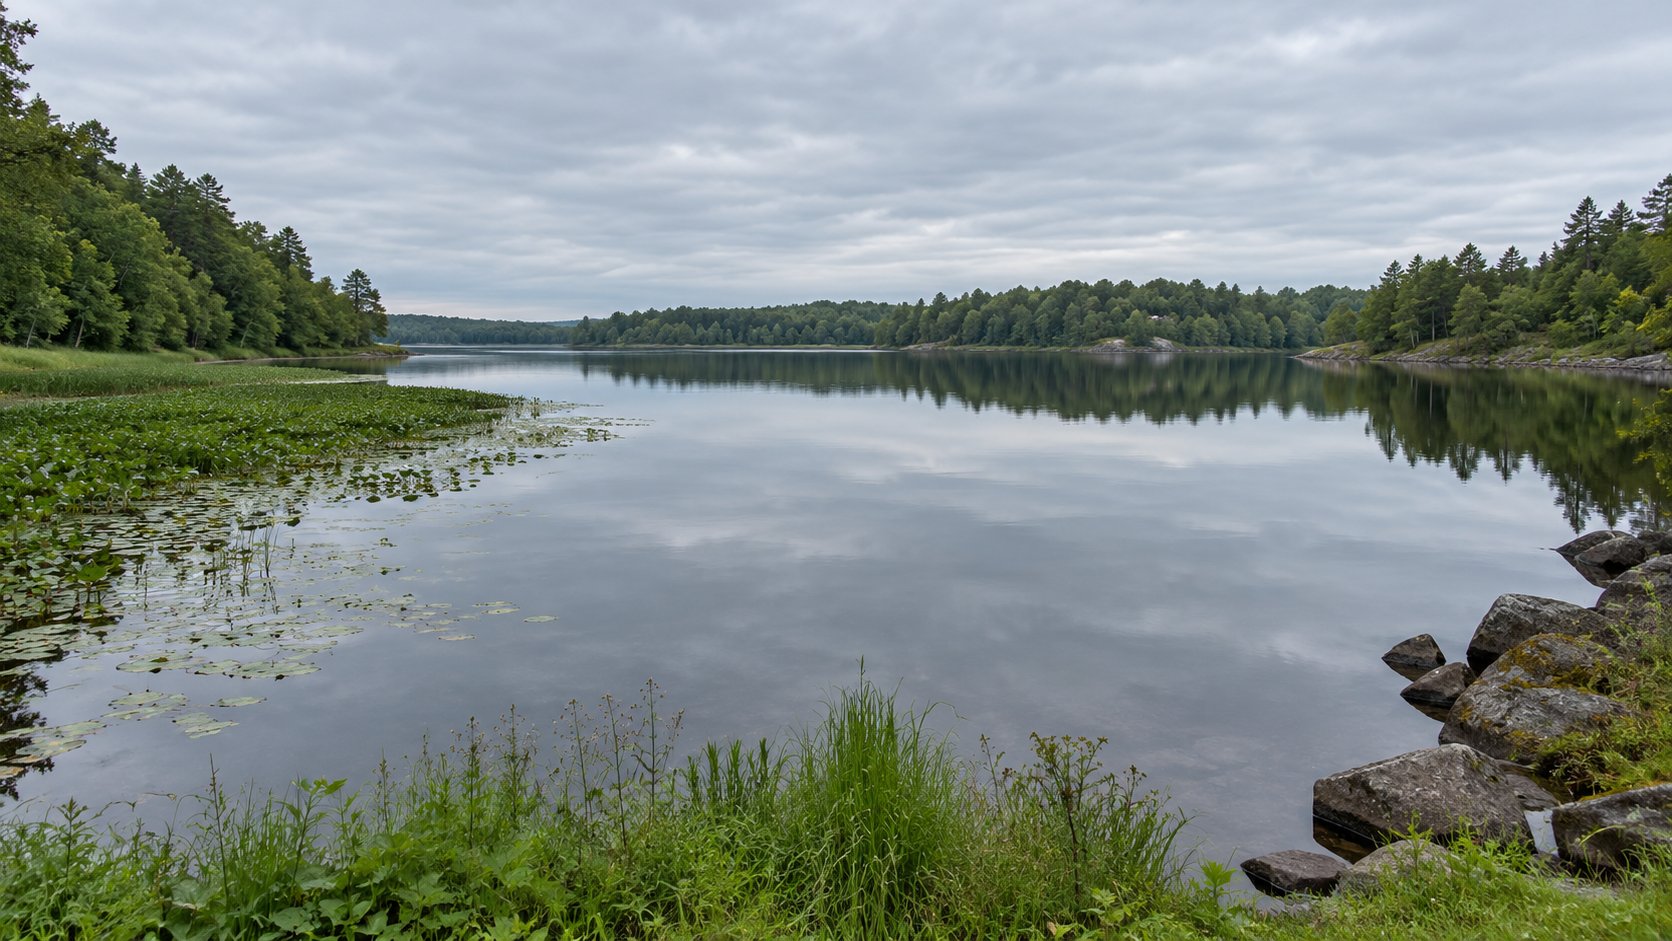
You pull up to a lake, park, and walk to the water. You look out. Open water in every direction, and you have no idea where to throw.
So you cast a few times. Nothing. You try a different spot. Nothing. By the time you’ve made ten or twenty casts at random, you’re starting to wonder if the lake is even stocked.
It probably is. The problem isn’t the fish — it’s that you’re casting in the middle of nowhere.
Fish don’t hang out in the middle of a lake for no reason. A fish suspended in open water is exposed, burning energy, and typically not feeding. They hold in specific places where food, cover, and comfortable water all line up at the same time. Learning to see those places is the single most valuable skill a beginner can build, and it doesn’t require a fish finder, a boat, or any electronics at all. You just need to know what to look for.
That’s what this guide is.
Why Fish Don’t Just Sit in the Middle of the Lake
Think about what a fish is doing all day. It needs food. It needs to avoid getting eaten. And it needs to conserve energy, because swimming is work and a fish that burns fuel just holding position has less left over for growing and reproducing.
The places that solve all three problems at once are edges. An edge is any place where something changes: shallow water meets deep water, weeds meet open water, fast current meets slow current. At an edge, a fish can rest in cover, watch for food drifting by, and dart out to grab it without a long chase.
There’s also a difference between structure and cover that’s worth knowing before you start scanning the shoreline. Structure is the physical shape of the bottom — points, drop-offs, humps, channels. It doesn’t move. Cover is what sits on top of that structure: weeds, fallen trees, rocks, docks. They work together. A bare underwater point holds some fish, but the same point with a weed line running along its edge holds more, because now the fish has both a travel route and an ambush spot in one place.
Show a beginner a lake and say “find the fish,” and the instinct is to cast into the middle of it. The middle of the lake is where fish pass through, not where they stay.
The Five Features That Hold Fish (and How to Spot Them)
Here are the five features to look for on any freshwater lake. You don’t need to find all five — most lakes have two or three of them, and that’s enough to build a plan around.
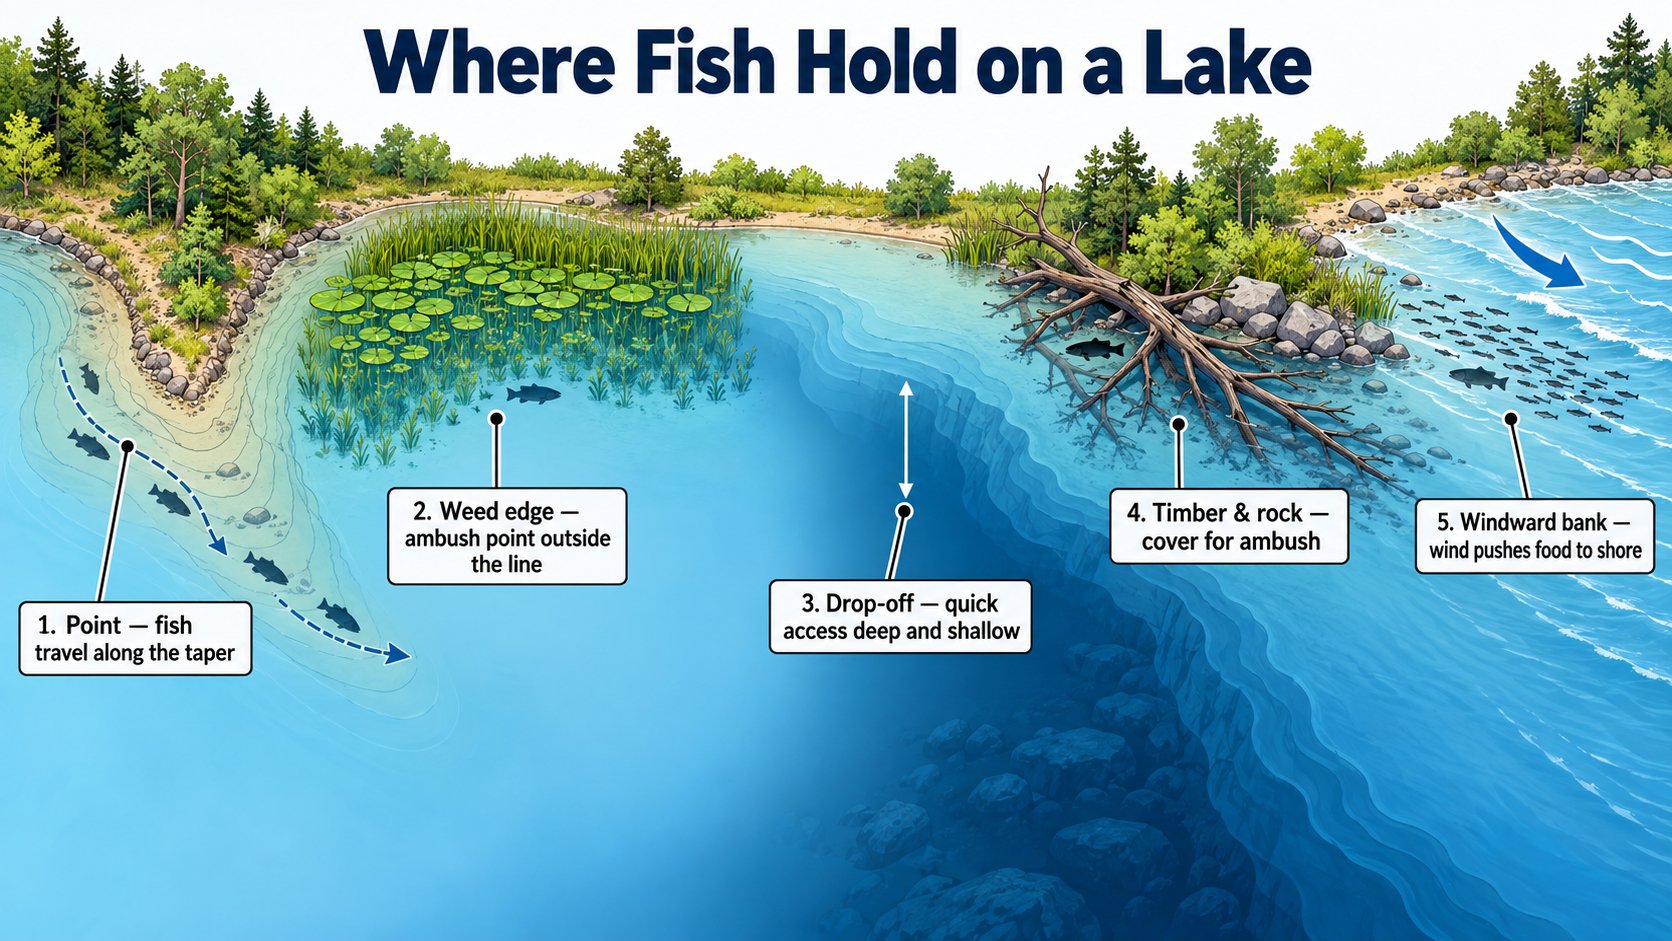
1. Points
A point is a piece of land that juts out into the lake. You can see it from the shore, and it usually continues underwater as a gradually tapering shelf before dropping off into deeper water.
Fish use points as travel routes. They cruise along the point to move between shallow feeding water and deep resting water, the way you’d use a highway to get between two neighborhoods. Early in the morning and late in the evening, they move shallower along the point to feed. When the sun is high and the water warms up, they slide back down the sides toward deeper water.
What to cast at: Cast along the taper, working both sides of the point. Don’t just throw at the tip — the sides often hold as many fish as the point itself.
2. Weed Edges
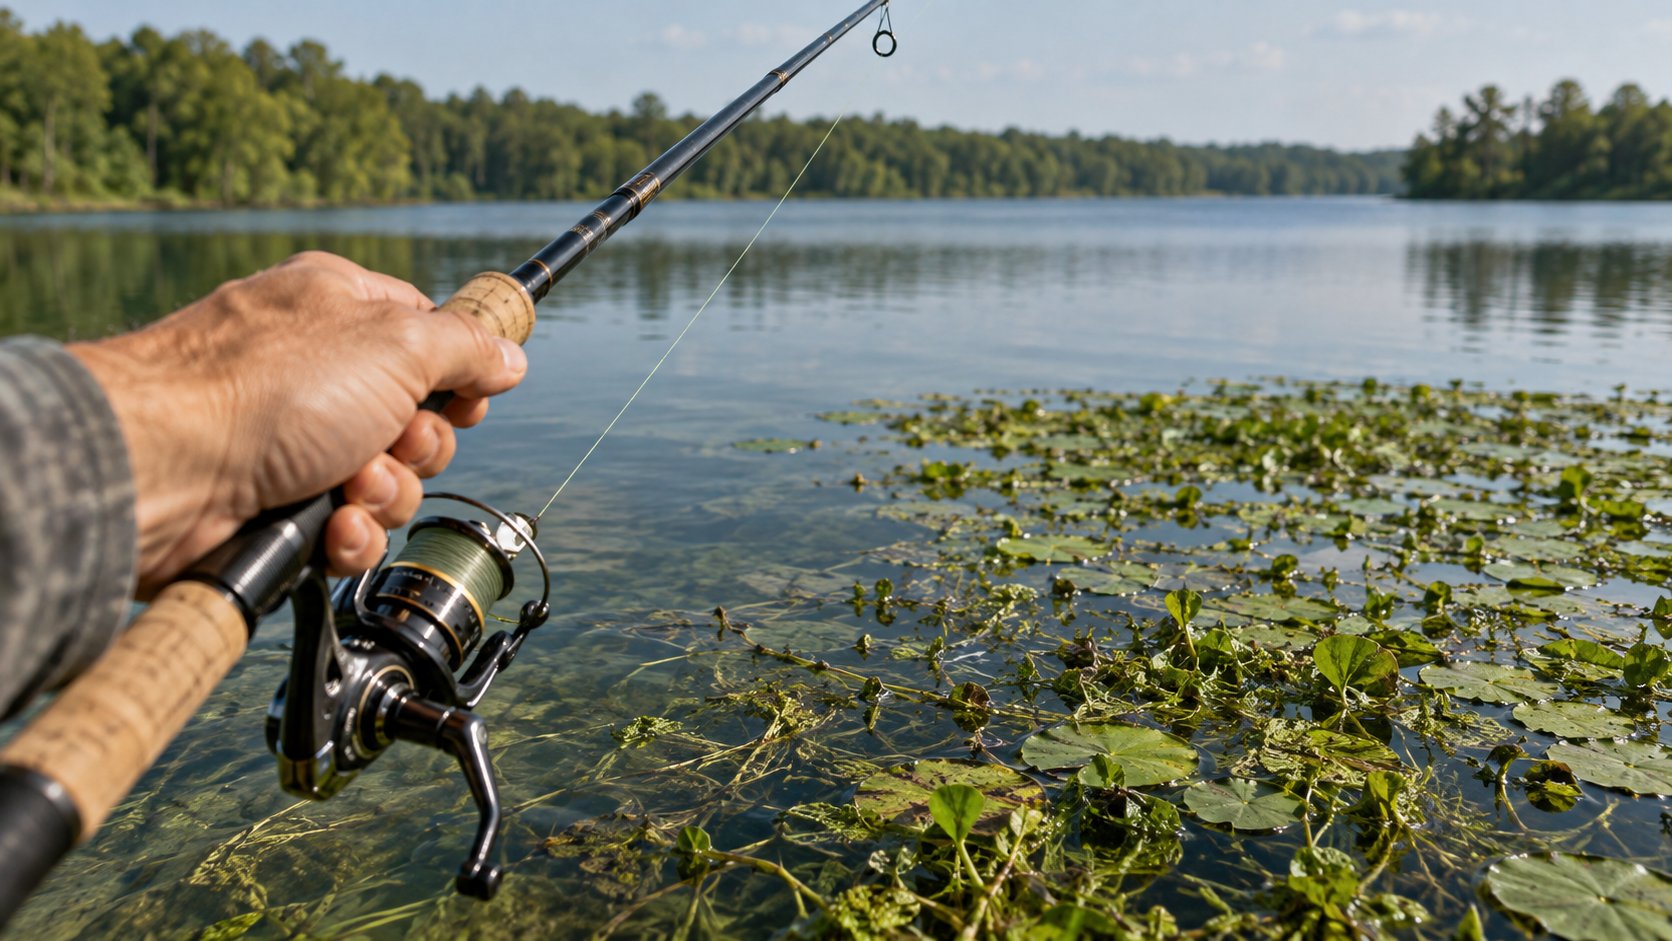
Weeds are one of the best fish-holding features in any lake. They produce oxygen, shelter small baitfish, and harbor insects — all the things a predator needs to survive. But here’s the key: the most productive part of a weed bed is usually the outside edge, where the green ends and open water begins.
That’s the ambush point. A fish can hide in the weeds with its nose pointing out into the open water, watching for anything that passes by. It doesn’t have to chase — the bait swims right up to it.
A practical way to find a weed edge from shore: make a cast and retrieve slowly. If your lure comes back clean for a while and then suddenly grabs on vegetation, you’ve found the edge. Note where that happened and make your next casts land just outside that line.
What to cast at: Cast just outside the weed line, not into it. Soft plastics, worms, and weedless-style presentations work best here.
3. Drop-Offs and Depth Transitions
A drop-off — sometimes called a ledge — is where shallow water suddenly gets deep. A flat that runs four feet and then drops to fifteen feet creates an edge that fish patrol all day long.
A drop-off gives a fish the best of both worlds: quick access to deep, safe water and quick access to shallow feeding water. It can slide up to feed and drop back to safety in seconds, which is why bigger fish often hold right on the break line.
How to spot a drop-off from shore without a fish finder: Look for a steeper bank, a darker water line (deep water reads darker than shallow water when you look at it from above), or notice that your lure suddenly takes much longer to reach the bottom. Any of those is a sign the bottom is dropping.
What to cast at: Cast perpendicular to the break, so your lure travels across the depth transition on the retrieve. Work the break line itself, not the flat above it.
4. Timber, Rock, and Man-Made Cover
A fallen tree in the water is a classic ambush spot. Fish tuck under the branches and wait. If you see a laydown — a tree lying in the water — fish the outer branches first, then the trunk, then the root area if you can reach it without getting tangled.
Riprap — the concrete or rock rubble lining causeways, dam faces, and some shorelines — absorbs heat and harbors crawfish and small baitfish. It holds fish year-round. The key technique: cast parallel to the riprap face, not straight at it. A parallel retrieve keeps your bait in the strike zone longer than a straight-at cast does.
Docks are another reliable target. The best docks are the ones over deeper water. Fish stage at the deepest corner during the hottest part of the day. Cast to the posts, under the walkway, and the deeper outside corners — not just the front edge where most beginners aim.
5. Inlets, Creek Mouths, and Wind
Where water enters a lake — a creek mouth, a feeder ditch, or a culvert — oxygen and food concentrate. Moving water carries insects, plankton, and baitfish into the still water, and fish stage near the inflow to intercept them.
One word of caution: if the current is strong or the water is muddy, fish often hold near the inflow rather than directly in it. Cast a few feet to the side of the mouth, not straight into the moving water.
Wind does the same job on a still lake. The windward bank — the shore the wind is blowing toward — gets a steady push of baitfish and plankton against the shallows. It’s often the most productive zone on the lake in windy conditions. The catch is that it’s also the most difficult to fish from shore because of the waves. If you can reach it safely, give it a try. If you can’t, look for the next best feature.
Reading the Water: Surface Signs of Active Fish
Before you cast, take thirty seconds and actually look at the water. You might be able to see exactly where the fish are working right now.
Here’s what to watch for:
- Baitfish dimples — small circles or ripples on the surface where baitfish are being worked by a predator below
- Diving birds — gulls, terns, or other birds repeatedly dropping into the same spot usually mean bait is running
- Jumping or splashing fish — obvious, but worth noting the location and casting to it
- A visible line of ripples or foam that doesn’t match the surrounding water — this marks a current seam or a wind-driven concentration of food
If you see none of these, it doesn’t mean there are no fish. It means they’re holding still and waiting, which is normal. Move to a different feature before you give up — the fish are there, they just aren’t active at that exact moment.
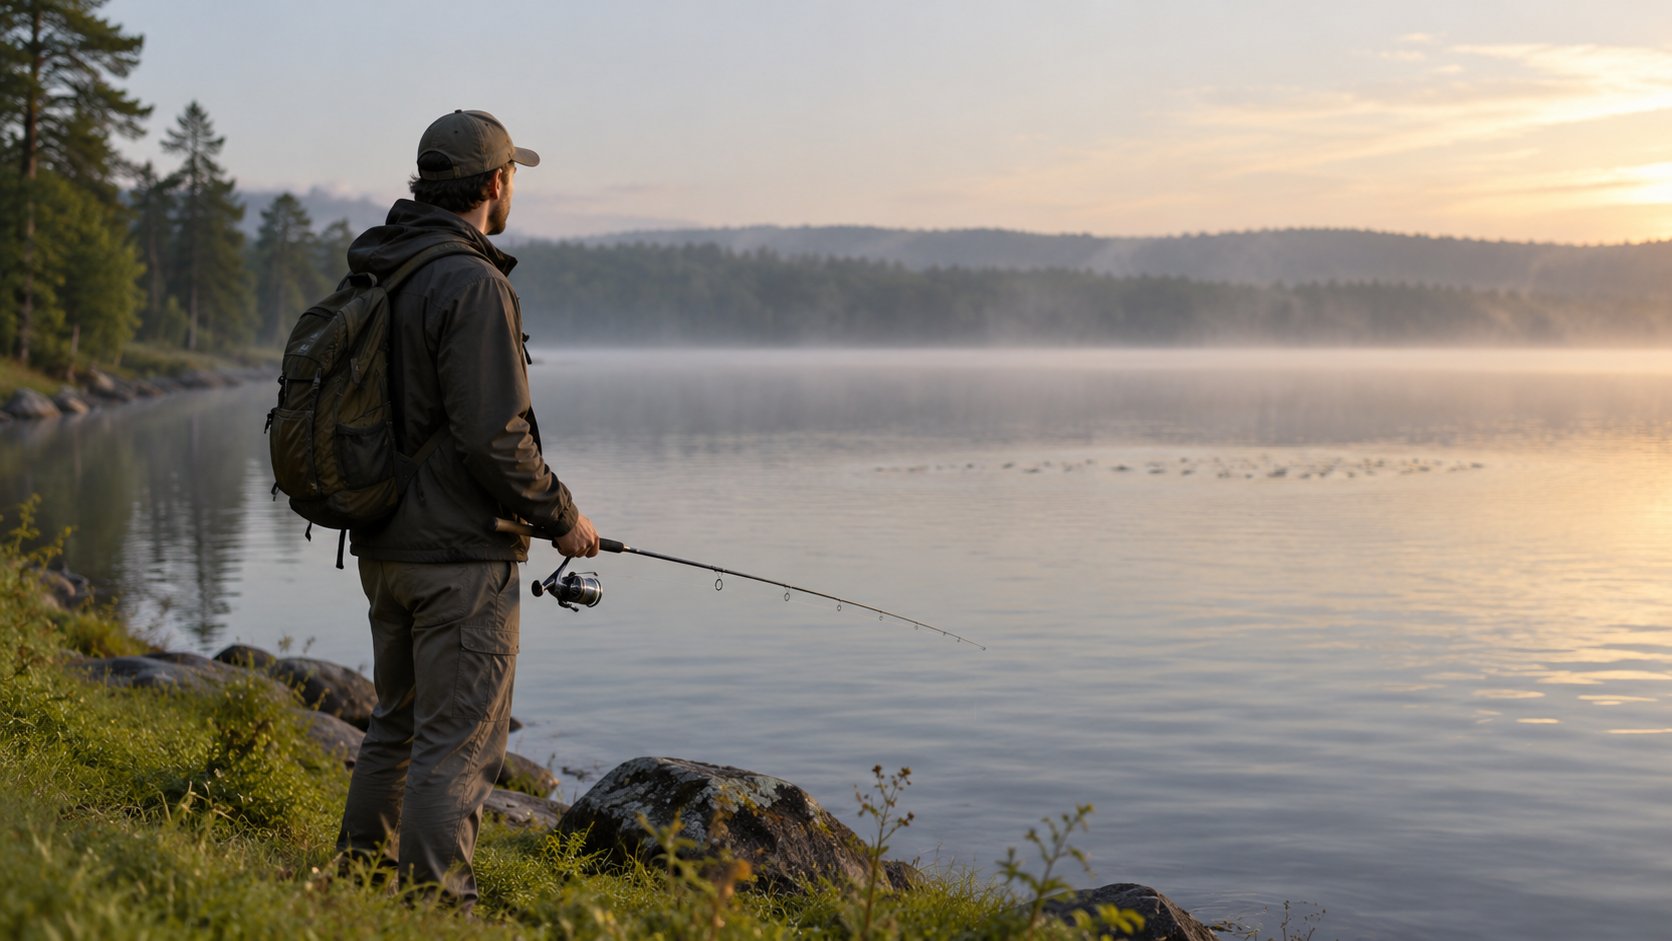
The Bank-to-Deep Route: Your First Hour Plan
Here’s a concrete plan for your first hour at an unfamiliar lake. No fish finder required.
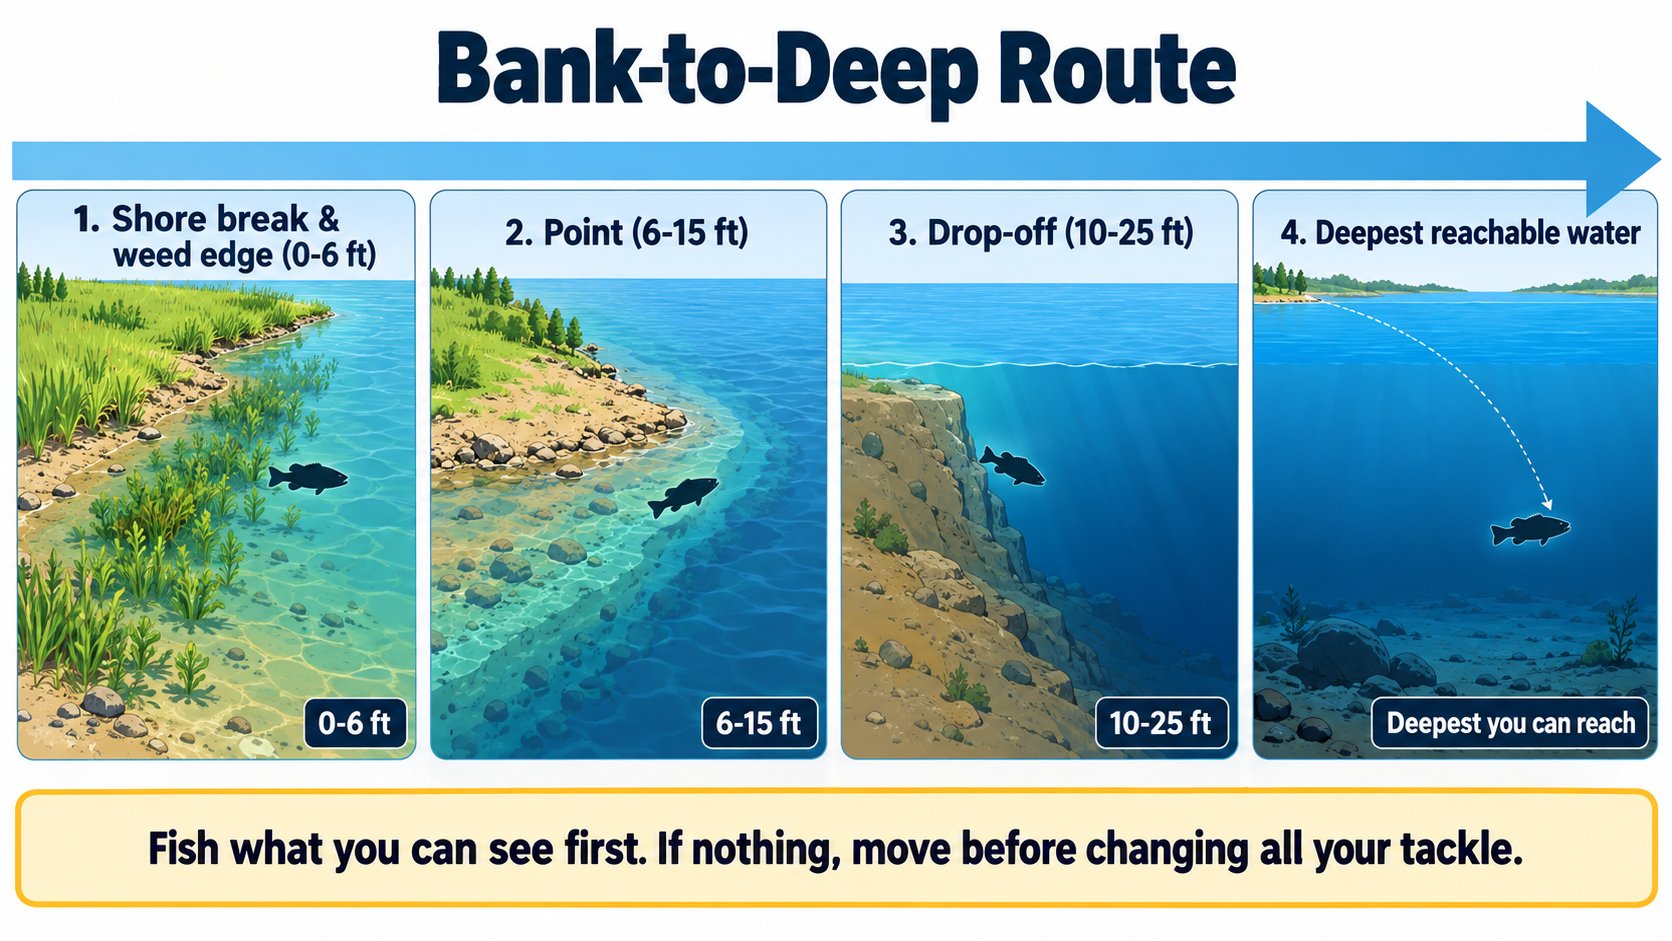
Step 1: Walk the shoreline before you cast. Pick two to four features that match the season and time of day. You don’t need to find everything — just enough to give you a sequence to work through.
Step 2: Fish the shallow edge first. The shore break and weed edge — the first few feet of water from the bank — are where fish are most likely to be in the early morning and evening. Start here.
Step 3: Move to points and drop-offs. As the sun climbs and the water warms, fish move deeper. Work the points, then the drop-offs you can reach from shore.
Step 4: If you haven’t seen a sign of life, try the deepest water you can reach. Bigger fish in summer hold deep. If your shallow and mid-depth casts come back empty, make a long cast to the far edge of what you can reach and work it slowly.
A few rules that keep this plan from falling apart:
- Fish what you can see first. Visible targets — a weed edge, a dock, a laydown, a rock bank — before invisible ones like an underwater point you can’t see but suspect is there.
- Change location before changing all your tackle. If a spot isn’t producing, move. Don’t spend an hour swapping lures on a dead stretch of shoreline.
- Change one thing at a time. Adjust location, depth, retrieve speed, or lure — one at a time — so you learn what actually mattered when you finally get a bite.
Season and Time of Day Move the Fish
The same lake looks very different in April than it does in August, and a cloudy Tuesday in July isn’t the same as a bright one. Here’s how the patterns typically shift in Florida’s freshwater lakes:
Spring: Fish move shallow. Points, coves, inlets, and shallow weed edges are the targets. Coves warm faster than the main lake in spring, so spawning fish show up there first.
Summer: This is the big one. Fish go deep by day and shallow at dawn and dusk. The drop-offs and deep weed lines are your targets during the middle of the day. Early morning and evening let you fish the shallows again. The same cove that was loaded in April can go stagnant and oxygen-depleted by July — don’t be surprised if it goes quiet.
Fall: Fish follow baitfish schools everywhere. Points and basin edges stay productive as the water cools and fish start moving back toward the shallows.
Winter (mild in Florida): Fish hold on deeper structure, slower than any other season. The deep drop-offs and the deepest reachable water are your best bets.
One more variable: light. Bright sun pushes fish deeper. Overcast days let them stay shallower for longer. Dawn and dusk are the most productive windows year-round, regardless of season.
What to Cast At: Matching Your Lure to the Feature
You don’t need a tackle box full of lures to fish these features. The goal is to match your presentation to the zone you’re working. Here’s the basic logic:
- Weed edge → soft plastics, worms, or a weedless-style presentation. Keep it in the water, not in the vegetation.
- Points → a moving lure — crankbait, spinnerbait, or a spinner — worked along the contour from shallow to deep.
- Drop-off → a jig, a Carolina rig, or a bait that rides the break line on the retrieve.
- Timber and rock → jigs and soft plastics worked slowly, with parallel casts to riprap.
- Inlet or windward bank → a drifting presentation — a float with bait, or a light lure worked slowly across the current.
A simple rule for beginners: carry one search lure (something that moves and covers water — a spinner, a crankbait, a spinnerbait) and one slower follow-up lure (a worm, a jig, or a float-rigged bait). The search lure tells you where the fish are. The slower lure is what you use to actually catch them once you find them.
If you want a broader foundation before picking specific lures, our guide to lake fishing for beginners covers the gear side of things.
Your Next Lake Trip: A Simple Checklist
Before you leave the house:
- Check the weather and wind forecast — wind direction changes where you should cast
- Plan to arrive early or stay late; the low-light windows are the most productive
- Bring one search lure and one slower follow-up lure
Once you’re at the lake:
- Walk the bank before you cast — identify two to four features
- Match your first target to the season and time of day
- Fish the edge, not the middle
- Watch the surface for signs of active fish before you commit to a spot
- If nothing after a reasonable effort, move — don’t anchor
- Write down what worked so you remember it next time
The skill here isn’t fancy. It’s just looking at the water the way a fish sees it, and then casting where the fish would be. Do it a few times and it starts to feel obvious. That’s when you know you’re getting it.
If you’re still figuring out where to find water to practice this, our guide on how to find fishing spots near you is a good next step. And once you’ve got the hang of reading the shoreline, our broader piece on how to read water for fishing takes the same principles into rivers and moving water.