
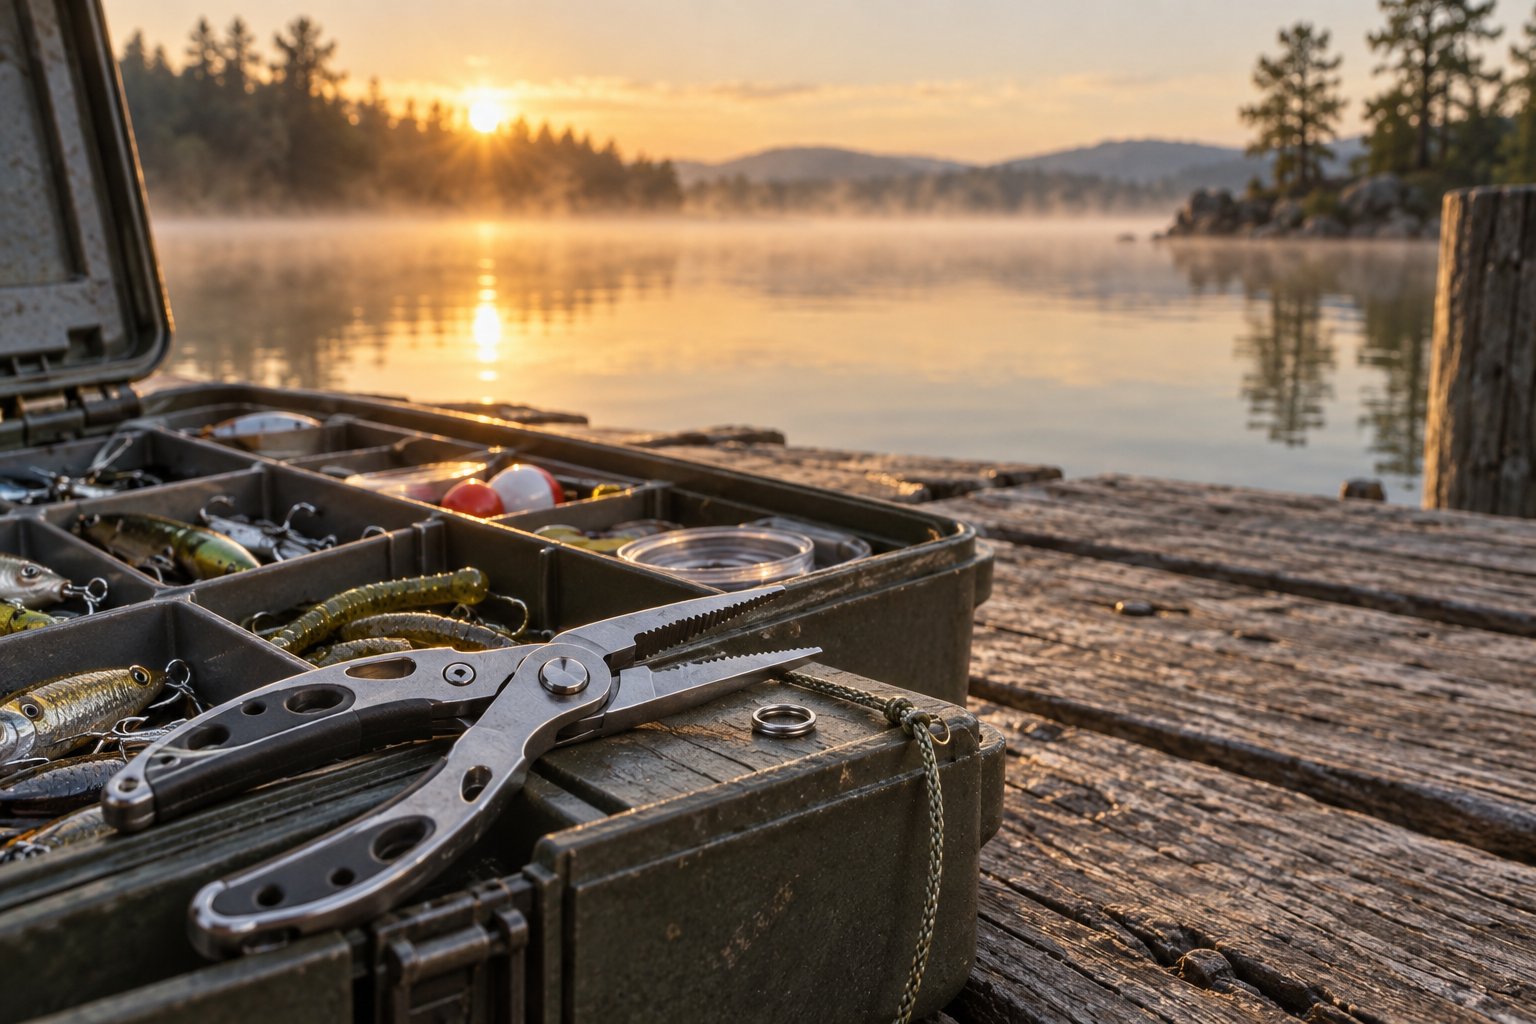
You bought your first rod and reel, maybe a tackle box with a handful of lures and a bag of worms. You’re ready to fish. But there’s one thing in that box you probably don’t know what to do with, and it’s the thing that will save you the most trouble: a pair of pliers.
If you only buy one tool for your first season, make it pliers. Not a fancy rod, not a fancy reel — pliers. They do more jobs on the water than any other single item, and they’re the difference between a calm afternoon and a panicked one with a pike snapping at your fingers.
Why Every Beginner Should Carry Fishing Pliers
The first time you catch a fish, your heart is pounding. The fish is thrashing. You’re trying to hold it, grab the hook, and not get bitten. If you’re reaching into that fish’s mouth with your bare fingers, you’re going to feel every one of those teeth the moment the fish decides your hand tastes better than the hook.
Pliers exist to keep your fingers out of the fish’s mouth. That’s the whole safety case. But they also do three other jobs that make every other part of fishing easier:
- Unhooking — grip the hook near the bend, twist, and the hook pops out.
- Cutting line — the built-in side cutters snip monofilament, fluorocarbon, and braid cleanly.
- Opening split rings — the pointed tip pries open the small rings on lures so you can swap hooks.
- Crushing barbs — pinch the barb flat to make catch-and-release gentler (check local rules; some waters require barbless hooks anyway).
A good pair of pliers costs a small amount of money, lasts for years, and makes knot tying, rigging, and fish handling all less frustrating. If your tackle box has room for one more item, this is it.
What Fishing Pliers Actually Do (Beyond “Grabby Thingies”)
Before we get to which kind to buy, let’s be clear about the four core jobs. Once you understand what the tool is actually for, the buying decisions get a lot easier.
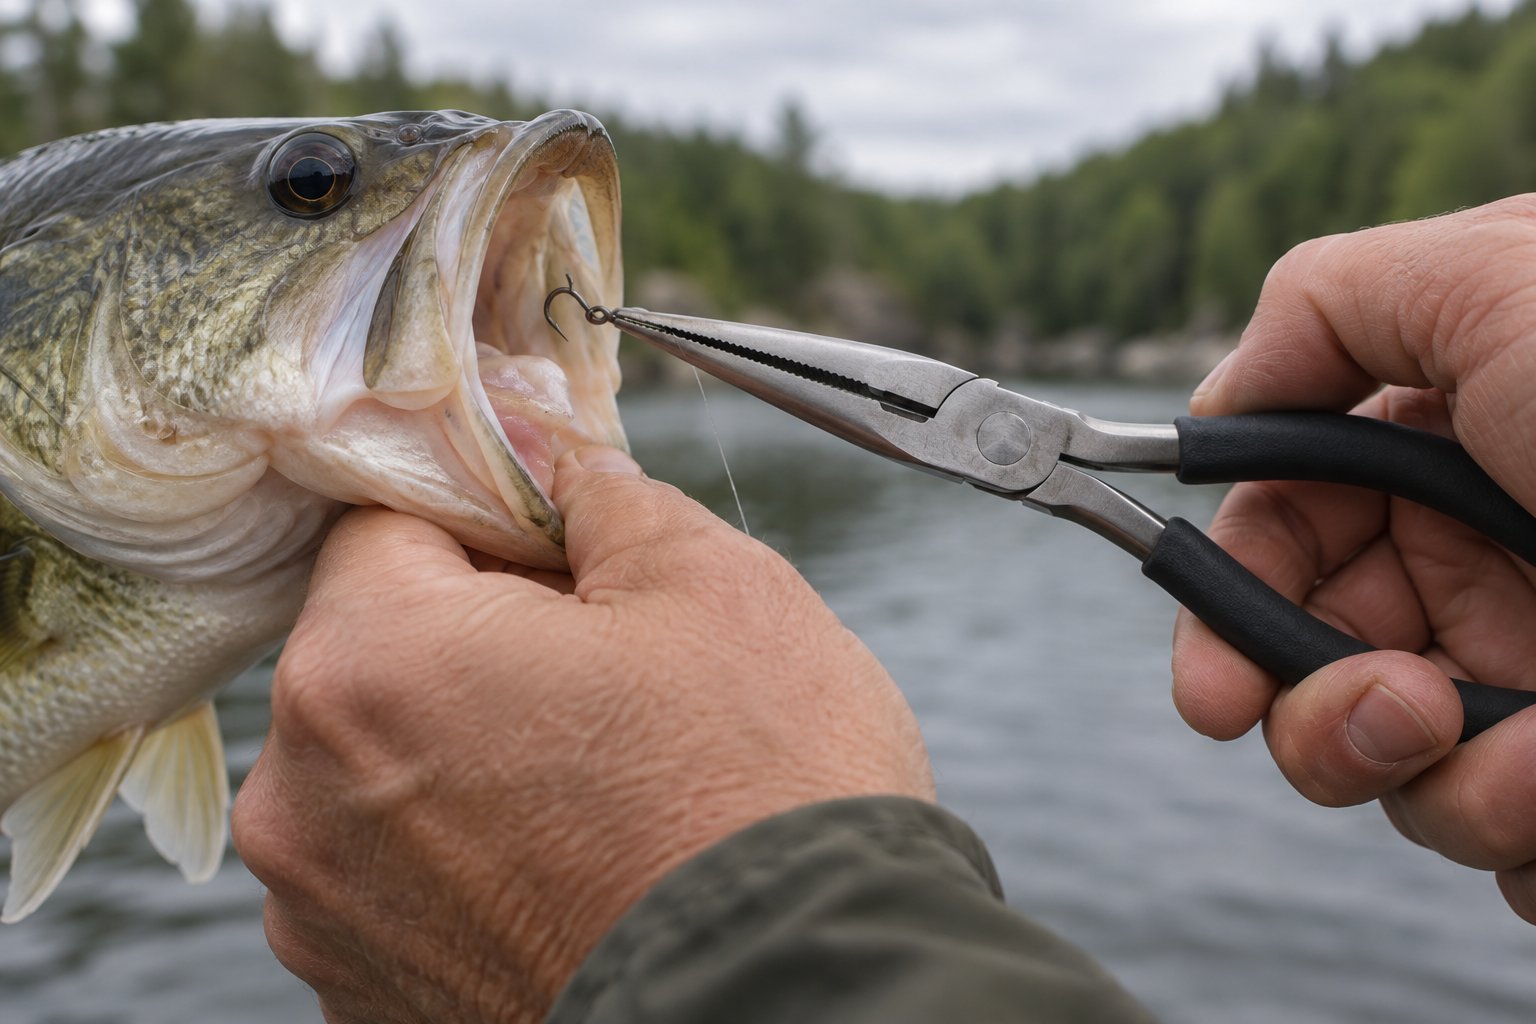
Unhooking. The single most common use. You open the fish’s mouth, find the hook, grip it with the pliers as close to the bend as you can, and give a gentle twist. The barb pops free. The whole thing takes a few seconds. The key detail is the grip point: close to the bend gives you leverage. If you grip the pliers around the eye of the hook (the loop where the line ties on), you have no leverage and you’ll either bend the hook or hurt the fish.
Cutting line. Most fishing pliers have a small set of side cutters built into the handle. They’re designed to slice monofilament and fluorocarbon cleanly. Braided line is tougher — it’s slick and fibrous, and a dull cutter will crush and fray it instead of slicing through. If you’re using braid as your main line, look for pliers with carbide or tungsten cutters; they stay sharp longer and handle braid without the fuzz.
Opening split rings. Lures attach to your line through tiny metal rings called split rings. When you want to swap a lure, you need to pry that ring open just enough to slip the old hook out and the new one in. The pointed tip of a needle-nose plier does this. Without it, you’re trying to open a ring the size of a pencil eraser with your thumbnail, and you’re going to lose the ring over the water.
Crushing barbs. Many states and many fisheries allow or require barbless hooks for catch-and-release. If you have a barbed hook and want to make it gentler, the pliers’ jaws can pinch the barb flat. It’s a simple squeeze. This is situational — not every fish, not every rule set — but it’s one of the small things that makes you a better angler.
Pliers are the multi-tool of fishing.
Needle-Nose, Multifunction, or Long-Nose? The Three Styles Explained
There are three main shapes of fishing pliers, and they each solve a slightly different problem. You only need one to start, but knowing the differences helps you pick the right one for the way you fish.
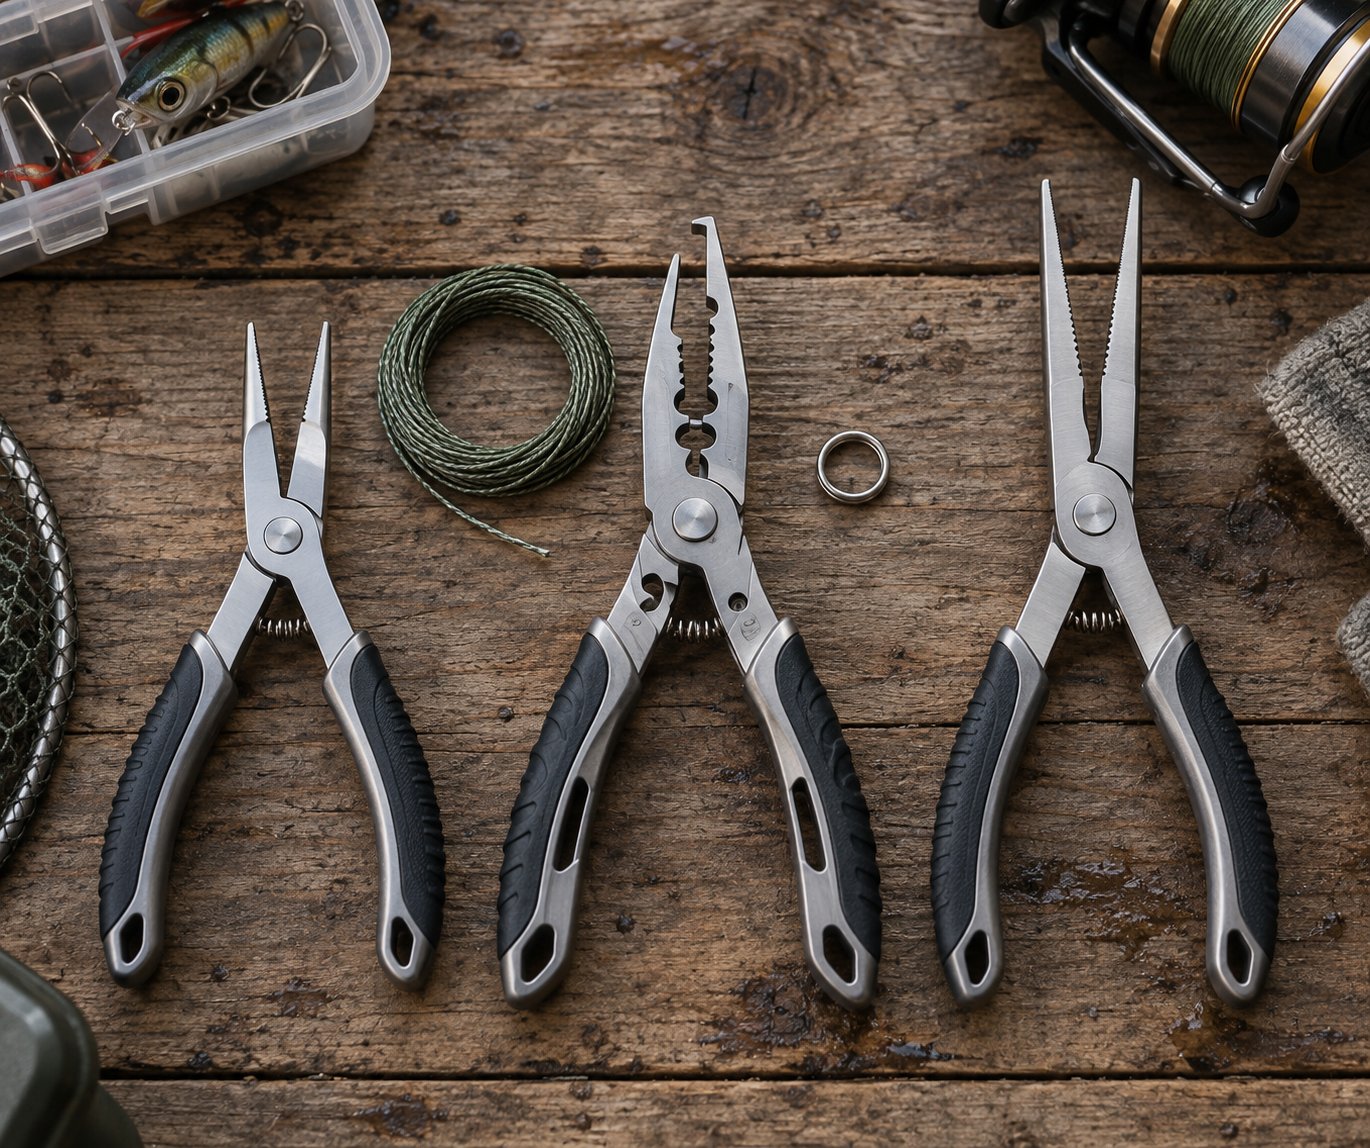
Needle-nose is the default for most beginners. The jaws are long and thin, tapering to a point. That shape is what lets you reach deep into a fish’s mouth without your fingers getting close to the teeth. A 5 to 6.5-inch needle-nose pair is the all-rounder: it unhooks, cuts line, opens split rings, and does everything else on this list. If you’re fishing general freshwater — panfish, bass, catfish, trout — needle-nose is the right starting point.
Multifunction pliers look like a Swiss Army knife. They bundle extra tools into the same body: a knot puller (a small loop that pulls line through a hook’s eye), a hook sharpener, a crimping notch for split shot, sometimes a small screwdriver. The tradeoff is that each individual feature is a little less specialized than a dedicated tool. Multifunction pliers shine when you’re on a kayak or in surf, where carrying multiple tools is a pain and you want one compact tool that does everything. For shore fishing on a dock or bank, the difference is smaller.
Long-nose pliers have extra-long jaws, sometimes 8 inches or more. They’re designed for one specific situation: deep-throated hooks. Fish like pike, muskie, and walleye swallow lures whole, and the hook ends up deep in the throat where a standard plier can’t reach. A long-nose pair lets you reach in without putting your fingers anywhere near the teeth. The tradeoff is that the long jaws give you less leverage on heavy tasks like crushing a big barb, so it’s a specialist tool rather than a replacement for a standard pair.
The decision rule: start with a compact needle-nose pair. Add a long-nose pair only if you regularly target deep-throating species (pike, muskie, walleye). Don’t buy two pairs on day one — one good needle-nose covers 90% of situations.
The Details That Actually Matter When You Buy
Once you’ve picked your style, here’s what to look for so you don’t end up with a pair that rusts in a month or frays your braid.
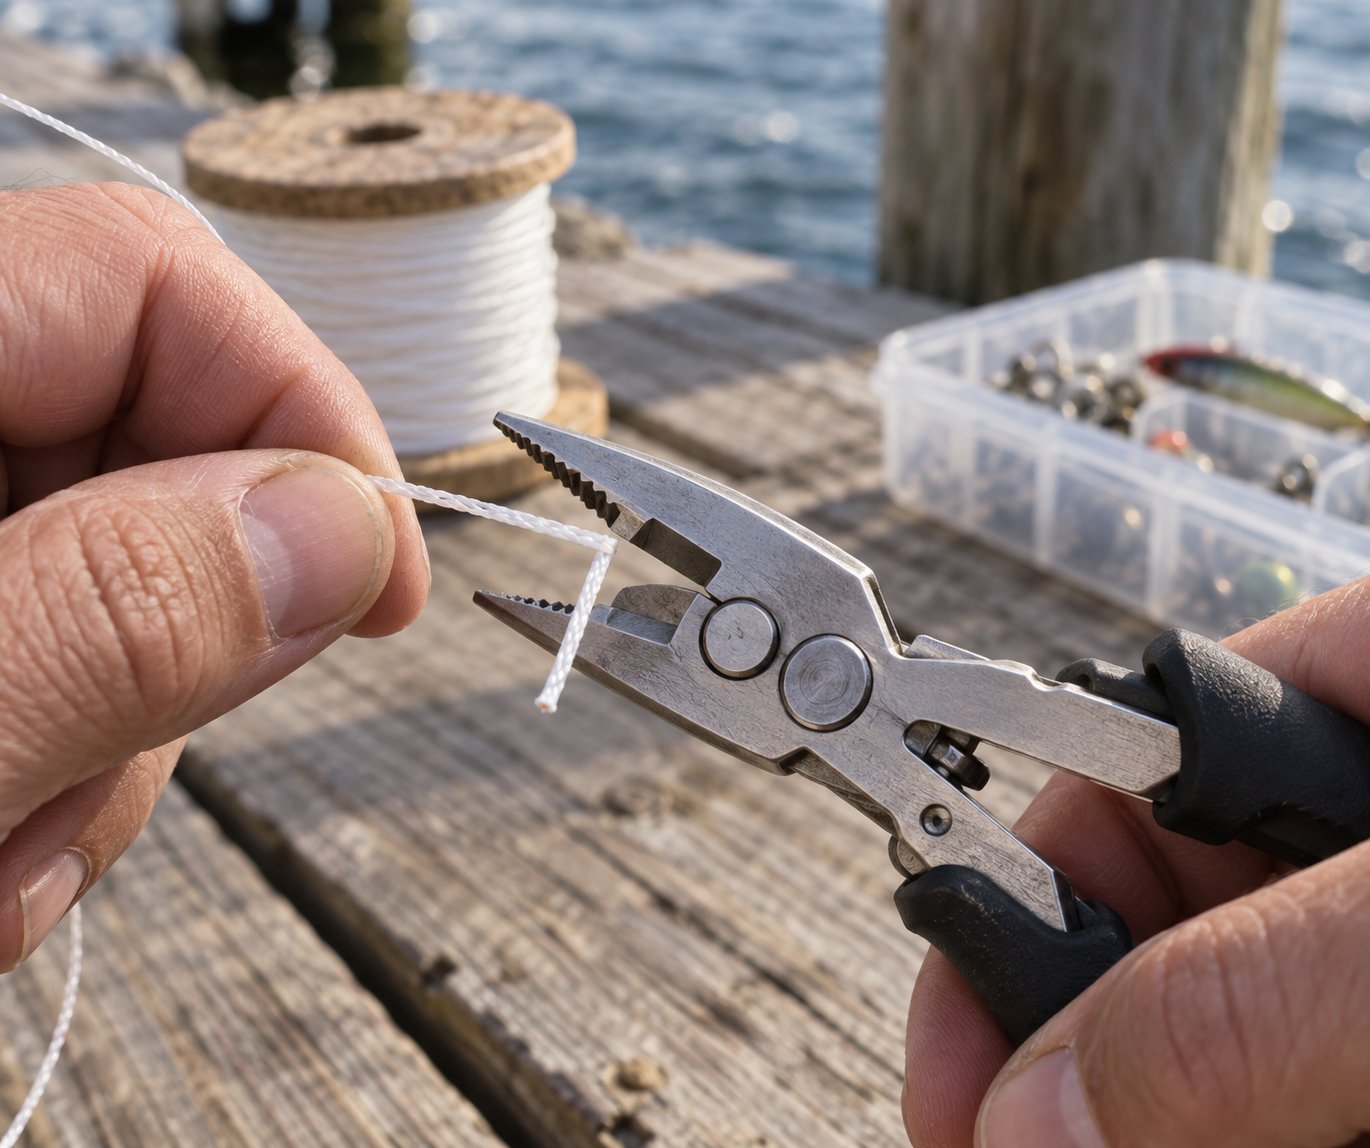
Material. This is the big one. Carbon steel rusts fast in a wet tackle box; buy stainless steel or anodized aluminum instead. Titanium is the premium option — lighter, stronger, more expensive.
Cutter quality. Look for carbide or tungsten cutter blades. They stay sharp for years and cut braid cleanly. Cheap steel cutters dull within a few dozen cuts and start fraying braid, which makes your knots weaker.
Grip. You’ll be using these pliers with wet, cold, or gloved hands. Look for non-slip, ergonomic grips — often a rubber or polymer overmold on the handles. Metal-only handles are slippery when wet and hard to operate one-handed.
Sheath and lanyard. A good plier comes with a small fabric or leather sheath and a lanyard loop or belt clip. This matters more than it sounds. A plier dropped on a boat deck or a kayak gunwale is usually gone. The lanyard keeps it on your belt or in your pocket, in reach when the fish is in your hands, and out of the water if it slips.
Size. For most freshwater situations, a compact 5 to 6.5-inch pair is the right size. It fits in a pocket, in a sheath on your belt, or in a tackle box compartment without taking up too much room. Go bigger (7–8 inches) only if you’re regularly dealing with large, toothy fish.
Spring-loaded or locking. Some pliers have a spring that keeps the jaws from closing on your fingers, or a locking mechanism that holds them open for one-hand operation. If you often have one hand full of a fish, this is a real quality-of-life feature. Not essential, but nice.
How to Use Pliers to Unhook a Fish (Step by Step)
This is the most-searched task, so let’s walk through it properly.
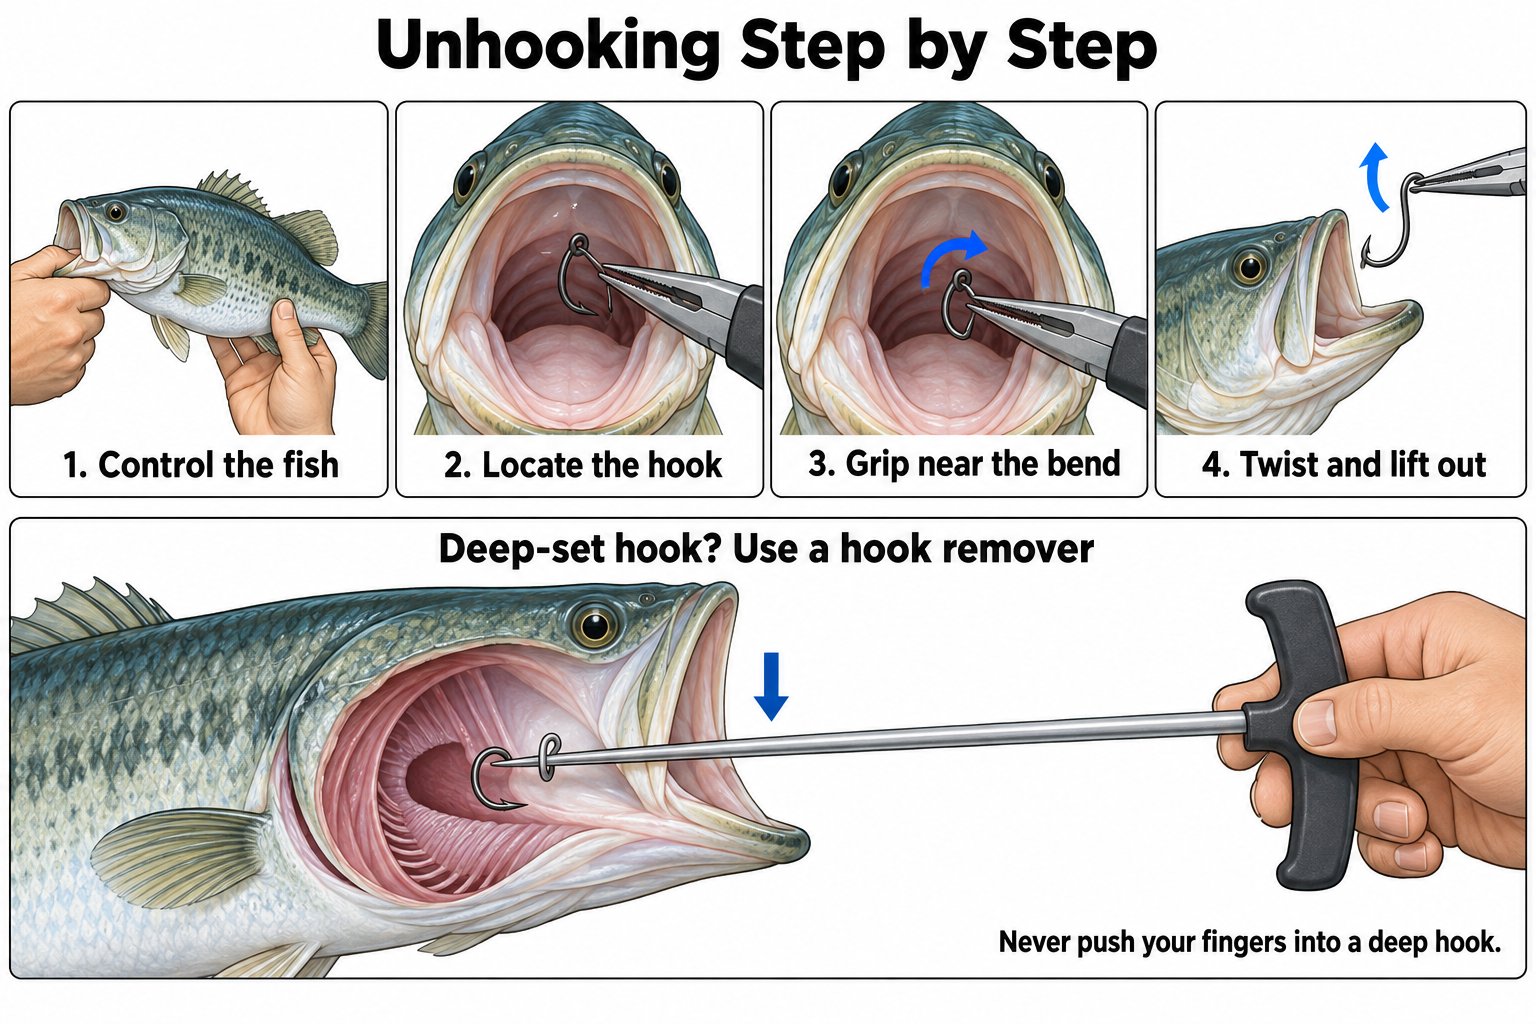
Step 1 — Control the fish. Wet your hands first (it’s kinder to the fish and reduces slippage). For most fish, a firm grip behind the gill plate or on the lower jaw is stable enough. Don’t grab the gills themselves — they’re delicate. For toothy fish, grip the upper jaw firmly with your hand cupped over the teeth, so your fingers aren’t in the bite zone.
Step 2 — Locate the hook. Open the mouth gently and look for the hook. It’s usually near the back of the mouth, sometimes buried in the throat. If you can see it, you’re in good shape.
Step 3 — Grip near the bend. Bring the pliers to the hook and grip it as close to the bend (the curved part) as you can. That’s your leverage point. If you only have room to grip the shank, that’s okay — just work gently.
Step 4 — Twist and lift. A gentle twist, usually counter-clockwise if you’re looking at the fish from above, pops the barb free of the tissue. Lift the hook out along the path it went in. Don’t yank.
Deep-set hooks — don’t use your fingers. If the hook is deep in the throat and the pliers can’t reach, do not push your fingers in. There’s a tool for exactly this: a hook remover (sometimes called a dehooker). It’s a long-shaft tool with a small barbed hook or fork on the end. You slide it down the line to the main hook, push it into the throat, and the tool’s barb catches the main hook’s eye. A gentle pull backs the hook out. It protects your fingers and it’s gentler on the fish. A few dollars, well spent if you target pike, muskie, or walleye.
If the hook can’t be removed: leave it. Fish hooks are made of steel and the barb is tiny; the tissue will digest and reabsorb it over a few weeks. It’s not the end of the world. Trying to dig it out with pliers or fingers often does more damage than the hook itself.
What to Do If a Hook Ends Up in You
It happens. More often than you’d think, especially with toothy fish or a loose line. Here’s the calm, practical version.
Stay calm. Most hook injuries are minor — a small puncture in a finger or hand. The key is not to panic and not to yank.
Shallow hook (the barb hasn’t gone deep): You can usually pull it out yourself. The cleanest method is the line-loop technique: wrap a short piece of fishing line (or string) several times around the bend of the hook, hold the hook steady, and give a sharp pull straight back in line with the hook. The barb disengages and the hook pops out. Pliers can help here too — grip the hook near the bend and pull straight back, not sideways.
Deep hook (the barb is buried in the flesh): Do not yank. If you can’t remove it safely, leave it and get medical help. This is especially important if the hook is near a joint, a face, an eye, or a tendon. A doctor can remove it under local anesthesia, which is far less painful and less damaging than pulling it out yourself.
After removal: rinse the wound with clean water, bandage it, and check your tetanus status if it’s been more than 5–10 years since your last shot.
Prevention is easier than first aid. Keep your rod tip up when a fish is on, so the line isn’t looped loosely around your hand. Close the bail before a thrashing fish gets close to you. Don’t hold a line that’s attached to a hooked toothy fish in a loose loop around your wrist. These three habits prevent most hook-in-hand incidents.
Where Pliers Fit in Your First Tackle Box
You don’t need a drawer full of tools. Here’s the practical starter list:
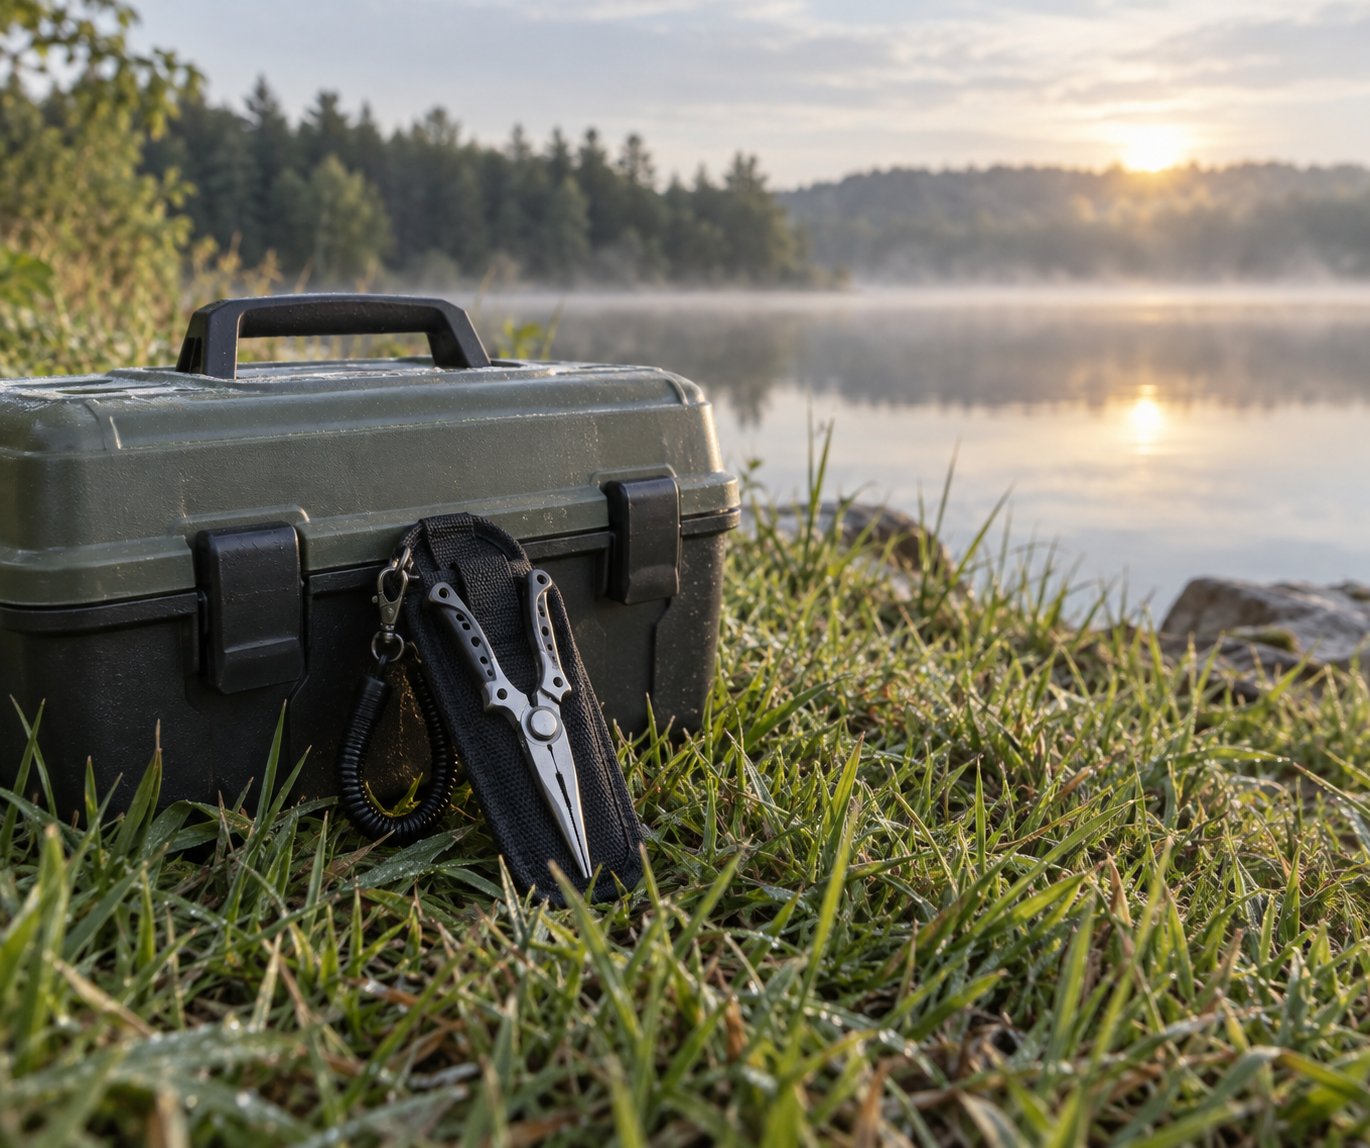
- One compact needle-nose stainless pair with side cutters, a split-ring tip, and a sheath. That’s your main tool. It covers unhooking, line cutting, split rings, and barb crushing.
- A hook remover if you plan to target pike, muskie, or walleye. It’s the one tool that keeps your fingers out of deep-throat situations.
- Keep the pliers on your belt or in your pocket, not buried in the bottom of the box. You need them the moment a fish is in your hands, and digging through a box with one hand while holding a thrashing fish is how hooks end up in fingers.
- Rinse them with fresh water after every saltwater trip, even a quick rinse under a faucet. It adds years to the life of the cutters and the hinge.
A good pair of pliers is one of the few pieces of tackle that doesn’t wear out, doesn’t break, and doesn’t need replacing every season. Buy one that fits your hand, keep it in a sheath on your belt, and it will outlast your first rod, your second rod, and probably your third.
See also: how to handle and unhook fish · what to put in your first tackle box · identifying common freshwater fish.